
Setting up “Scan to Cloud” for non‑technical users is simple if you follow a clear checklist. First, pick a cloud service like Google Drive or Dropbox that fits your needs. Next, connect your scanner to your Wi-Fi and install the recommended upload apps. Organize your files with clear naming and folders, then secure your data with encryption and password protection. Regularly back up files and troubleshoot connectivity issues as they arise. Keep going to discover all the easy steps involved.
Key Takeaways
- Select a user-friendly cloud service like Google Drive or Dropbox with strong security features.
- Connect the scanner to Wi-Fi following simple network setup steps.
- Install and test upload apps, ensuring they connect properly to your chosen cloud service.
- Organize scanned files with clear naming conventions and folder structures for easy access.
- Regularly back up files and review security settings to protect sensitive data.

Brother DS-640 Compact Mobile Document Scanner, (Model: DS640)
FAST SPEEDS – Scans color and black and white documents a blazing speed up to 16ppm (1). Color…
As an affiliate, we earn on qualifying purchases.
As an affiliate, we earn on qualifying purchases.
Choose the Right Cloud Storage for Your Scan-to-Cloud Needs
Choose the Right Cloud Storage for Your Scan-to-Cloud Needs
Selecting the right cloud storage is essential for an efficient scan-to-cloud setup. To make the best choice, you should do a quick cloud storage comparison, focusing on features, cost, and ease of use. Look for providers that offer seamless integration with your scanner and devices. Security considerations are also critical; verify the service encrypts files during transfer and storage, and offers robust access controls. Some popular options include Google Drive, Dropbox, and OneDrive, each with different strengths in security and collaboration features. Additionally, it is important to consider heatstroke signs when managing the environment around your devices, ensuring they remain safe from overheating. Understanding the role of color accuracy can provide inspiration for organizing your digital workspace. Keep in mind your storage needs and budget, but don’t compromise on security. Choosing the right provider helps protect your scanned documents and makes managing files simple, saving you time and frustration down the line. Additionally, exploring digital concepts can further enhance your understanding of cloud solutions and their capabilities.

ScanSnap iX2500 Wireless or USB High-Speed Cloud Enabled Document, Photo & Receipt Scanner with Large 5" Touchscreen and 100 Page Auto Document Feeder for Mac or PC, Black
OUR MOST ADVANCED SCANSNAP. Large touchscreen, fast 45ppm double-sided scanning, 100-sheet document feeder, Wi-Fi and USB connectivity, automatic…
As an affiliate, we earn on qualifying purchases.
As an affiliate, we earn on qualifying purchases.
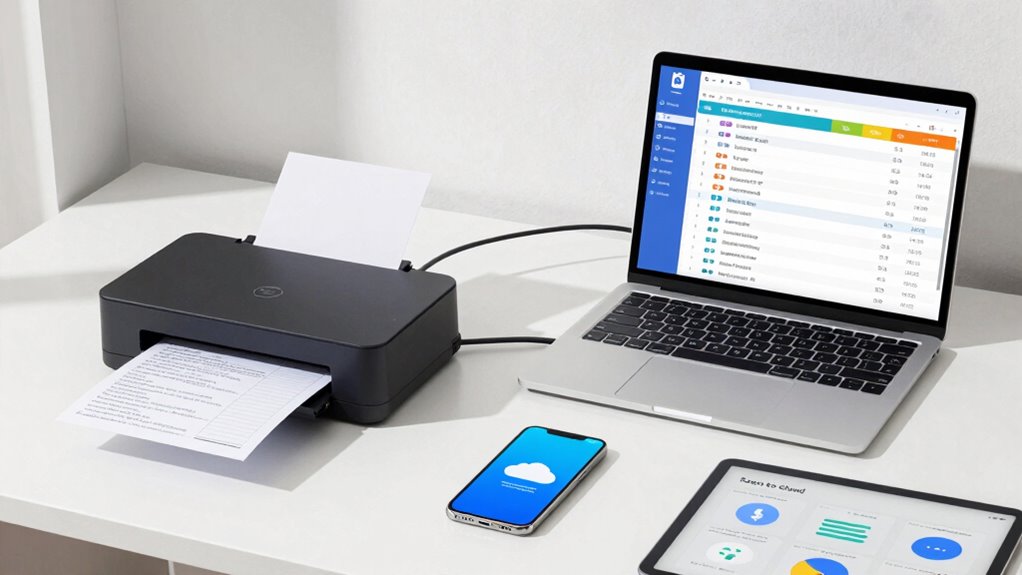
Set Up Your Scanner and Connect It to Your Devices
To get started, you’ll need to connect your scanner to your network, ensuring it communicates properly with your devices. Next, install any necessary drivers so your computer recognizes the scanner without issues. Finally, run a test scan to confirm everything works smoothly before moving on. Understanding how to integrate AI in economies can also help you optimize your scanning processes for better efficiency.
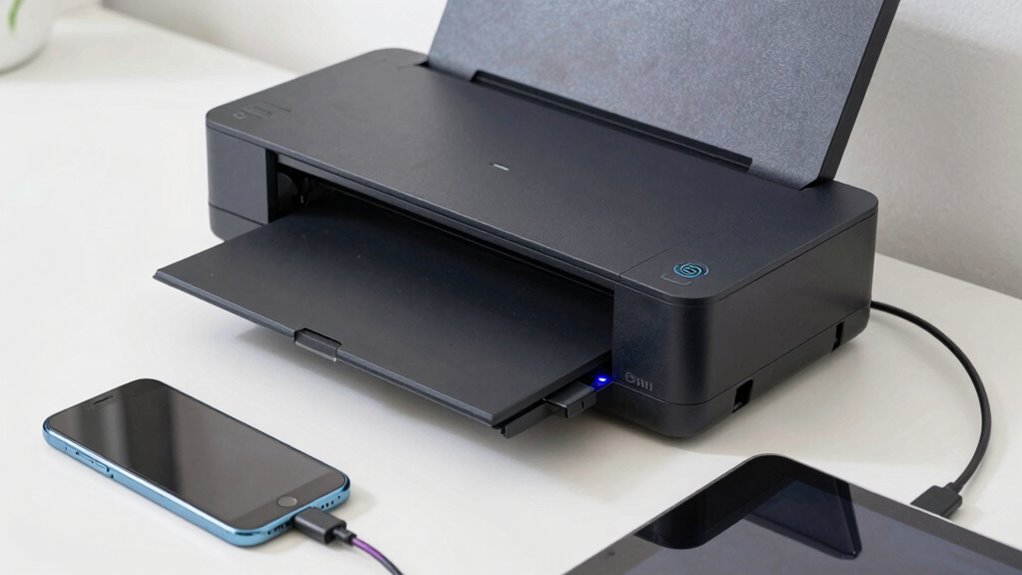
Connect Scanner to Network
Connecting your scanner to the network is a crucial step to guarantee seamless document sharing and printing. First, verify your scanner has wireless connectivity capabilities. If it does, access the scanner’s network settings, often via the control panel or a web interface, and select your Wi-Fi network. Enter the password if prompted. Once connected, perform a quick scanner calibration to ensure the best scan quality. This step helps prevent issues like blurry or misaligned scans. Confirm the scanner appears on your network by checking your device list or using a network discovery tool. Making these adjustments guarantees your scanner communicates smoothly with your devices, setting a solid foundation for effortless cloud scanning later. Additionally, consider utilizing eco-friendly practices to enhance your overall tech setup and reduce environmental impact.
Install Necessary Drivers
After confirming your scanner is connected to the network, the next step is to install the necessary drivers. Driver compatibility is key—make sure you download the correct version for your device and operating system. Check the manufacturer’s website for the latest software updates to keep your scanner running smoothly and securely. Keeping your drivers current ensures smooth operation and reduces issues when scanning to cloud services. Here’s a quick overview:
| Step | Action | Tips |
|---|---|---|
| Download Drivers | Visit manufacturer’s site | Look for the latest version |
| Install Software | Run the setup file | Follow on-screen prompts |
| Confirm Compatibility | Verify driver matches OS | Update if needed |
Additionally, ensure that your scanner has the necessary latest software updates for optimal performance.
Test Scanner Functionality
Once you’ve installed the drivers, it’s essential to test your scanner to guarantee it functions correctly and connects seamlessly to your devices. Start by scanning a test document, checking the image quality—look for clarity, brightness, and color accuracy. Make sure the scanned file formats are set to your preferred type, such as PDF or JPEG, to guarantee easy access later. Confirm that the scanner communicates properly with your device, and that the files are stored where you want them. If the image quality isn’t sharp or the file formats aren’t correct, revisit your scanner settings and adjust as needed. Testing now helps you catch issues early, so your scans will be smooth and reliable when you start digitizing documents for cloud storage.
Creality Scan Bridge for Raptor, Raptor Pro and Sermoon S1 3D Scanner, Wireless Scanning Kit for iPhone, Android and Mirror Screen for Windows, Mac
Note: This Scan Bridge is a accessry for Raptor, Raptor Pro, Sermoon S1,the scanner is not included
As an affiliate, we earn on qualifying purchases.
As an affiliate, we earn on qualifying purchases.
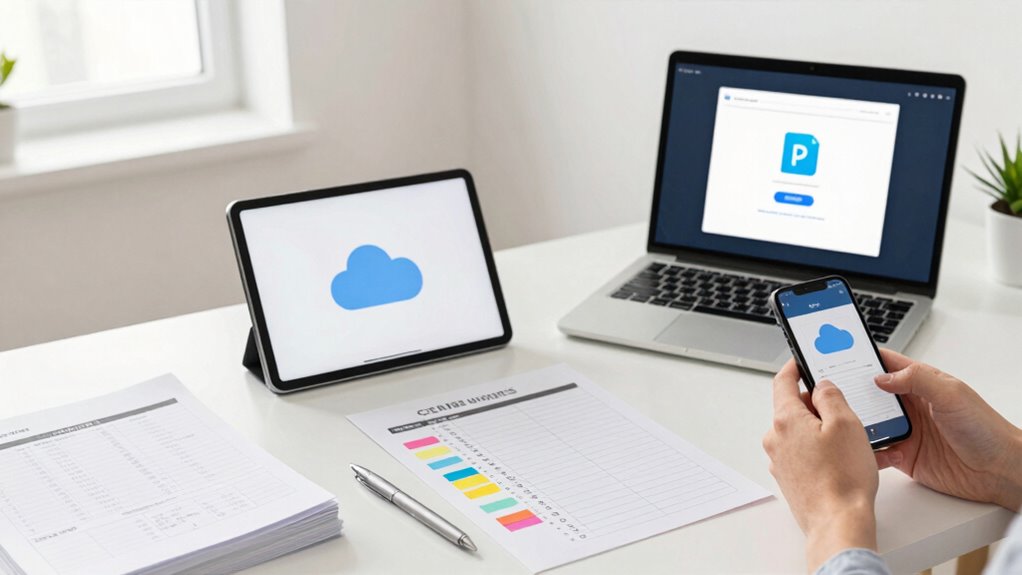
Install and Configure the Upload Apps
To begin uploading files to the cloud, you need to install and configure the appropriate upload apps for your system. Start by downloading the apps recommended for your scanner and cloud service. Follow the setup prompts to connect the app to your cloud account, guaranteeing your login details are correct. During installation, consider user training to familiarize yourself with the app’s features and functions. This helps prevent mistakes and makes future uploads smoother. Additionally, embracing a mindset of positive thoughts can enhance your overall experience with the technology. Engaging with latest wall art trends can also inspire creativity in your digital presentations. Furthermore, understanding the importance of ethical consumer choices can guide you in selecting apps that respect your data privacy. Also, review access permissions carefully, granting only necessary rights to keep your files secure. Once installed and configured, test the app by uploading a sample file to confirm everything works correctly. Proper setup ensures seamless, secure, and efficient uploads moving forward. Additionally, ensuring your pool automation features are compatible with the upload apps can optimize your overall experience.

AMBER X Smart Personal Cloud Storage Device Data and Media Files, Built-in 512GB High-Speed SSD with USB Storage, Plex and Home Assistant/iOS/Android/Windows/Mac Compatible
Easy to Set Up and Use Home-based Personal Cloud Data Backup for All Your Smart Devices
As an affiliate, we earn on qualifying purchases.
As an affiliate, we earn on qualifying purchases.
Organize and Name Your Files for Easy Access

To make your files easy to find later, use consistent naming conventions that clearly describe each document. Organizing files by categories helps keep related items together and reduces search time. When you follow a structured system, accessing your files becomes quick and effortless.
Consistent Naming Conventions
Establishing consistent naming conventions for your files is essential for maintaining an organized and efficient cloud storage system. When you use clear, uniform file naming, locating and managing documents becomes easier. Stick to a simple format that includes dates, project names, or categories, and avoid special characters. This helps maintain a logical folder structure and ensures quick access. Here’s a helpful guide:
| Category | Example Format | Notes |
|---|---|---|
| Date | 2023-10-01 | Use ISO format for sorting |
| Project | ClientX_Report | Be specific about content |
| Version | v1, v2, final | Track revisions |
| Document | Invoice, Contract | Use descriptive terms |
| Status | Draft, Final | Indicate progress |
Consistent file naming simplifies your folder structure, making your cloud storage more accessible.
Organize by Categories
Organizing your files by categories streamlines your cloud storage system and makes finding documents faster. Clear categories help you manage user permissions and keep sensitive data protected through data encryption. When setting up, think about logical groupings like invoices, contracts, or personal documents. Consistent naming within each category ensures quick access and avoids confusion. To keep your system secure, assign user permissions based on categories, limiting access to sensitive files. Also, encrypt data within each category for added security. Here are three tips to get started:
- Create broad categories, then narrow down into subfolders.
- Use descriptive, consistent names for files and folders.
- Regularly review and update permissions and encryption settings.
Secure Your Files and Back Them Up Properly

Securing your files and backing them up correctly is essential to protect your data from loss or theft. Start by enabling file encryption to keep your scanned documents safe from unauthorized access. This adds a layer of protection, especially if your files contain sensitive information. Next, review and set access permissions for your cloud storage. Limit who can view, edit, or share your files to prevent accidental or malicious changes. Regularly back up your files to a secure location, such as an external drive or a different cloud service, to guarantee you always have a copy in case of hardware failure or cyber threats. Taking these steps helps keep your files safe, private, and accessible only to authorized users. Additionally, embracing inspiring leadership principles can guide you in implementing effective data management strategies that enhance overall security. Incorporating enterprise USB backups into your workflow can also provide an extra layer of redundancy for your critical files. It’s also beneficial to assess cloud security measures to ensure that your chosen service provider meets high standards for data protection. Consider including home inventory in your emergency planning to further safeguard your important documents and assets.
Troubleshooting Common Scan-to-Cloud Issues

Sure! Here’s your revised content with the requested modifications:
—
Even with proper security measures in place, you might encounter issues when scanning to the cloud. Common problems often relate to metadata management and user access. Here’s how to troubleshoot:
- Check user access permissions – Ensure everyone has the right level of access. Limited permissions can prevent files from uploading or syncing correctly. Proper cable safety practices can also help maintain a stable connection during the scanning process. Additionally, ensuring astrological compatibility is well integrated into your workflow can enhance overall productivity. Understanding coffee and tea pairings can provide a refreshing break during troubleshooting sessions.
- Verify metadata settings – Incorrect metadata management can cause sorting or retrieval issues. Double-check that your scanner or software tags files properly.
- Inspect network and device connectivity – Poor internet or device connection can interrupt the scan process. Restart your device or router if needed, and confirm the scanner is connected securely.
Additionally, understanding essential DIY tools can enhance your efficiency in managing these setups.
Address these areas to resolve most scan-to-cloud issues efficiently.
—
Let me know if you need any further adjustments!
Frequently Asked Questions
How Do I Choose the Best Cloud Storage Provider for My Needs?
To choose the best cloud storage provider, consider your needs for file encryption and storage limitations. Look for providers that offer strong encryption to keep your data secure. Also, check their storage limits to guarantee they match your current and future needs. Compare plans, costs, and features like ease of access and sharing options. Picking a provider that balances security and capacity helps you avoid surprises and keeps your files safe.
Can I Connect Multiple Scanners to the Same Cloud Account?
Think of your cloud account as a central hub, like a control tower guiding multiple planes—your scanners. Yes, you can connect multiple scanners to the same cloud account, creating a seamless multi-device setup. Just make certain scanner compatibility with your chosen cloud service, so each device communicates smoothly. With the right setup, your scanners work together harmoniously, sending files to a unified destination, like a well-orchestrated symphony.
What Should I Do if the Upload App Won’T Install?
If the upload app won’t install, start troubleshooting by checking app compatibility with your device’s operating system. Make sure your device meets the app’s minimum requirements. Restart your device and try reinstalling. If it still won’t install, update your OS and the app. Also, verify your internet connection. If issues persist, contact support or visit the app’s help page for specific troubleshooting steps.
How Do I Recover a File Accidentally Deleted From the Cloud?
Think of your cloud storage like a digital safety net—if you accidentally delete a file, don’t worry. For file recovery, check the trash or deleted items folder; most clouds keep deleted files temporarily. If it’s not there, use the cloud restoration option, which acts like a lifeline, restoring your file from a backup. Act quickly—timing is key to successful recovery and keeping your digital world intact.
Is There a Way to Automatically Organize Scanned Files?
Yes, you can set up automatic sorting for your scanned files to improve folder organization. Most scanning apps or cloud storage services offer features like automatic sorting into designated folders based on file type, date, or tags. By customizing these settings, you guarantee your scanned files are organized instantly upon upload, saving you time and reducing clutter. This way, your files stay systematically arranged without manual effort.
Conclusion
Now that you’ve mastered the essentials, your scan-to-cloud setup is like a well-tuned engine, smoothly driving your files to safety and accessibility. With a little attention, you’ll navigate any hurdles, ensuring your documents are as organized as a neatly stacked bookshelf. Think of this checklist as your road map—guiding you confidently through the digital landscape, turning what once seemed complex into a seamless journey. Your cloud storage adventure awaits—ready to propel your productivity forward.