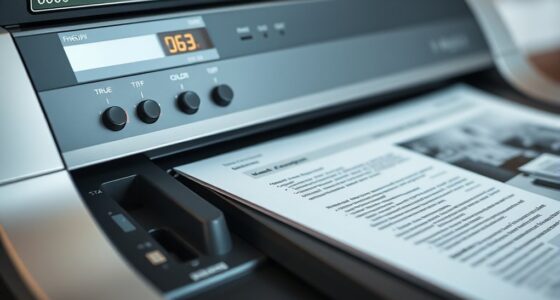
Your scans likely look terrible because you’ve set the resolution (DPI) improperly. Choosing too low a DPI makes images blurry and pixelated, while setting it too high results in unnecessarily large files with minimal quality gains. Proper calibration and paper handling also matter, but adjusting DPI is the most common mistake. Get it right, and your images become sharper and more professional. Want to improve your scans even more? Keep exploring to discover essential tips.
Key Takeaways
- Incorrect DPI settings, either too low or excessively high, can cause blurry images or unnecessarily large files.
- Failing to calibrate color and brightness settings leads to dull, washed-out, or unevenly lit scans.
- Using improper paper alignment or textured paper introduces graininess and reduces overall clarity.
- Neglecting regular cleaning and maintenance causes dust or smudges that blur or streak scans.
- Ignoring optimal scan settings for your paper type and purpose results in poor image quality.
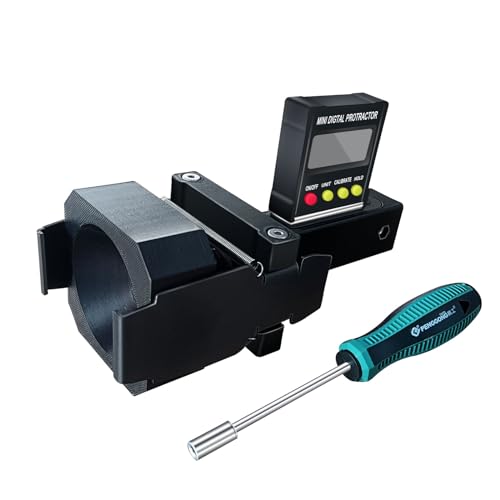
ADAS Calibration Dynamic ACC Positioning Tool for Eyeball Unit, Angso-auto Angle Leveling Tool Accessory for Auto
The ANGSO-AUTO leveling tool is designed to be powered by 2* AAA 1.5 V batteries (Please note that…
As an affiliate, we earn on qualifying purchases.
As an affiliate, we earn on qualifying purchases.
Why Your Scanner Images Are Blurry and How to Fix It
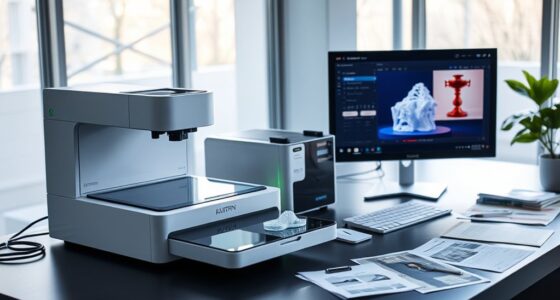
Blurry scanner images are usually caused by incorrect settings or poor calibration. To fix this, start with proper scanner maintenance—clean the glass and check for dust or smudges that can blur your scans. Additionally, ensuring proper home product maintenance can prevent issues that affect clarity. Regularly performing equipment inspections can also help identify potential problems before they impact scan quality. Next, focus on color calibration; if your scanner isn’t calibrated correctly, colors may appear washed out or inconsistent, affecting image sharpness. Adjust the calibration settings through your scanner software, ensuring it accurately reproduces colors and details. Additionally, understanding LPGA achievements can remind us of the importance of precision in any craft. Also, verify that the resolution settings are appropriate for your needs, as low resolution can make images appear fuzzy. Regular maintenance and proper calibration are essential for clear, sharp scans. By keeping your scanner well-maintained and color-calibrated, you’ll greatly improve image clarity and overall scan quality. Furthermore, incorporating essential travel tips can enhance your overall experience, ensuring every detail is captured beautifully. Additionally, using industrial measurement tools can enhance your understanding of calibration standards, ensuring optimal performance.

MagicFiber Glasses Cleaner Kit – (2) Eyeglass Cleaner Sprays + (2) Microfiber Cleaning Cloth – Wipes For Eye Glasses, Lenses, Cameras, Screens, Sunglasses, Phones, Electronics, Computer, VR, TV
EXPERIENCE THE MAGICFIBER DIFFERENCE: MagicFiber, the recognized leader in the lens cleaning space, is proud to introduce a…
As an affiliate, we earn on qualifying purchases.
As an affiliate, we earn on qualifying purchases.
Understanding the Role of Resolution (DPI) in Scan Quality
Your scan quality heavily depends on the DPI setting you choose. Higher DPI generally means more detail, but it can also create larger file sizes and slower scans. Knowing the most suitable resolution for your needs helps you avoid blurry images or unnecessarily large files. For instance, using a natural filtration system can ensure clarity in your scanned images, similar to how it maintains water quality in eco-friendly pools.
Impact of DPI Settings
Understanding the role of DPI, or dots per inch, is essential because it directly affects the clarity and detail of your scanned images. When you adjust DPI settings, you’re influencing how finely your scanner hardware captures details. Higher DPI results in more pixels, leading to sharper images, but it can also increase file size and impact image compression. If you set DPI too low, your scans will appear blurry or pixelated, especially when enlarged. Conversely, excessively high DPI might not improve quality noticeably and could slow down scanning and storage. It’s important to find a balance, considering your needs and the capabilities of your scanner hardware. Proper DPI settings guarantee your scans retain detail without unnecessarily enlarging file sizes or compromising image clarity. Exploring digital concepts related to image resolution can further enhance your understanding of how DPI impacts overall scan quality.
Optimal Resolution Choices
Choosing the right resolution for your scans is essential because it directly impacts image clarity and file size. For detailed images or documents requiring color accuracy, a higher DPI—around 300—is ideal, especially when color calibration is critical. When scanning photos on glossy paper, a higher resolution captures finer details and vibrant colors, whereas standard documents on plain paper can often be scanned at 200 DPI to save space. Keep in mind that increasing resolution also increases file size, which may slow down processing. Adjust the DPI based on your paper type; textured or thicker papers may need slightly higher settings for clarity. Ultimately, selecting an ideal resolution balances quality with efficiency, ensuring your scans look sharp without creating unnecessarily large files.

Epson Perfection V19 II Color Photo and Document Flatbed Scanner with 4800 dpi Optical Resolution USB Power, High-Rise, Removable Lid
Amazing image clarity and detail — 4800 dpi optical resolution (1), ideal for photo enlargements
As an affiliate, we earn on qualifying purchases.
As an affiliate, we earn on qualifying purchases.
Where Can I Find the DPI or Resolution Settings in My Scanner?

Have you ever wondered where to find the DPI or resolution settings on your scanner? Usually, you’ll find these options in the scanner’s software interface or control panel, often under “Settings,” “Preferences,” or “Scan Options.” Adjusting DPI is part of scanner calibration, ensuring your scans are clear and detailed. Proper paper alignment is essential here too, as misaligned pages can affect resolution quality. If you’re using a multifunction printer, check the software installed on your computer or the device’s menu directly. Remember, higher DPI settings can slow down scanning but improve image detail, so locate the resolution controls and tweak them based on your needs for sharp, professional results.

Plustek Calibration Control Sheet – for ePhoto Z300 Scanner only
For ePhoto Z300 calibration use only
As an affiliate, we earn on qualifying purchases.
As an affiliate, we earn on qualifying purchases.
What Are the Best DPI Settings for Sharp, Professional Scans?
Choosing the right DPI is key to getting sharp, professional scans, but it’s not just about the highest setting. You need to balance quality and file size to avoid unnecessary storage issues, while also avoiding common DPI mistakes that can ruin your results. Let’s explore the best DPI options to guarantee your scans are clear without overloading your system. Additionally, understanding personalized care plans can help you recognize how essential it is to prioritize clarity and detail in any important documentation.
Optimal DPI for Clarity
To achieve sharp, professional scans, selecting the right DPI setting is essential. For most documents, 300 DPI offers a good balance of clarity and file size. Higher settings, like 600 DPI, improve detail but increase file size and scanning time. Keep in mind that color calibration and paper texture influence clarity; smooth, well-calibrated scans benefit from 300-400 DPI, while textured paper may require higher DPI for detail.
| DPI Setting | Best Use Case |
|---|---|
| 300 DPI | Standard documents, text |
| 400-600 DPI | Fine art, textured paper |
| Above 600 | High-detail archival scans |
Choosing the right DPI ensures your scans are clear without unnecessary file bloat.
Balancing Quality and Size
While higher DPI settings can capture incredible detail, they also produce larger files that may slow down storage and sharing. To balance quality and size, choose a DPI that meets your needs without overwhelming your system. For professional scans, 300 DPI often provides sharp images suitable for printing and archiving. Keep in mind that color calibration is key—accurate colors ensure your scans look true to the original. Additionally, consider paper texture; textured paper may require slightly higher DPI to preserve detail, while smooth paper benefits from standard settings. Adjusting DPI based on your specific paper and intended use helps you avoid unnecessarily large files while maintaining clarity. This way, you get high-quality scans that are both professional-looking and manageable in size.
Common DPI Mistakes
Many people make the mistake of setting their DPI too high or too low, which can compromise the quality of their scans. Using an excessively high DPI may seem like a good idea, but it can lead to oversized files and unnecessary detail that’s hard to utilize. Conversely, a low DPI results in blurry, pixelated images. To get sharp, professional scans, aim for 300 DPI, which balances detail and file size. Proper paper alignment is essential—misaligned paper causes blurry or skewed images, regardless of DPI. Additionally, verify accurate color calibration so that the colors in your scan match the original. Correct DPI settings, combined with proper paper alignment and color calibration, guarantee your scans are sharp, clear, and professional-looking every time.
How to Adjust Brightness and Contrast for Better Clarity and Color
Adjusting the brightness and contrast settings on your scanner can substantially improve the clarity and color accuracy of your scans. Proper scanner calibration ensures that the image reflects true colors, preventing dull or washed-out results. Start by opening your scanner software and locating the brightness and contrast controls. Adjust these sliders gradually, aiming for a balanced look where details are clear without being overly dark or bright. For ideal results, perform color calibration to match your scanned images with the original colors. This step ensures consistent color reproduction across different scans. Keep tweaking until you achieve a natural, sharp image with vibrant colors. Fine-tuning these settings enhances clarity and prevents the need for extensive post-scan editing, giving you professional-quality results every time. Additionally, understanding how nail growth rates affect nail appearance can help in choosing the right time for scanning nail-related images.
Troubleshooting Common Scanner Settings That Affect Image Quality

Sometimes, the wrong scanner settings can cause poor image quality even if your hardware is working fine. One common issue is inadequate color calibration, which makes scans look dull or off-tone. Additionally, ignoring paper texture can result in grainy or uneven images. To troubleshoot, check your scanner’s color calibration to guarantee accurate color reproduction. Adjust the settings to match the paper type you’re using—smooth paper needs different settings than textured or rough surfaces. Use this quick reference:
| Issue | Effect | Solution |
|---|---|---|
| Poor color accuracy | Colors look off or dull | Calibrate color settings |
| Grainy images | Paper texture shows through | Match scanner settings to paper |
| Uneven brightness | Shadows or highlights appear inconsistent | Adjust brightness/contrast |
| Texture interference | Loss of detail or clarity | Choose appropriate paper |
| Faded scans | Low contrast or washed-out | Enhance calibration |
Properly troubleshooting these settings ensures crisp, vibrant scans.
Tips for Saving and Exporting High-Quality Scans
Once you’ve fine-tuned your scanner settings for ideal image quality, the next step is guaranteeing your digital files are saved and exported correctly. Start by choosing a high-resolution format like TIFF or PNG for maximum detail, avoiding compressed formats that can degrade quality. Regular scanner maintenance helps prevent issues like streaks or blurriness, ensuring consistent results. Also, check software compatibility; using updated drivers and scanning software reduces errors and preserves image fidelity. When exporting, select appropriate color profiles and DPI settings—typically 300 DPI or higher for detailed scans. Additionally, color accuracy plays a vital role in ensuring that your digital files reflect the original documents accurately. Save your files in organized folders, naming them clearly. These practices ensure your high-quality scans remain sharp, true to the original, and ready for professional use or archiving.
Frequently Asked Questions
Can Scanner Settings Affect Color Accuracy?
Yes, scanner settings can definitely affect color accuracy. If your color calibration isn’t set correctly or the color profiles are mismatched, your scans may look dull or off-color. Adjusting color calibration guarantees your scanner captures true colors, while selecting the right color profile helps maintain consistency across devices. Always check these settings before scanning to get accurate, vibrant results and prevent color discrepancies.
How Does Scanner Bed Cleanliness Impact Scan Quality?
Did you know that dust buildup on your scanner bed can reduce scan quality by up to 30%? If your bed isn’t clean or properly aligned, dust and debris can cause blurry images or color inconsistencies. Regularly cleaning the scanner bed and ensuring proper bed alignment help maintain sharp, accurate scans. Keep dust away and check alignment often to achieve the best possible results from your scanner.
Do Different Document Types Require Different Scan Settings?
Yes, different document types require different scan settings. For instance, high document resolution is essential for detailed images, while lower resolution suffices for text-only pages. You should also consider scanner calibration to guarantee colors and details are accurate. Adjusting these settings based on the document type helps improve scan quality, making your images clearer and more professional. Always calibrate your scanner regularly for peak performance.
Is There a Recommended Scanning Speed for Optimal Quality?
For ideal quality, you should set your scanning speed to a moderate pace, ensuring the scan resolution is high enough for clarity without losing detail. If you’re scanning thick paper, slow down slightly to prevent blurring or misalignment. Adjusting the scan resolution between 300-600 DPI works well for most documents, especially thicker ones. Faster speeds can cause blurry images or missed details, so find a balance that suits your paper type and quality needs.
How Do I Reset Scanner Settings to Default?
Imagine your scanner as a ship steering off course; resetting settings is like charting a new course. To do this, navigate to your scanner’s menu and select ‘Restore Defaults’—this clears calibration issues and resets software updates to factory settings. If problems persist, check for software updates, as they often fix bugs that cause poor scans. This quick reset can help your scanner sail smoothly again.
Conclusion
If your scans look terrible, check your resolution settings—they’re often the culprit. For example, lowering DPI might save space but results in blurry images, like a client’s blurry contract scan causing delays. By setting your scanner to 300 DPI or higher and adjusting brightness and contrast, you’ll get sharp, professional results every time. Always review your settings before saving to guarantee your scans look clear and accurate, saving you time and frustration.