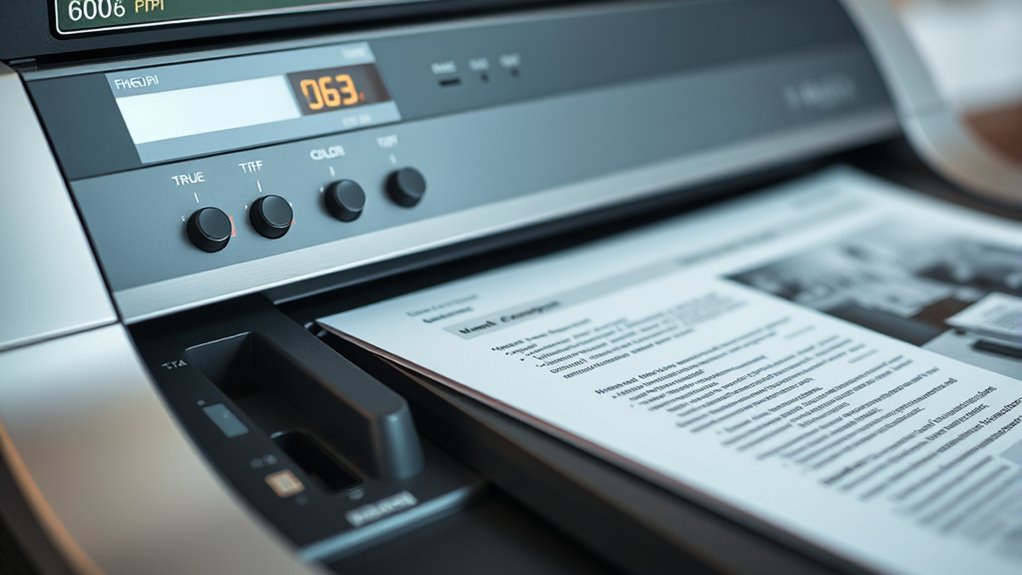

For high-quality scans, set your resolution to 300 dpi for most documents or higher for detailed images. Calibrate your scanner regularly to guarantee accurate colors, preventing dull or oversaturated results. Choose lossless formats like TIFF or PNG to preserve detail, or JPEG if you need smaller files, but keep compression low. Adjusting these settings carefully will give you sharp, true-to-life digital copies, and exploring further will help you master ideal scanning techniques.
Key Takeaways
- Use 300 dpi for general documents and 600 dpi or higher for detailed images or photographs.
- Calibrate your scanner regularly to ensure accurate color reproduction.
- Choose lossless formats like TIFF or PNG for high-quality preservation; use JPEG for smaller file sizes with some quality loss.
- Adjust resolution and color settings based on the intended use to balance quality and file size.
- Proper calibration and format selection help produce professional, durable digital copies with accurate colors and sharp details.

Have you ever wondered how to get the best quality from your scanner? Achieving optimal results depends on understanding and adjusting key settings like resolution, color calibration, and file formats. When you set the right resolution, your scanned images will be sharp and detailed, but going too high can create unnecessarily large files. For most documents, 300 dpi strikes a good balance, while photos might benefit from 600 dpi or higher to capture fine details. Remember, higher resolutions increase file size and processing time, so choose wisely based on your needs.
Color calibration is another crucial step in ensuring your scans look true to life. If your scanner isn’t properly calibrated, colors can appear dull, oversaturated, or inaccurate, which affects the overall quality. Many scanners come with built-in calibration tools or software that guides you through the process. Regular calibration ensures consistent color reproduction, especially important if you’re scanning images for professional use or archiving. Accurate color calibration helps maintain the fidelity of your originals, whether you’re digitizing artwork, photographs, or colorful documents.
File formats also play a vital role in preserving quality and managing file size. When selecting a file format, consider your purpose. For high-quality archiving or editing, formats like TIFF or PNG are ideal because they support lossless compression, retaining all image details without degradation. JPEGs, on the other hand, offer smaller file sizes but do so through lossy compression, which can diminish quality if you’re not careful with compression levels. Always choose a format that balances quality with your storage constraints. For text documents, PDF might be more appropriate, especially if you need to preserve formatting and multiple pages.
Additionally, understanding the importance of net worth and financial planning can influence the quality of your professional equipment, including scanners. Combining good scanning practices with the right file formats and consistent color calibration guarantees your scans will be crisp, accurate, and usable across various applications. Before you scan, set your resolution based on the intended use, ensure your scanner’s color calibration is up to date, and select the appropriate file format for your project. These small adjustments can substantially elevate the quality of your digital reproductions, making your scanned images look professional and true to the originals. By paying attention to these details, you’ll ensure your scanning process produces results that meet your expectations and stand the test of time.

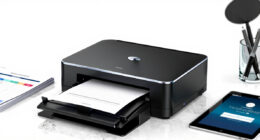
Canon Canoscan Lide 300 Scanner (PDF, AUTOSCAN, Copy, Send)
Scanner type: Document
As an affiliate, we earn on qualifying purchases.
As an affiliate, we earn on qualifying purchases.
Frequently Asked Questions
How Do I Choose the Best Resolution for Different Document Types?
You should choose resolution guidelines based on your document types. For text-heavy documents, 300 dpi usually suffices for clarity. For detailed images or graphics, opt for 600 dpi or higher to capture fine details. Always consider how you’ll use the scan—archiving, printing, or sharing. Adjust the resolution accordingly, ensuring it meets your needs without creating unnecessarily large files. This way, your scans stay clear and efficient.
What Color Settings Are Ideal for Photographs Versus Textual Documents?
Imagine your scanner as an artist’s palette. For photographs, you’ll want vibrant color calibration, capturing every hue like a painter blending shades, ensuring rich, true-to-life images. For textual documents, switch to monochrome scanning, like a black-and-white sketch, to save space and focus on clarity. This approach keeps your images sharp and true, whether you’re preserving a colorful family photo or a simple typed page.
Which File Format Offers the Best Balance Between Quality and File Size?
You should choose JPEG for the best balance between quality and file size. It uses file compression that maintains good image fidelity while reducing file size, making it ideal for photos. However, if you need higher image quality with less compression, PNG offers lossless compression with better fidelity but larger files. Both formats help you optimize storage without sacrificing too much detail, depending on your specific needs.
How Do I Adjust Scanning Settings for Fragile or Damaged Documents?
To scan fragile or damaged documents, you should adjust your settings to prioritize document preservation. Use a low resolution, around 300 dpi, to prevent further damage, and select a gentle, handling technique to avoid tearing. Always handle documents carefully, support weak areas, and use gloves if necessary. These handling techniques help protect your documents while ensuring you capture a clear digital copy without causing additional harm.
Can I Automate Scanning Settings for Batch Processing?
Yes, you can automate scanning settings for batch processing by creating preset configurations. Most scanners and scanning software let you save automated setting presets, which you can apply to multiple documents easily. Incorporate these into your batch scanning workflows to save time and guarantee consistent quality. Just select your preset before starting the batch scan, and the software automatically applies your optimized resolution, color, and format settings.

Plustek Calibration Control Sheet – for ePhoto Z300 Scanner only
For ePhoto Z300 calibration use only
As an affiliate, we earn on qualifying purchases.
As an affiliate, we earn on qualifying purchases.
Conclusion
By choosing the right resolution, color mode, and format, you can guarantee your scans are clear and useful. Did you know that 80% of scanned documents are stored digitally for easier access and sharing? Adjusting your settings properly not only saves time but also improves your workflow. So next time you scan, remember these tips to get high-quality results that meet your needs and keep your digital files organized and sharp.

Photo Scanner, ABS 3 Resolution Modes Document Scanner Multiple File Formats Supported Easy Using for Insurance Business (Red)
Easy To Use: This portable scanner is easy to use with no drivers and no installation of software…
As an affiliate, we earn on qualifying purchases.
As an affiliate, we earn on qualifying purchases.

Epson FastFoto FF-680W Wireless High-Speed Photo and Document Scanning System, Black
World’s Fastest Personal Photo Scanner (1) — scan thousands of photos as fast as 1 photo per second…
As an affiliate, we earn on qualifying purchases.
As an affiliate, we earn on qualifying purchases.