
To integrate a document camera with presentation software, start by checking its compatibility with your device and software—updates and drivers may be needed. Connect the camera via USB, HDMI, or wireless, then open your presentation platform and select the camera as a source. Use built-in features like zoom, rotate, and annotate to enhance your display. Ensuring smooth integration can improve your presentation flow—continue exploring the steps to make the most of your setup.
Key Takeaways
- Verify device compatibility with your presentation software and operating system before setup.
- Use appropriate connection methods like USB, HDMI, or wireless for seamless integration.
- Install necessary drivers or software updates to ensure proper functionality of the document camera.
- Utilize built-in features such as zoom and annotation to enhance live demonstrations during presentations.
- Test the setup in advance to troubleshoot potential issues and ensure smooth, professional delivery.

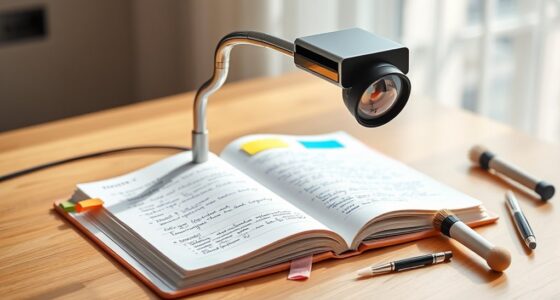
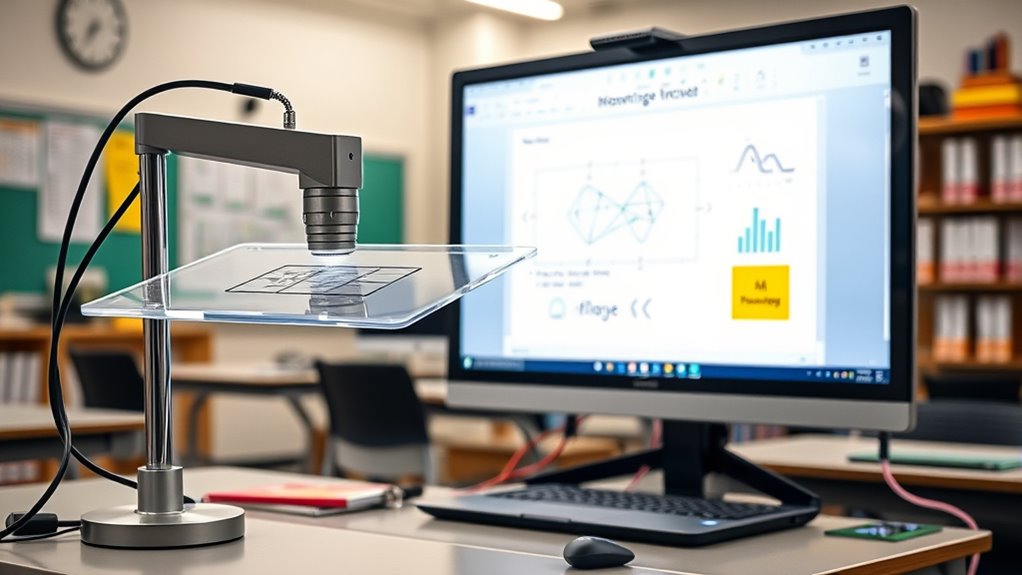
Document cameras integrated with presentation software are transforming the way educators and professionals share visual content. With a simple connection, you can display detailed documents, objects, or even live demonstrations directly onto your screen, making lessons or presentations more engaging and interactive. These tools are designed to work seamlessly with various presentation platforms, allowing you to enhance your teaching or presentation flow effortlessly. One of the key advantages is the array of interactive features that modern document cameras offer. You can zoom in on small details, rotate images, or even annotate directly onto the live feed, giving your audience a more dynamic experience. These features help clarify complex concepts, whether you’re showing students handwritten notes, scientific specimens, or intricate artwork. The interactive capabilities make your presentations more engaging, encouraging participation and better comprehension. Additionally, many document cameras now incorporate Self Watering Plant Pots technology, allowing for more versatile demonstrations involving real-time plant care or scientific experiments, which can enrich your teaching experience.
However, integrating document cameras with presentation software isn’t always without hurdles. Compatibility issues can arise, especially when trying to connect different brands or older hardware to newer software versions. Some document cameras might require specific drivers or software updates to function properly with your chosen platform. If your hardware isn’t compatible, you might face delays or frustration in setting up your presentation. Before making a purchase or connecting your device, it’s essential to verify compatibility with your operating system and presentation software. Many manufacturers now provide detailed compatibility lists or offer universal drivers, but it’s wise to double-check to avoid surprises during critical moments.
Additionally, compatibility problems can sometimes lead to lag or poor image quality during your presentation. This is especially true if your device’s specifications don’t meet the software’s requirements or if there are conflicts with other peripherals. To minimize these issues, ensure your system is updated and that your device’s drivers are current. Sometimes, a simple software update or switching to a different connection method (USB, HDMI, or wireless) can resolve these conflicts. Taking these precautions can help you deliver smooth, professional presentations without technical interruptions.

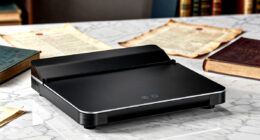
Epson Workforce ES-580W Wireless Color Duplex Tax Receipt & Desktop Document Scanner for PC and Mac with 100-sheet Auto Feeder (ADF), Intuitive 4.3' Touchscreen
EFFORTLESS WIRELESS SCANNING – With a 4.3" touchscreen and wireless connectivity, this high-speed scanner sends scans straight to...
As an affiliate, we earn on qualifying purchases.
Frequently Asked Questions
How Do I Troubleshoot Connectivity Issues Between the Document Camera and Software?
When troubleshooting connectivity issues, start by checking your cable management to guarantee all cables are securely connected. Restart both your device and the document camera. Make sure your software is up to date with the latest updates, as outdated versions can cause connection problems. If issues persist, try using a different cable or port. These steps help resolve most connectivity issues efficiently, ensuring smooth operation with your presentation software.
Can I Record or Save Images Directly From the Document Camera?
Think of your document camera as a digital artist’s canvas. Yes, you can save images directly from it and use recording functions to capture live footage. Most models have dedicated buttons or menu options for saving images and recording videos. Check your camera’s settings or user manual to locate these features. With a few taps, you can preserve your work instantly, making it easy to review or share later.
What Compatibility Options Are Available for Different Operating Systems?
When considering operating system compatibility, you’ll find options vary depending on your device. Many document cameras support Windows, macOS, and sometimes Linux, offering broad software integration options. To guarantee smooth use, check the camera’s compatibility list and software requirements. You can usually find drivers or dedicated apps that work with your OS, making it easy to connect and utilize your document camera efficiently across different platforms.
How Do I Adjust Image Quality Settings During a Presentation?
Think of your presentation as a canvas, where image resolution and color calibration are your brushstrokes. To adjust image quality, access your document camera’s settings menu, often found in the software toolbar. Look for options labeled ‘resolution’ or ‘quality,’ and refine these to enhance clarity. Calibrate colors if needed, ensuring your images are vibrant and true to life, making your message more compelling and visually engaging.
Are There Any Best Practices for Integrating Multiple Cameras Into One Presentation?
When integrating multiple cameras into one presentation, you should carefully consider camera placement to guarantee clear, focused visuals. Position each camera strategically to cover different angles or subjects without cluttering the screen. Maintain a smooth presentation flow by switching between cameras seamlessly, using software features or hardware controls. Practice beforehand to coordinate changes smoothly, keeping your audience engaged and making sure each camera’s view enhances your overall message.

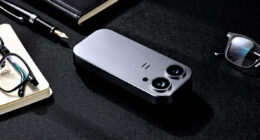
Epson WorkForce ES-50 Portable Sheet-Fed Document Scanner for PC and Mac
Fastest and lightest mobile single sheet fed document scanner in its class(1) small, portable scanner ideal for easy,...
As an affiliate, we earn on qualifying purchases.
Conclusion
By seamlessly integrating document cameras with presentation software, you open the door to a more engaging and dynamic teaching experience. This approach gently elevates your instructional methods, allowing for clearer demonstrations and richer interactions. Embracing this technology subtly enhances your ability to connect with your audience, making complex concepts more accessible. Ultimately, it’s a refined way to foster understanding and inspire curiosity, creating a more polished and professional learning environment that benefits everyone involved.

Epson Workforce ES-400 II Color Duplex Desktop Document Scanner for PC and Mac with Auto Doc Feeder (ADF), Image Adjustment Tools
FAST DOCUMENT SCANNING – Speed through stacks with the 50-sheet Auto Document Feeder, perfect for office scanning and...
As an affiliate, we earn on qualifying purchases.

ScanSnap iX2500 Wireless or USB High-Speed Cloud Enabled Document, Photo & Receipt Scanner with Large 5" Touchscreen and 100 Page Auto Document Feeder for Mac or PC, Black
OUR MOST ADVANCED SCANSNAP. Large touchscreen, fast 45ppm double-sided scanning, 100-sheet document feeder, Wi-Fi and USB connectivity, automatic...
As an affiliate, we earn on qualifying purchases.