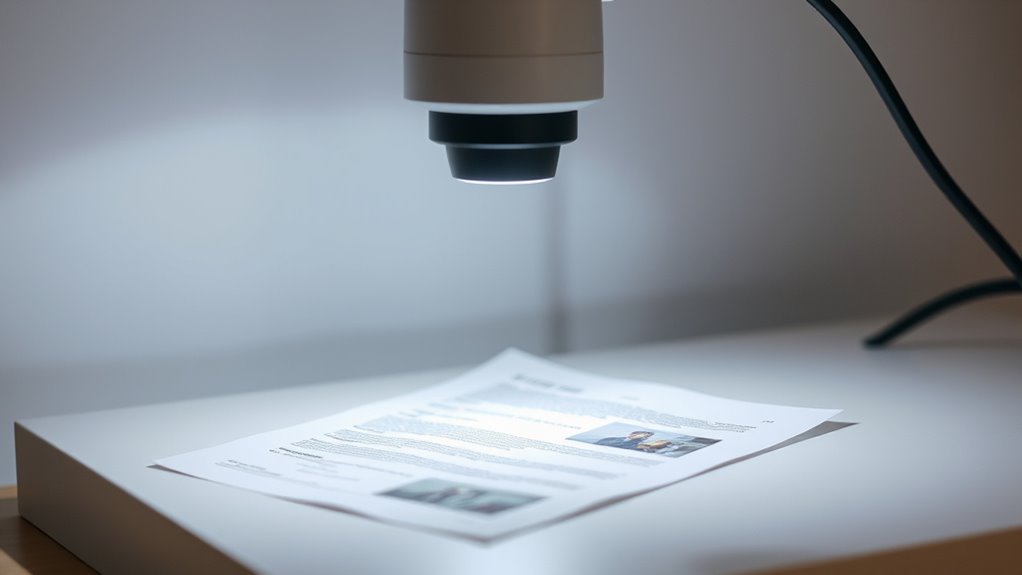

To get clear, detailed images with your document camera, position it directly above your subject at a perpendicular angle. Use soft, diffuse lighting from two or more sources placed on either side, angled to reduce glare, reflections, and shadows. Adjust the brightness and distance of your lights to avoid hotspots and uneven lighting. Proper camera height and focus are also key. Keep experimenting with angles and lighting setups, and you’ll uncover even better results as you go.
Key Takeaways
- Position the camera directly above the document at a perpendicular angle to minimize distortion and ensure full coverage.
- Use diffuse, soft white light sources on either side of the document to evenly illuminate and reduce glare.
- Adjust light angles away from the surface to minimize reflections and shadows that obscure details.
- Experiment with light placement and distance to achieve uniform brightness and prevent hotspots or shadows.
- Ensure consistent, even lighting to improve clarity, detail, and overall image quality without needing extensive editing.
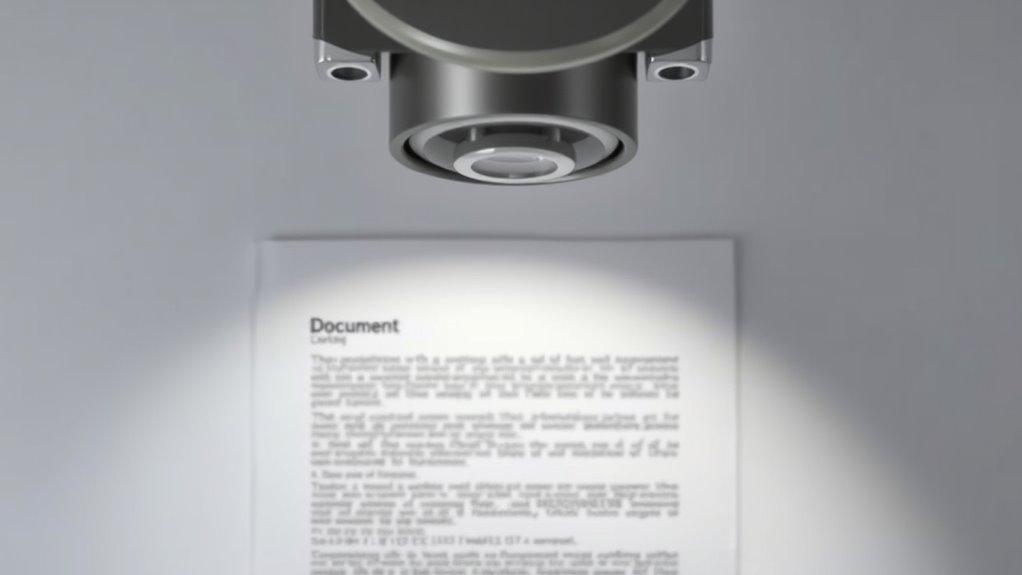
Good lighting and proper angles are essential for guaranteeing your document camera captures clear, detailed images. The way you position your camera, along with your lighting techniques, directly impacts the quality of what you display. To get the best results, start by paying close attention to camera positioning. You want the camera to be at an ideal height and angle so that it captures the entire document or object without distortion or shadows. Usually, placing the camera directly above the subject, with a perpendicular angle, minimizes skew and ensures the image appears natural and easy to read. Adjusting the camera’s zoom and focus settings beforehand helps maintain clarity and sharpness, especially when working with detailed diagrams or small text. Proper camera placement can also help reduce the need for post-processing adjustments later.
Lighting techniques are just as critical as camera positioning. You should aim for even, diffuse lighting that reduces glare and shadows, which can obscure details. Natural light is often the best option if available, but if you’re indoors, use soft, white light sources placed on either side of the document. Avoid direct overhead lighting that can create harsh shadows or reflections. Instead, use multiple light sources positioned at angles that eliminate shadowed areas. A common approach is to use adjustable desk lamps with diffusers or softboxes, which spread light evenly across the surface. Remember, the goal is to illuminate the document without washing out details or creating glare spots that interfere with clarity.
Experiment with different lighting angles to find what works best for your environment. Slightly angling the lights away from the surface can help reduce reflections, while ensuring the light hits the document at a gentle angle to prevent glare. The distance of your lights from the subject also matters—placing them too close can cause hotspots, while too far away might lead to insufficient illumination. Adjusting the brightness and color temperature of your lights can further enhance visibility, making sure colors appear natural and details stand out. Additionally, understanding the role of lighting techniques can greatly improve your image quality.
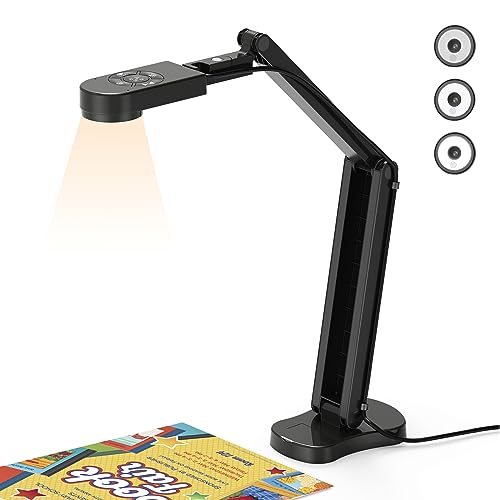
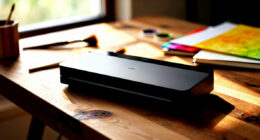
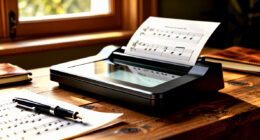
THUSTAR 8MP Document Camera & Webcam 4K with Dual Microphones, USB Visualiser A3-Size, 3-Level LED Lights, Image Invert Function, Fold, for Live Demo, Distance Education -Windows, macOS and Chrome OS
USB Document Camera with adjustable image reversal: The camera that can manually adjust image reversal. In video chat…
As an affiliate, we earn on qualifying purchases.
As an affiliate, we earn on qualifying purchases.
Frequently Asked Questions
How Does Ambient Room Lighting Affect Document Camera Clarity?
Ambient room lighting greatly impacts your document camera clarity by affecting lighting consistency and color accuracy. Too much uneven light causes glare and shadows, making images less clear. Bright, steady lighting helps maintain consistent brightness and true colors, ensuring your documents look sharp and accurate. By controlling ambient light, you improve clarity, making it easier for viewers to see details without distractions or distortions caused by poor lighting conditions.
What Are Common Mistakes When Adjusting Camera Angles?
When adjusting camera angles, you often make mistakes like not securing the tripod properly, which affects stability, or setting the camera tilt at an awkward angle that distorts the image. You might also forget to level the camera, resulting in crooked shots. Always guarantee your tripod is stable and the camera tilt is smooth. Double-check the angle before recording to avoid blurry or skewed images, ensuring clear, professional results.
Can External Lighting Sources Improve Image Quality Significantly?
Think of your camera as a window into clarity; external lighting can turn that window into a crystal-clear portal. Yes, LED lighting enhances image quality by illuminating details that might otherwise stay hidden. Proper camera positioning combined with well-placed external lights creates a harmony that sharpens focus and reduces shadows. So, yes, adding external sources like LED lighting can markedly improve your document camera’s image, making every detail pop with clarity.
How Do Reflections Impact Document Camera Visibility?
Reflection issues can seriously impact your document camera visibility by creating glare and obscuring details. To minimize this, you should use glare reduction techniques like adjusting the angle to avoid direct reflections and controlling ambient light sources. By managing reflections effectively, you guarantee a clearer, more consistent image, making it easier for your audience to see every detail without distraction or distortion caused by unwanted reflections.
Are There Specific Angles to Avoid for Optimal Focus?
To guarantee ideal focus, you should avoid angles that cause angle distortion, which can blur or obscure details. Stay within focus zones, where the camera maintains clear, sharp images. Avoid extreme tilts or angles that create glare or shadow, as these disrupt clarity. By keeping the document flat and viewing it head-on, you minimize distortion and assure the camera captures the content accurately and clearly at all times.

LitONES LED Desk Lamp for Home Office – Professional Eye-Caring Soft Diffused Light, Dimmable Desk Lamp with Adjustable Metal Swing Arm, Memory & Timer, Modern Anti-Glare Table Lamp
【More than a Desk Light】This office lamp isn't just for brightening your workspace—it's designed to brighten you, too….
As an affiliate, we earn on qualifying purchases.
As an affiliate, we earn on qualifying purchases.
Conclusion
By mastering proper lighting and angles, you can make your document camera as clear as a crystal lake. Think of your setup as a lighthouse guiding viewers to sharp, vivid images. Keep the lighting even and avoid shadows, while experimenting with angles until you find what works best. With a little practice, your document camera will become as reliable and bright as a guiding beacon, ensuring your audience sees every detail perfectly.

Skytex Softbox Lighting Kit(1-2Pack),16x16in Soft Box|Upgrade 135W 2700-6400K 100V-240V E27 LEDBulb Continuous Photography Lighting,Photo Studio Light Equipment for Camera Shooting Video Recording
Comprehensive Studio Softbox Light Kit:Includes 16" x 16"/40cm x 40cm Softbox +135W 2700-6400K 100V-240V LED Light Bulb +…
As an affiliate, we earn on qualifying purchases.
As an affiliate, we earn on qualifying purchases.
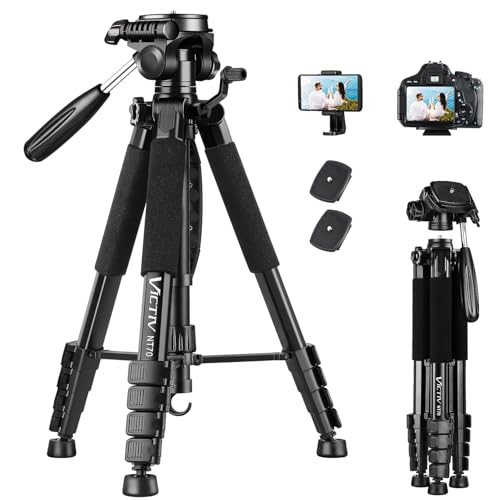
VICTIV 74” Camera Tripod, Tripod for Camera and Phone, Aluminum Professional Tripod Stand for Canon Nikon with Carry Bag and Phone Holder, Compatible with DSLR, iPhone, Spotting Scopes, Max Load 9.5Lb
【74 Inch Tall Tripod and Compact Tripod】 This tall camera tripod has a height adjustment range of 19-74…
As an affiliate, we earn on qualifying purchases.
As an affiliate, we earn on qualifying purchases.