
To integrate your document camera with a video conferencing platform, start by connecting the camera to your computer via USB and ensuring it’s recognized in your system settings. Next, select the camera as your video source in the conferencing app’s settings. Adjust the camera’s position, focus, and lighting for clarity, and explore any annotation features for interactive presentations. If you keep exploring, you’ll discover how to optimize your setup for maximum engagement and professionalism.
Key Takeaways
- Connect the document camera via USB or HDMI to your computer and ensure device drivers are properly installed.
- Verify that the video conferencing platform recognizes the document camera as a video source in settings.
- Adjust camera positioning, focus, and lighting for clear, detailed visuals before starting the call.
- Enable or select the document camera as the active video input within the conferencing software.
- Use digital annotation features to highlight and explain content directly on the live camera feed during meetings.
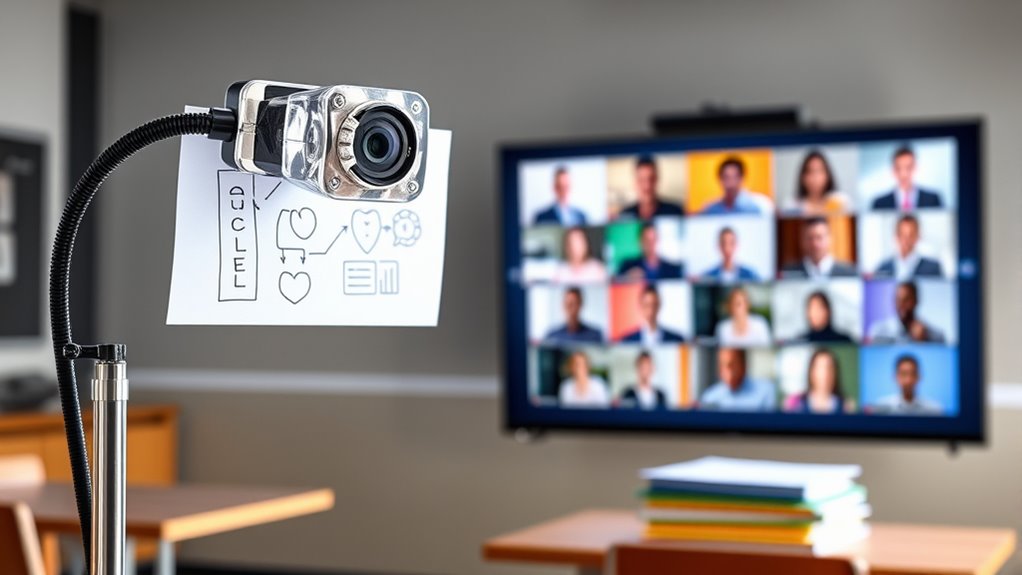
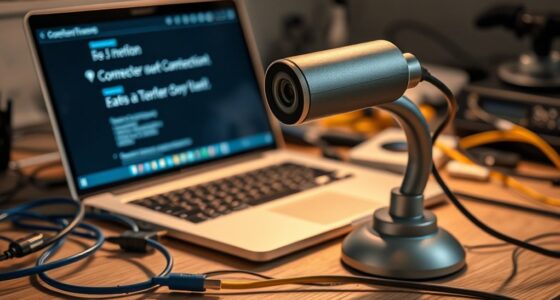
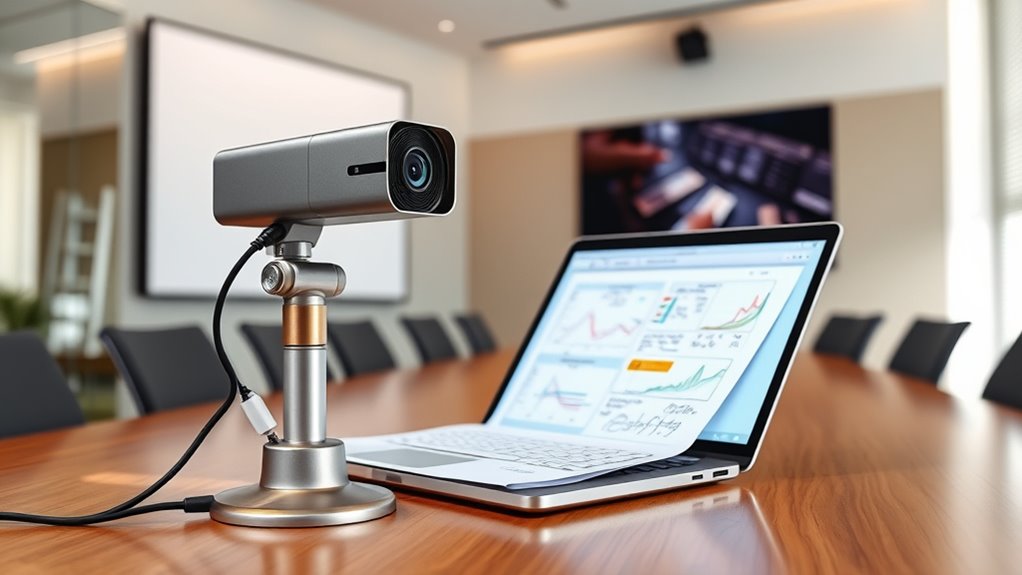
In today’s classrooms and meeting rooms, document cameras and video conferencing tools have become essential for effective communication and collaboration. When you integrate a document camera with your video conferencing platform, you open up dynamic ways to share visual information instantly. A key part of this process is setting up your camera correctly, which involves a proper camera setup to guarantee clear, high-quality images. You want to position the camera at the right angle, adjust focus, and guarantee good lighting so your audience can see every detail. Once your camera is properly configured, it becomes a powerful tool for real-time digital annotation. With digital annotation features, you can highlight, underline, or add notes directly onto the live image displayed through the camera. This capability allows you to emphasize important points during a presentation or lesson, making your communication more interactive and engaging.
When setting up, make sure your camera is connected seamlessly to your computer or device, and that your video conferencing platform recognizes it correctly. Many platforms support plug-and-play functionality, but double-checking your device settings can prevent interruptions. Use the camera setup process to fine-tune resolution and frame rate, ensuring the captured image is crisp and clear. If your camera has adjustable zoom or focus, experiment with these features beforehand so you’re ready to present smoothly. Once everything is configured, you can start sharing live images of documents, objects, or handwritten notes directly on your screen, enhancing visual clarity. Additionally, understanding the importance of a well-planned camera setup can significantly improve the quality of your presentations and interactions.
Digital annotation becomes especially useful in educational settings or collaborative meetings. Instead of describing complex ideas verbally, you can draw or write directly onto the live feed, helping your audience understand concepts more intuitively. This interactive element encourages participation and keeps everyone focused. Additionally, many advanced document cameras support multi-user annotations, allowing multiple participants to contribute simultaneously, which fosters collaboration.
Incorporating a well-planned camera setup and digital annotation capabilities into your video conferencing workflow transforms static presentations into lively, visually rich exchanges. It saves time by eliminating the need to switch between screens or share multiple files, as everything is captured in real-time through your camera. Your audience benefits from clearer visuals, more engaging explanations, and a higher level of interaction. Ultimately, mastering your camera setup and leveraging digital annotation tools makes your virtual communication more effective, professional, and memorable.

CZUR Shine Ultra Smart Portable Document Scanner, Thin Book Scanner with OCR, USB Document Camera for Desktop/Laptop, Capture Size A3, Compatible with Windows & Mac OS (Not for Android & iOS)
Design and Speed: Work with Windows XP/7/8/10/11 AND macOS 10.13 or later. Not compatible with Android and iOS....
As an affiliate, we earn on qualifying purchases.
Frequently Asked Questions
How Do I Troubleshoot Audio Issues With My Document Camera?
If you’re facing audio troubleshooting or microphone issues with your document camera, start by checking the microphone connection and ensuring it’s properly plugged in. Confirm the device is selected as the default microphone in your system settings and video conferencing app. Test the microphone with another app to verify it’s working. If problems persist, update your audio drivers or restart your device. These steps should help resolve most audio issues quickly.
What Security Measures Are Available When Sharing Document Camera Feeds?
You can enhance security when sharing document camera feeds by implementing encryption protocols, which protect the data from unauthorized access. Additionally, set up access controls to restrict who can view or share the feeds, ensuring only authorized users have permission. Regularly update your software and use strong, unique passwords. These measures help safeguard sensitive content and prevent potential security breaches during live sharing sessions.
Can Multiple Document Cameras Be Integrated Into One Platform Simultaneously?
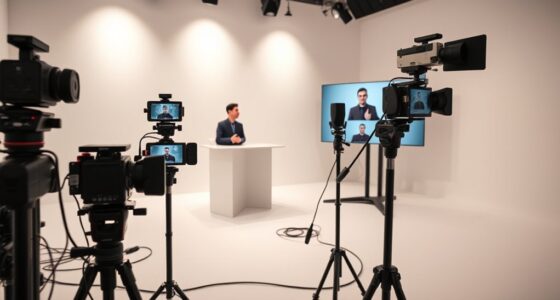
You can absolutely set up a multi-camera system for simultaneous streaming on one platform. This multi-camera setup allows you to seamlessly switch between multiple document cameras, giving your audience a richer experience. As you manage these feeds, you’ll notice how easy it becomes to showcase different materials or angles at once. This flexibility enhances your presentations, making your sessions more engaging, interactive, and professional—turning a simple lecture into a dynamic visual experience.
How Do I Adjust Camera Settings for Optimal Image Quality During a Call?
To adjust your camera settings for ideal image quality during a call, start by setting the camera resolution to its highest setting for clearer images. Then, make lighting adjustments by increasing brightness or repositioning lights to reduce shadows and glare. Make sure your camera is focused properly. Test these settings before the call to confirm your document or object appears sharp, well-lit, and professional, enhancing overall clarity during your presentation.
Are There Compatibility Concerns With Specific Video Conferencing Software?
Imagine your document camera as a clear window, seamlessly sharing visuals. Compatibility concerns often stem from software compatibility and outdated device drivers. You may find that some platforms won’t recognize your device or require specific drivers. To avoid issues, guarantee your software supports your camera model and keep device drivers updated. This way, your document camera works smoothly, delivering crisp images during every video call without hiccups.

Epson Workforce ES-580W Wireless Color Duplex Tax Receipt & Desktop Document Scanner for PC and Mac with 100-sheet Auto Feeder (ADF), Intuitive 4.3' Touchscreen
EFFORTLESS WIRELESS SCANNING – With a 4.3" touchscreen and wireless connectivity, this high-speed scanner sends scans straight to...
As an affiliate, we earn on qualifying purchases.
Conclusion
By integrating document cameras with your video conferencing setup, you turn your meetings into a seamless dance of visuals and ideas. This technology acts like a bridge, bringing your physical documents to life in the digital world with clarity and ease. As you master this integration, you’ll find your presentations more engaging and interactive. Embrace this synergy, and watch your virtual meetings transform into vibrant, collaborative spaces where ideas flow effortlessly like a well-choreographed performance.

Brother DS-640 Compact Mobile Document Scanner, (Model: DS640)
FAST SPEEDS - Scans color and black and white documents a blazing speed up to 16ppm (1). Color...
As an affiliate, we earn on qualifying purchases.

Epson WorkForce ES-50 Portable Sheet-Fed Document Scanner for PC and Mac
Fastest and lightest mobile single sheet fed document scanner in its class(1) small, portable scanner ideal for easy,...
As an affiliate, we earn on qualifying purchases.