
To create print-ready checklists that people actually use, focus on clarity and usability. Use clear headings, bold key tasks, and organize items logically to match the event planning flow. Incorporate icons, color coding, and white space for quick scanning. Assign responsibilities explicitly and keep instructions simple to prevent confusion. Regularly review and refine your checklists based on feedback. Continue exploring these tips to guarantee your event documents become your team’s go-to tools.
Key Takeaways
- Design checklists with clear headers, icons, and color coding to enhance quick scanning and visual clarity.
- Tailor content to specific event needs, prioritizing critical tasks and including deadlines for usability.
- Use a clean, organized layout with ample white space and logical sequencing aligned with planning stages.
- Incorporate user-friendly language, checkboxes, and visual cues to encourage engagement and easy navigation.
- Regularly review and refine checklists based on team feedback to ensure relevance and practicality.
print-ready event checklist template
As an affiliate, we earn on qualifying purchases.
As an affiliate, we earn on qualifying purchases.
Why Many Event Checklists Fail and How to Make Yours Work
Many event checklists fail because they’re too broad or lack clear priorities. To avoid this, focus on effective event checklist customization that suits your needs. Digital versus printed options each have pros and cons; digital lists are easily editable, but printed checklists can be more accessible during event setup. Many fail to tailor their checklists to specific tasks, leading to overlooked details or confusion. When customizing, consider the event’s unique requirements, staff roles, and timeline. A generic list won’t cut it. Instead, create a focused, prioritized checklist that emphasizes critical tasks and incorporates automation processes to streamline your workflow. Whether you choose a digital or printed format, make sure your checklist is practical, easy to follow, and tailored to your event’s scope. This way, your checklist becomes a reliable tool rather than a forgotten document. Additionally, exploring digital concepts can enhance the usability of your checklists.

The Ultimate Baby Shower Planning Guide: A Step-by-Step Planner with Editable Checklists, Timeline, Games & Templates to Help You Plan a Beautiful, Stress-Free Celebration
As an affiliate, we earn on qualifying purchases.
As an affiliate, we earn on qualifying purchases.
Identifying the Critical Tasks to Include in Your Event Checklist
When designing your event checklist, pinpointing the tasks that truly matter keeps you focused and prevents important details from slipping through the cracks. Start by identifying critical activities like risk assessment and vendor coordination, which directly impact your event’s success. These tasks guarantee safety and smooth operations. Use this table to prioritize:
| Critical Tasks | Why It Matters |
|---|---|
| Risk assessment | Prevents hazards and liability |
| Vendor coordination | Ensures timely delivery |
| On-site setup | Keeps everything on schedule |
Focusing on these essentials helps you allocate resources efficiently and reduces last-minute surprises. Recognize which tasks are non-negotiable and ensure they’re at the top of your list for a seamless event. Additionally, understanding astrological compatibility can enhance team dynamics, contributing positively to your event’s atmosphere.

Caterer Transport Checklist Poster – Color Coded Chart – 13×19
CATERER TRANSPORT CHECKLIST: A comprehensive 6-step poster covering food safety, secure packing, vehicle check, route & timing, equipment…
As an affiliate, we earn on qualifying purchases.
As an affiliate, we earn on qualifying purchases.
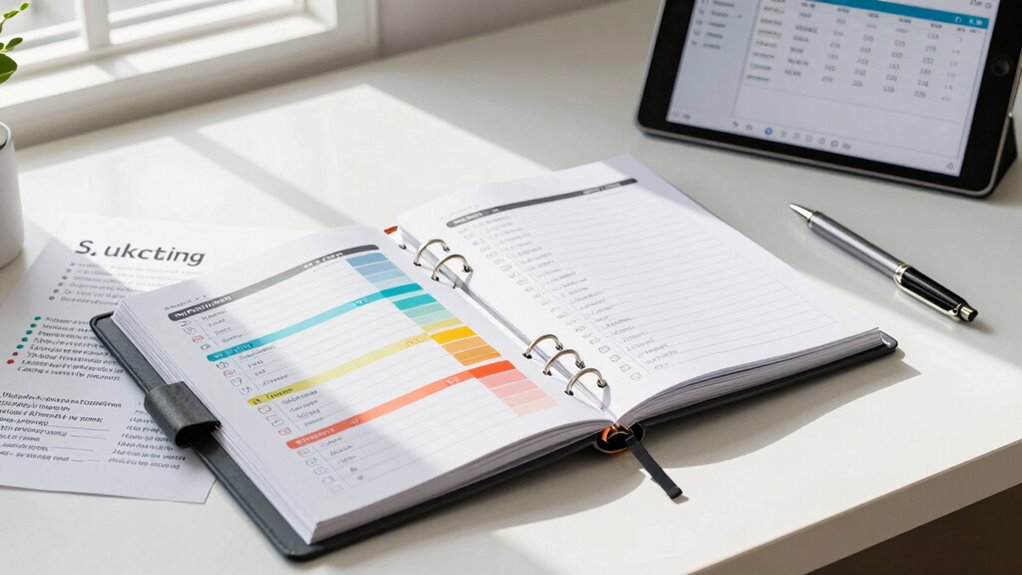
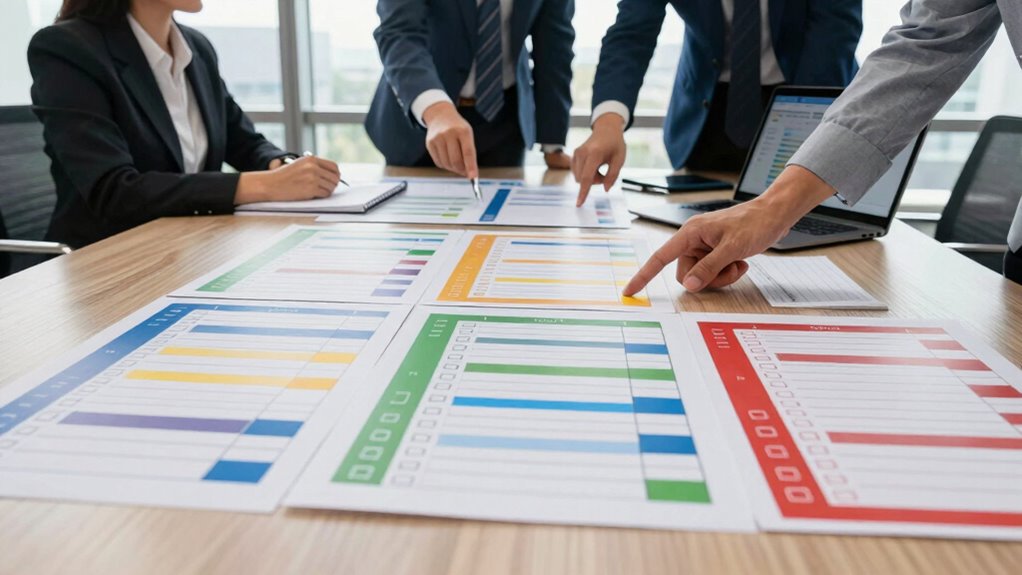
Designing Clear, Print-Ready Checklists That Everyone Can Use
To create checklists everyone can use easily, focus on clear layouts that guide the eye smoothly through each step. Prioritize essential items to make certain tasks stand out and aren’t overlooked. Incorporate visual cues like icons or color coding to make the checklist more intuitive and quick to scan. Additionally, consider using color accuracy principles to ensure that the checklist is visually appealing and easy to read. Including luxury lifestyle products in your checklists can enhance the overall experience and provide added value to users.
Use Clear Layouts
Here’s the revised content following your directions:
—
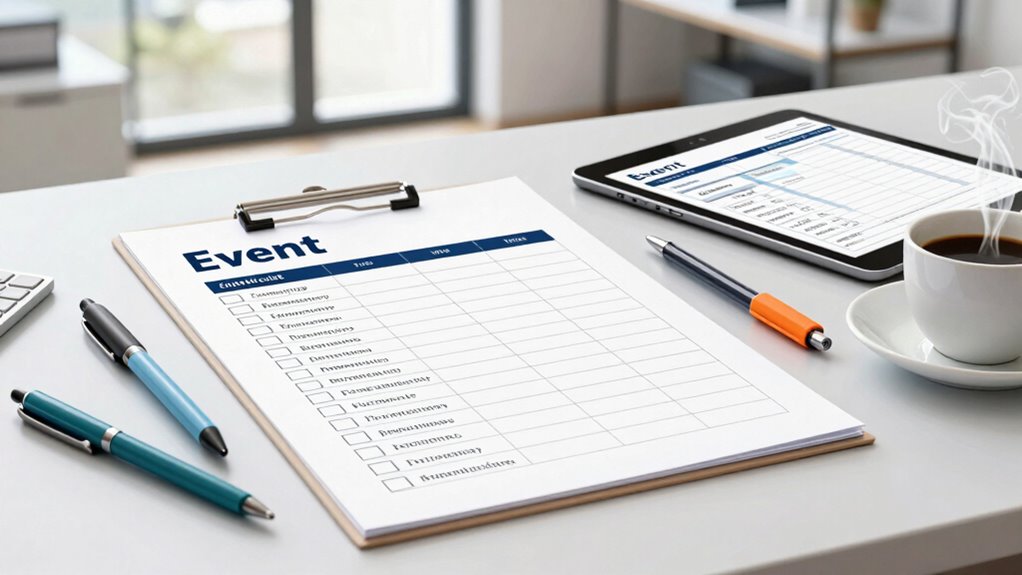
Have you ever struggled to follow a cluttered or confusing checklist? A clear layout helps guide your eye effortlessly. Use plenty of white space to separate sections, making items easier to scan. Incorporate creative typography—bold headers, numbered lists, and varied fonts—to distinguish key parts. Color coding can emphasize priorities or categories, reducing confusion. Here’s a simple example:
| Task | Status | Notes |
|---|---|---|
| Book venue | Pending | Confirm availability |
| Send invites | In progress | Finalize guest list |
| Arrange catering | Completed | Menu finalized |
This organized format, combined with visual cues, helps everyone quickly identify what’s done and what’s next, making your checklist both functional and user-friendly. Additionally, ensuring indoor air quality can contribute to a more productive event atmosphere, while incorporating Victorian fashion elements can add a unique flair to your event. Engaging in parallel play can also help boost toddlers’ confidence, making them more comfortable in social settings. To maintain optimal humidity levels in your event space, consider incorporating plants, as they naturally improve air quality and create a welcoming environment. Supporting caregivers’ emotional well-being is also crucial, as it can lead to better focus and organization during event planning.
—
Let me know if you need any further adjustments!
Prioritize Essential Items
After establishing a clear layout, the next step is to identify and highlight the most important items on your checklist. These are critical for resource allocation and budget management, guaranteeing your team focuses on what truly matters. To do this effectively:
- Rank tasks by urgency and impact to avoid wasted effort.
- Highlight items essential for the event’s success, such as key vendor payments or venue setup.
- Remove or deprioritize non-essential tasks to conserve resources.
- Clearly mark items that require immediate attention or follow-up.
Prioritizing these essentials helps prevent overspending and misallocation of resources. It also streamlines decision-making, so everyone knows what needs focus first. This clarity ensures your event stays within budget and on track. Additionally, consider incorporating outdoor ovens to enhance your catering options and provide versatility in meal preparation.
Incorporate Visual Cues
Incorporating visual cues into your checklists considerably enhances clarity and usability, ensuring everyone can quickly understand priorities and next steps. Use a clear visual hierarchy by organizing items with headings, subheadings, and bullet points, guiding the reader’s eye naturally through the document. Color coding is also effective: assign specific colors to categories, completed tasks, or urgent items, making important information stand out instantly. Additionally, consider using seasonal variations in your checklists to remind users of specific tasks appropriate for different times of the year. For instance, incorporating electric bike pricing can help users remember budget considerations when planning for outdoor events. Utilizing effective car protection options can also be vital when organizing events that involve vehicle logistics. Consistent visual cues help users differentiate between tasks, deadlines, and responsibilities at a glance. Keep the design simple—avoid clutter and excessive decoration—so the checklist remains easy to scan. By thoughtfully applying visual hierarchy and color coding, you make your checklists more intuitive, reducing confusion and increasing efficiency for everyone involved. Additionally, consider incorporating user feedback to refine your checklists based on real-world usability insights. To enhance the effectiveness of your checklists further, focus on debt management strategies that can help users prioritize their financial responsibilities alongside event planning tasks.
Productivity Checklist — Planner & Organizer (Official Version by ClearValue)
✅ Write down your priorities that need to be accomplished — feel the joy of finally crossing them…
As an affiliate, we earn on qualifying purchases.
As an affiliate, we earn on qualifying purchases.
Tips to Make Your Checklists Engaging and Easy to Follow

To make your checklists engaging and easy to follow, focus on using clear and simple language that everyone can understand. Incorporate visual elements like icons or checkboxes to guide the reader quickly, and keep the layout intuitive so users can find what they need without confusion. These small adjustments make your checklists more effective and user-friendly. Additionally, consider including battery capacity specifications to ensure users can easily understand the requirements for their specific needs. Integrating music therapy techniques can also enhance focus and reduce stress while using checklists. Creating a cozy atmosphere in your workspace can further improve productivity and overall well-being. Remember to include safety tips for any electrical devices, such as portable oil radiators, to promote a safer working environment.
Use Clear, Simple Language
Clear, simple language is essential for making your checklists easy to understand and follow. When you prioritize language simplicity, you improve communication clarity, ensuring everyone knows their tasks. To achieve this, consider these tips:
- Use straightforward words instead of jargon or complex terms.
- Keep sentences short and to the point.
- Avoid passive voice; be direct and active.
- Break down instructions into clear, numbered steps.
Incorporating practical, jargon-free lessons into your checklist design can enhance engagement and usability.
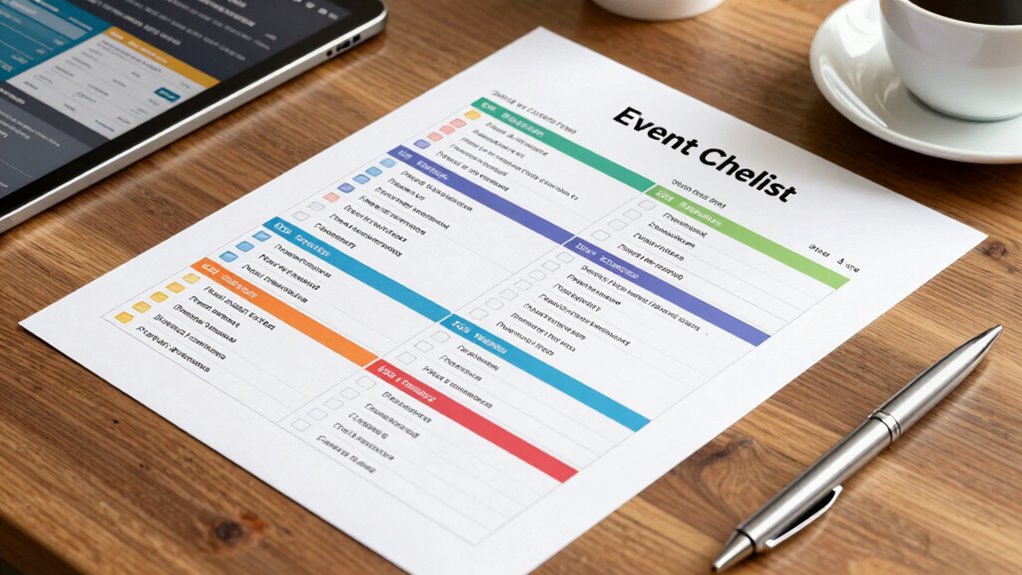
Incorporate Visual Elements
Adding visual elements to your checklists can make them more engaging and easier to follow. Use consistent event branding—colors, logos, and fonts—to reinforce your event’s identity. Incorporate icons or symbols next to tasks to quickly convey their nature, such as a dollar sign for budget management or a calendar for scheduling. Visual cues help users prioritize and locate items swiftly, reducing confusion. Charts or progress bars can also track budget management or task completion, keeping everyone aligned. Incorporating audio enhancements can further improve the clarity of presentations, ensuring that all participants can engage fully. Clear visuals make your checklist more intuitive, encouraging participants to stay on top of responsibilities. By integrating these visual elements thoughtfully, you create a practical tool that enhances clarity and maintains your event’s professional appearance. Additionally, incorporating mindfulness practices can help participants focus better and reduce distractions during the event. Moreover, using self-watering planters can simplify plant care, allowing attendees to enjoy greenery without added stress. Effective requirements traceability ensures that all tasks align with the event’s goals, enhancing overall quality and compliance.
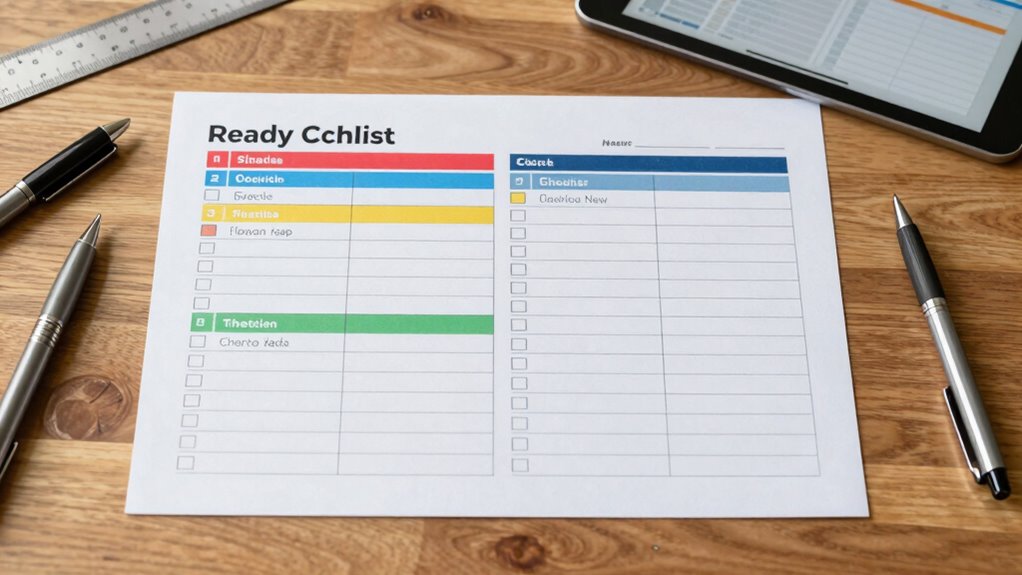
Keep Layout Intuitive
A well-organized layout guides users through your checklist effortlessly, making tasks feel manageable and less overwhelming. To keep your layout intuitive, focus on clarity and logical flow, especially when considering event branding and venue selection.
- Use clear headings and subheadings to separate sections, so users can quickly find what they need.
- Keep font sizes consistent and readable, avoiding clutter or unnecessary details.
- Incorporate visual cues like icons or color coding to highlight priorities or categories.
- Arrange items in a logical sequence that matches the event planning process, preventing confusion.
Getting Your Team to Distribute and Use the Checklists Effectively
To guarantee your checklists are effectively distributed and used, you need to actively engage your team from the start. Emphasize the importance of team collaboration by involving members in the checklist customization process. When team members help tailor checklists to their specific roles, they’re more likely to see the value and commit to using them consistently. Clear communication about who is responsible for distributing and following up ensures accountability. Encourage open feedback, so team members feel ownership and can suggest improvements. Use digital tools or printed copies strategically, making checklists easily accessible. When everyone understands their part and sees the checklists as helpful tools, adoption becomes seamless. This collaborative approach boosts compliance and keeps your event planning on track.
Common Mistakes in Event Planning Documents and How to Avoid Them
One of the biggest pitfalls in event planning documents is overlooking clarity and detail, which can lead to confusion and mistakes during execution. Poor event documentation often results from common planning pitfalls like vague instructions, missing deadlines, unclear roles, and inconsistent information. To avoid these, guarantee your checklists are precise and thorough.
- Use clear, straightforward language to prevent misunderstandings.
- Include specific deadlines and responsibilities for each task.
- Cross-check details regularly to maintain consistency.
- Test your event documentation with a team member to identify gaps.
Frequently Asked Questions
How Often Should Event Checklists Be Updated During Planning?
You should update your event checklists regularly, ideally after key milestones like reviewing your event timeline or updating budget tracking. Checklists need to stay current to reflect changes in vendor details, attendee numbers, or logistics. Update them at least weekly during active planning, and more frequently if major adjustments occur. This keeps everyone on the same page, prevents missed tasks, and guarantees your event stays on track.
What Tools Are Best for Creating Printable Checklists?
You should use tools that allow you to customize checklists with appealing design aesthetics and flexible options. Programs like Canva or Adobe InDesign are ideal because they offer extensive checklist customization and professional design features. These tools help you create printable checklists that are visually engaging and easy to update. By focusing on design aesthetics, you guarantee your checklists are both functional and inviting, encouraging consistent use throughout your event planning process.
How Can Checklists Accommodate Last-Minute Changes?
You can accommodate last-minute changes in checklists by including flexible sections for emergency procedures and contingency planning. Use clear headings and space for updates, so team members can quickly adapt. Regularly review and revise your checklists to reflect potential emergency scenarios. This proactive approach guarantees everyone stays informed and prepared, even with unexpected changes, making your event smoother and safer.
Are Digital and Print Checklists Equally Effective?
Like the legendary sword in the stone, digital and print checklists each have their strengths. Digital checklists excel in digital consistency, easily updating and syncing information across devices. Print checklists shine with durability, able to withstand rugged event environments. Both can be equally effective if tailored to your needs; choose based on whether flexibility or physical resilience is more vital. Combining both offers a powerful, reliable approach.
How Do I Measure Checklist Effectiveness Post-Event?
You measure checklist effectiveness post-event through feedback analysis and success metrics. Collect feedback from your team on how well the checklist guided their tasks and note any missed steps or delays. Track success metrics like task completion times, errors, or overlooked items. Comparing these data points before and after implementing the checklist helps you determine its impact, allowing you to refine it for improved performance and better event outcomes.
Conclusion
By crafting checklists that are clear, engaging, and easy to use, you’ll turn complex tasks into manageable steps—like turning a tangled ball of yarn into neat, organized strands. When your team understands and trusts these documents, they’ll be more likely to follow through, ensuring your event runs smoothly. Remember, a well-made checklist is your best friend in event planning, guiding you effortlessly from start to finish. So, make them count and watch your event succeed!