
To document your photo restoration process, start by noting the damage type, tools used, and any assumptions made. Save multiple versions as checkpoints and add annotations describing each edit, such as healing or color correction. Keep detailed logs of your workflow and include before-and-after images for clarity. Maintaining thorough records ensures transparency and reproducibility. If you keep going, you’ll discover more tips to create detailed documentation for successful restorations.
Key Takeaways
- Record each restoration step, including damage assessment and specific techniques like healing or cloning, with detailed notes and timestamps.
- Use digital tools such as Photoshop or Lightroom to document edits, save version histories, and annotate adjustments made.
- Capture before-and-after images at each stage to visually track progress and support transparency.
- Maintain a comprehensive workflow log outlining tools, methods, and decisions for reproducibility and future reference.
- Archive all project files, notes, and images systematically to ensure authenticity and facilitate verification by future restorers.

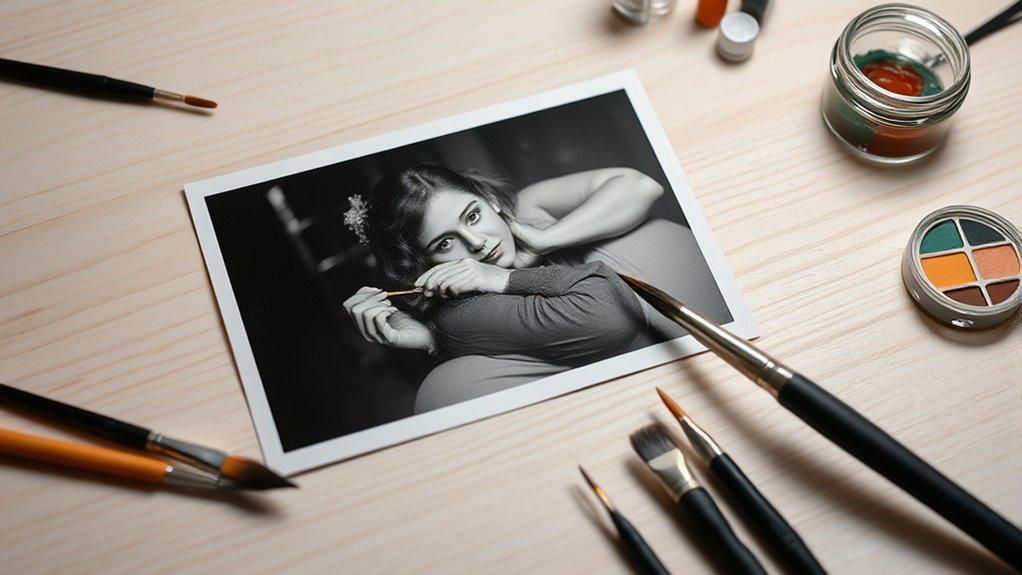
Photo restoration documentation is a essential step that guarantees each repair process is accurately recorded and can be referenced in the future. When you document your work thoroughly, you create a clear record of the original state, the restoration steps taken, and the tools used. This process is fundamental for maintaining transparency, especially if the restored photo is to be used for historical preservation purposes. By keeping detailed records, you guarantee that future restorers or researchers can understand what modifications were made, preserving the authenticity of the image. Proper documentation also supports the broader goal of historical preservation. When restoring photographs of cultural or historical significance, it’s essential to record every step meticulously. This ensures that the integrity of the original image is maintained and that the restoration process adheres to ethical standards. You might include notes on the type of damage present, the tools used for digital editing, and any assumptions made during editing. Such detailed records help future historians or archivists verify the authenticity of the restored image and understand the context of the restoration process. Digital editing plays a significant role in photo restoration documentation. As you work on restoring a photograph digitally, it’s critical to save multiple versions of your progress. These versions serve as checkpoints, illustrating how the image evolves through different stages of repair. Using software like Photoshop or Lightroom, you can annotate your edits, noting specific techniques such as healing, cloning, or color correction. This not only helps you stay organized but also provides an extensive history of your work, which is invaluable for archival purposes. Creating a detailed workflow record can streamline the restoration process and facilitate reproducibility. Proper documentation also supports the broader goal of historical preservation. When restoring photographs of cultural or historical significance, it’s essential to record every step meticulously. This ensures that the integrity of the original image is maintained and that the restoration process adheres to ethical standards. You might include notes on the type of damage present, the tools used for digital editing, and any assumptions made during editing. Such detailed records help future historians or archivists verify the authenticity of the restored image and understand the context of the restoration process. Tools for documentation extend beyond just software. You should consider creating a detailed project log or report that outlines the scope of work, the methods applied, and the specific adjustments made. Including before-and-after images in your documentation allows for visual comparison and demonstrates the extent of restoration. You may also want to keep a record of the hardware used, such as scanners or cameras, especially if high-resolution images are involved. These details contribute to a thorough archive that supports transparency, reproducibility, and the preservation of the photo’s historical value.

GIMP Photo Editor 2026 on CD Disc | Premium Professional Image Editing Software Compatible with Windows 11 10 8.1 8 7 Vista XP PC 32 & 64-Bit & Mac| Lifetime Licence & No Monthly Subscription
GIMP – The #1 alternative and fully compatible with Adobe Photoshop and Adobe Photoshop Elements files, it is…
As an affiliate, we earn on qualifying purchases.
As an affiliate, we earn on qualifying purchases.
Frequently Asked Questions
What Are the Best Software Options for Photo Restoration?
You should consider using software like Adobe Photoshop, GIMP, or Luminar for photo restoration. These digital tools excel in photo editing, allowing you to repair damages, remove blemishes, and enhance details effectively. Photoshop offers advanced features, while GIMP is a free alternative with powerful editing capabilities. Luminar provides user-friendly options for quick restorations. Choose based on your skill level and project needs to achieve the best results.
How Long Does the Photo Restoration Process Typically Take?
The restoration timeline varies based on the photo’s condition and your desired results, but typically, the process duration spans from a few hours to several days. You might find that intricate repairs take longer, requiring careful attention to detail. Rushing can compromise quality, so it’s best to allow ample time for a thorough restoration. Patience guarantees each detail is preserved, ultimately resulting in a beautifully revived image that stands the test of time.
Can Damaged Photos Be Restored Without Original Copies?
Yes, you can restore damaged photos without the original copies by using digital editing techniques. Skilled restorers apply tools like color correction and advanced editing software to repair tears, stains, and fading. While having the original is ideal, digital restoration can recreate the photo’s details and colors, giving new life to damaged images. This process allows you to preserve memories even when the physical photo is lost or severely damaged.
What Are Common Mistakes to Avoid During Photo Restoration?
Think of restoring a photo as tending a delicate garden; avoid rushing or overwatering your work. During photo colorization and digital retouching, steer clear of overdoing it, which can create unnatural results. Don’t ignore original details or rush the process—patience is key. Always save backups before making major changes, and use proper tools to prevent loss of quality. Mindful care guarantees your restored image blooms vividly and authentically.
How Can I Ensure the Authenticity of Restored Photos?
To guarantee the authenticity of restored photos, you should add a digital signature to confirm its integrity and maintain a record of edits. Additionally, verify metadata to track original file details and restoration history. Always save original versions before editing, and document every change made. These steps help preserve the photo’s authenticity, making it clear that the image has been professionally restored while maintaining its original integrity.

TourBox NEO – Customizable Editing Controller, Photo Color Grading Illustration Speed Editor, Intuitive Control Boost Productivity, Programmable Keyboard for Adobe CSP and More, Works with Mac/PC
TourBox NEO is a standard wired version. No charging, no dropouts, stable zero-latency. Engineered for macOS and Windows…
As an affiliate, we earn on qualifying purchases.
As an affiliate, we earn on qualifying purchases.
Conclusion
As you restore cherished memories, think of your tools as the gentle brushstrokes of an artist, breathing life back into faded stories. Each click and correction acts as a key opening the door to the past, where love and history intertwine. Your careful work becomes a bridge across time, transforming pixels into timeless treasures. Remember, with patience and skill, you’re not just fixing photos—you’re preserving the echoes of lives once lived, forever etched in the fabric of memory.

Lineco Photo Card Box, Museum-Quality Archival Storage, Acid-Free with Removable Lid, Bulk Storage for Negatives, Prints, Films, Photos, 4x6x12 Inches, Tan
Archival box created and made in USA. Lineco is a leading and trusted brand for archival quality art,…
As an affiliate, we earn on qualifying purchases.
As an affiliate, we earn on qualifying purchases.
photo editing annotation tools
As an affiliate, we earn on qualifying purchases.
As an affiliate, we earn on qualifying purchases.