
DPI, PPI, and OCR are common scanning terms that often cause confusion. DPI (dots per inch) relates to print quality, while PPI (pixels per inch) affects digital image sharpness. OCR (optical character recognition) converts images of text into editable documents. Knowing the difference helps you choose the right settings for quality scans and effective text extraction. Keep exploring to get a clearer picture of how to optimize your scanning process and results.
Key Takeaways
- DPI measures printer or scanner dots per inch, affecting print quality and color accuracy, while PPI relates to on-screen image resolution.
- PPI determines digital image sharpness; higher PPI results in clearer, more detailed screens.
- OCR converts scanned images of text into editable digital formats, relying on proper resolution and preprocessing.
- Proper calibration and paper type selection are crucial for optimal scan quality and OCR accuracy.
- Matching resolution to your purpose (e.g., 300 PPI for OCR, lower for quick sharing) optimizes results and file sizes.

Canon Canoscan Lide 300 Scanner (PDF, AUTOSCAN, Copy, Send)
Scanner type: Document
As an affiliate, we earn on qualifying purchases.
As an affiliate, we earn on qualifying purchases.
What Do DPI, PPI, and OCR Mean?
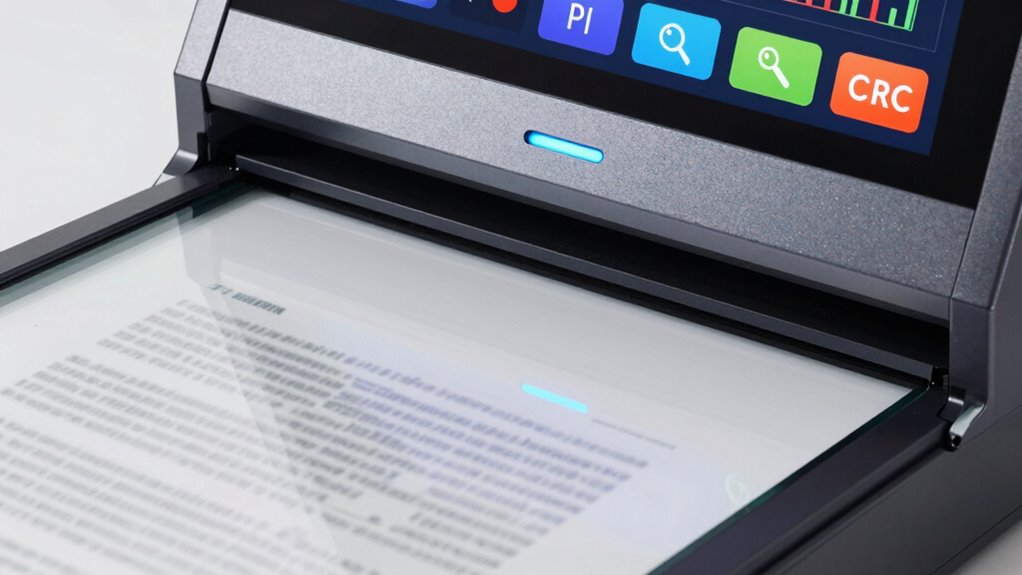
Have you ever wondered what DPI, PPI, and OCR actually stand for? These terms are essential for understanding scanning and printing. DPI, or dots per inch, measures how many dots a printer or scanner can produce or detect, often influenced by color calibration and paper types. PPI, or pixels per inch, refers to the pixel density of an image on your screen, affecting how sharp it appears. OCR, or optical character recognition, is a technology that converts scanned text into editable digital formats. Knowing how these abbreviations relate helps you choose the right equipment and settings for your projects. Different paper types can impact color calibration, influencing the quality of scans and prints. Mastering these terms guarantees accurate, high-quality results every time.

PDF Converter Ultimate – Convert PDF files into Word, Excel, PowerPoint and others – PDF converter software with OCR recognition compatible with Windows 11 / 10 / 8.1 / 8 / 7
Convert your PDF files into Word, Excel & Co. the easy way
As an affiliate, we earn on qualifying purchases.
As an affiliate, we earn on qualifying purchases.
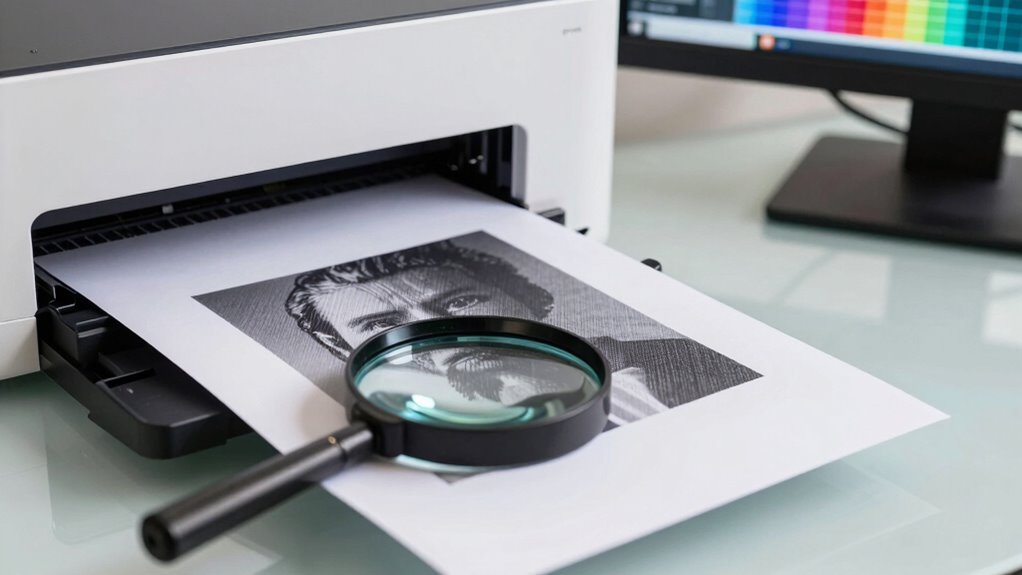
Why DPI and PPI Are Key to Image Quality

Understanding the roles of DPI and PPI is vital because they directly impact the clarity and detail of your images. Higher DPI and PPI settings guarantee sharper images with better detail, which is essential for tasks like color calibration and fine editing. When you increase these values, your images retain more information, reducing the need for aggressive image compression that can degrade quality. Conversely, low DPI and PPI can cause pixelation and blurry details, especially when enlarging images. Properly setting these parameters helps preserve color accuracy and detail, making your scans more true to the original. By paying attention to DPI and PPI, you confirm your images are clear, vibrant, and suitable for printing or professional use, avoiding the pitfalls of over-compression that can ruin image quality. Moreover, understanding digital concepts is crucial for maximizing the effectiveness of your scans in various applications.

Liene M100 4×6'' Photo Printer, Phone Printer 100 Sheets & 3 Cartridges, Full-Color Photo, Portable Instant Photo Printer for iPhone Android, Thermal Dye Sublimation, Wi-Fi Picture Printer 100 Papers
User-Friendly Portable Photo Printer for iPhone, Android & PC – Get beautiful and colourful memories with Liene 4×6…
As an affiliate, we earn on qualifying purchases.
As an affiliate, we earn on qualifying purchases.
Understanding the Difference Between DPI and PPI
While DPI and PPI are often used interchangeably, they actually refer to different aspects of digital images and printing. DPI (dots per inch) relates to how printers reproduce images on paper, affecting color calibration, ink density, and paper texture. PPI (pixels per inch), on the other hand, measures the resolution of digital screens or images, influencing how sharp your display appears. To clarify:
- DPI determines print detail, impacting color accuracy and paper texture.
- PPI controls digital image sharpness, affecting how you view images on screens.
- Both need to be optimized for high-quality results, especially when printing or scanning detailed images.
Understanding this difference helps you select the right settings for your projects, ensuring clarity and true color reproduction.

Digital Caliper, Adoric 0-6" Calipers Measuring Tool – Electronic Micrometer Caliper with Large LCD Screen, Auto-Off Feature, Inch and Millimeter Conversion
Precise measurement: Measurement range: 0 – 6''/0 – 150 mm; Resolution: 0.01”/0.1 mm; Accuracy: +/- 0.2 mm/0.01”. Perfect…
As an affiliate, we earn on qualifying purchases.
As an affiliate, we earn on qualifying purchases.
How OCR Converts Images Into Editable Text

Ever wondered how a static image of text can become editable and searchable? OCR, or optical character recognition, works by analyzing the image’s details, including color depth, which affects how well it distinguishes characters from the background. The process begins with preprocessing, reducing noise and adjusting contrast to improve accuracy. OCR software then detects text blocks, lines, and individual characters. It compares these with pattern libraries or uses machine learning to recognize shapes. File compression can influence OCR quality; overly compressed images may lose detail, making recognition harder. Once the characters are identified, OCR converts them into editable text, preserving as much of the original layout as possible. This transformation allows you to edit, search, and utilize text from scanned images effortlessly.
When Should You Use Higher Resolution Settings?

Choosing the right resolution when scanning or capturing images can considerably impact OCR accuracy. When you need sharp, detailed images, higher resolutions are essential. Use higher settings if you want better print durability, guaranteeing your documents withstand handling and time. Also, for projects requiring precise color accuracy, increasing resolution helps capture subtle color nuances.
Consider these scenarios:
- You’re digitizing archival documents where clarity and durability matter.
- Your project demands accurate color reproduction for design or presentation purposes.
- You need detailed images for precise OCR results, especially with small fonts or intricate details.
In these cases, opting for higher resolution settings ensures your scans are both durable and true to color, supporting better OCR performance. Additionally, achieving optimal color accuracy can significantly enhance the overall quality of your scanned images.
Common Mistakes When Adjusting Scan Resolutions

Adjusting scan resolutions without careful consideration can lead to common mistakes that compromise your results. One mistake is neglecting proper color calibration, which affects how colors appear after scanning. If your scanner isn’t calibrated correctly, increasing resolution won’t fix color inaccuracies. Additionally, ignoring scanner maintenance, like cleaning the glass and sensors, can cause blurry or uneven scans at any resolution. Setting the resolution too high for your needs wastes storage space and processing power, while setting it too low results in loss of detail. Always guarantee your scanner is well-maintained and calibrated before adjusting resolution settings. This careful approach helps prevent errors that hinder image quality and assures your scans are both accurate and efficient. It’s also essential to be aware of how necessary cookies can enhance your online scanning experience by ensuring the website functions correctly. Furthermore, maintaining optimal indoor air quality by minimizing microplastics in dust can contribute to a healthier scanning environment. Moreover, investing in car protection accessories can help you ensure your scanner is stored safely and kept in optimal condition. Additionally, using techniques like hydrotherapy can aid in reducing stress, which may enhance focus during the scanning process.
Choosing the Right Resolution for Your Needs

Choosing the right resolution depends on what you need to accomplish, whether it’s high-quality printing or quick digital sharing. You should find a balance where the quality meets your requirements without creating unnecessarily large files. By considering your purpose, you can select a best setting that saves space and maintains clarity.
Optimal Resolution Settings
Selecting the right resolution depends on how you’ll use the scanned or digital image. To get the best results, consider your purpose and the material you’re scanning. For instance, if you’re scanning photos, opt for higher resolutions to capture details, and pay attention to color calibration for accurate colors. When working with different paper types, such as glossy or matte, adjust resolution accordingly; glossy surfaces often need higher settings for clarity. Here are some tips:
- Use 300 PPI for high-quality prints or archival storage.
- Adjust to 200 PPI for everyday documents and digital sharing.
- Match resolution to paper types to prevent loss of detail or unnecessary file size.
Choosing the right resolution ensures your images look great without wasting storage space.
Balancing Quality and File Size
Finding the right balance between image quality and file size is crucial to guarantee your scans meet your needs without taking up unnecessary storage. To do this, consider how resolution impacts color accuracy, especially if you need true-to-life colors for detailed work. Higher resolutions improve color accuracy but increase file size, affecting storage optimization. If you’re scanning documents primarily for text, lower resolutions often suffice, saving space. Conversely, high-resolution scans are essential for images or artwork where detail matters. Adjusting resolution based on your specific purpose ensures you maintain clarity while avoiding bloated files. This balance helps streamline storage management and ensures your scans are both usable and efficient, preventing unnecessary clutter on your device.
Purpose-Driven Resolution Choices
Have you ever wondered how to pick the right resolution for your scans? Your choice depends on your goals. For ideal scanning ergonomics, choose a resolution that minimizes eye strain and reduces repetitive motion. If you’re digitizing documents for digital archiving, higher resolutions (like 300 PPI or more) ensure details stay clear over time. For quick, casual scans, lower resolutions suit your needs without wasting storage. Consider these:
- For detailed images or OCR tasks, aim for 300 PPI or higher.
- For simple document storage, 150-200 PPI balances quality and file size.
- To maximize scanning ergonomics and avoid fatigue, pick resolutions that don’t require excessive adjustments or repetitions.
Matching resolution to purpose helps streamline your workflow and preserves quality for future use.
Tips to Improve Your Scanning and Image Quality

To get the best results from your scanner, pay close attention to your settings and environment. Start by ensuring proper color calibration; accurate colors make your scans look professional and true to life. Use the scanner’s calibration tools or color calibration sheets regularly. Additionally, consider paper texture—smooth, clean paper yields sharper images and reduces scanning errors. Remove dust and smudges before scanning to avoid blemishes. Adjust brightness and contrast settings to enhance clarity without overexposing details. Opt for the highest practical resolution for your needs, but avoid excessive PPI that slows processing. Keep your scanner clean and free of debris, and scan in a well-lit, stable environment to prevent shadows or blurriness. These simple tips will considerably upgrade your scanning quality.
Wrapping Up: Mastering Resolution and OCR for Better Images
Mastering resolution and OCR is essential for turning your scanned images into clear, editable, and usable digital files. To optimize results, focus on proper color calibration, which guarantees accurate colors and improves OCR accuracy. Additionally, consider paper types; smoother, higher-quality paper yields better scans and reduces errors during recognition. Here are three key tips:
- Adjust your scanner’s resolution based on the document type—higher for detailed images, lower for simple texts.
- Calibrate colors regularly to maintain consistency across scans.
- Use appropriate paper types for your project to prevent distortion and enhance image quality.
Frequently Asked Questions
How Do Different Devices Interpret DPI and PPI?
Different devices interpret DPI and PPI based on their image resolution and scanning calibration. When you scan or display images, your device uses these settings to determine detail level and clarity. A higher DPI or PPI results in sharper images, but the device’s calibration guarantees it properly interprets these values. So, understanding your device’s calibration helps you achieve the best image quality, whether scanning documents or viewing images.
Can OCR Accurately Recognize Handwritten Text?
Ever wondered if OCR can recognize handwritten text? It can, but with some accuracy challenges. Handwriting recognition depends on the clarity of the script and the quality of the scan. While OCR technology has improved, it still struggles with messy or inconsistent handwriting, leading to errors. If you want reliable results, clear, neat handwriting boosts recognition accuracy, making the process smoother and more effective for your needs.
What Are the Best Settings for Scanning Old Photographs?
For scanning old photographs, set your scanner to at least 600 DPI for detailed restoration and archival quality. Use restoration techniques like color correction and noise reduction to improve image clarity. Save your scans in high-quality formats like TIFF for archival storage, ensuring long-term preservation. Avoid compression that lowers quality, and consider creating multiple copies for backup. These steps help maintain your photographs’ integrity over time.
How Does Color Mode Affect Scan Resolution?
Color mode impacts scan resolution by influencing color calibration and ink saturation. When you choose color mode, your scanner captures more detail, especially in vibrant or faded photos, because it preserves accurate color information. This enhances the overall resolution, making details clearer. Conversely, black-and-white mode reduces ink saturation and simplifies color calibration, which can lower resolution but is useful for restoring contrast in old photographs.
Are There Software Tools to Automatically Optimize Scan Quality?
Your digital archiving journey doesn’t have to be a treasure hunt—there are software tools that automatically optimize scan quality, making your paper preservation efforts effortless. Programs like Adobe Acrobat, VueScan, and ABBYY FineReader use intelligent algorithms to enhance clarity and detail. These tools guarantee your scans are sharp and accurate, saving you time and effort while protecting your documents for generations to come.
Conclusion
Mastering DPI, PPI, and OCR might seem tricky at first, but remember—they’re tools to enhance clarity, not hurdles to avoid. While high resolutions make your scans crisp, they also demand more storage and processing power. Think of it like a camera: a picture can be beautiful with just the right focus, but over-shooting ruins the shot. Balance your settings wisely, and you’ll turn simple scans into sharp, editable, and professional-quality images.