
To preserve your child’s artwork, choose a user-friendly scanner with at least 300 DPI resolution and accurate color calibration to keep hues true to the original. Prepare each piece by cleaning and flattening it before scanning. Organize files with clear names and structured folders for easy access, and save in high-quality formats like TIFF or PNG. Properly managing files and exploring creative tech options will help you keep these precious creations safe and vibrant for years to come.
Key Takeaways
- Use a user-friendly scanner with at least 300 DPI resolution and accurate color calibration for detailed, true-to-life digital copies.
- Prepare artwork by cleaning, flattening, and storing properly to ensure clear, undistorted scans.
- Save digital files in high-quality formats like TIFF or PNG with descriptive naming and organized folder structures.
- Regularly back up digital collections and add metadata for easy retrieval and long-term preservation.
- Enhance and utilize scanned artwork for personalized projects, collages, or digital storytelling to celebrate kids’ creations.

Canon Canoscan Lide 300 Scanner (PDF, AUTOSCAN, Copy, Send)
Scanner type: Document
As an affiliate, we earn on qualifying purchases.
As an affiliate, we earn on qualifying purchases.
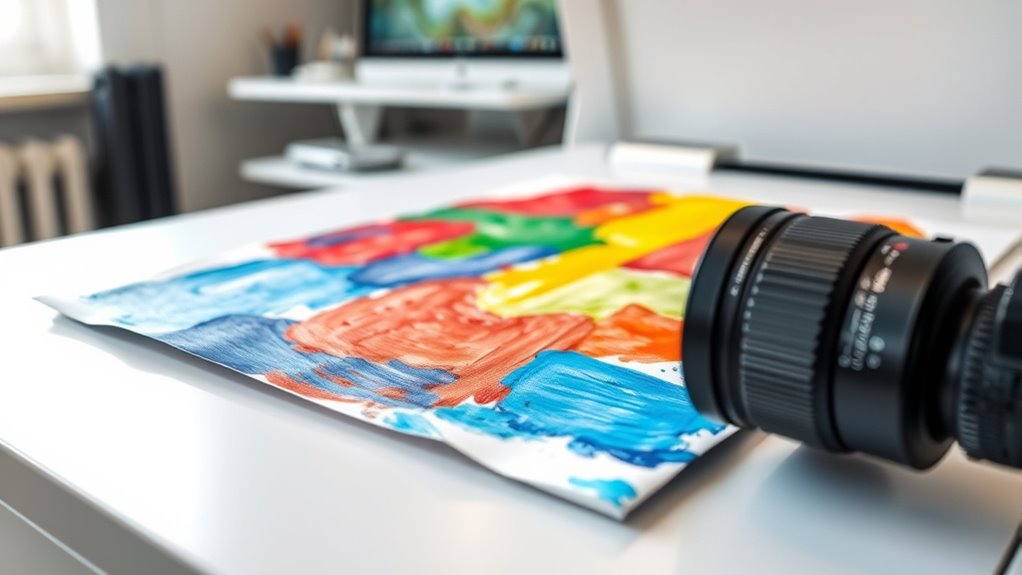
Choosing the Right Scanner for Kids’ Artwork
When choosing a scanner for kids’ artwork, it’s important to contemplate ease of use and image quality. Look for a device with good scanner resolution—at least 300 DPI—to capture fine details and vibrant colors. High resolution ensures your digital copies are clear and suitable for printing or sharing. Additionally, consider a scanner with accurate color calibration to preserve the original hues and tones of your child’s artwork. This helps prevent color distortions and keeps the digital versions true to the original pieces. Ease of use also matters, especially if kids might be involved in scanning. A straightforward interface and simple controls make the process smooth and enjoyable. Moreover, choosing a scanner with color accuracy features ensures the digital images reflect the true colors of the original artwork. Overall, selecting a scanner that balances resolution, color accuracy, and user-friendliness ensures you create beautiful, lasting digital memories.

Epson Perfection V19 II Color Photo and Document Flatbed Scanner with 4800 dpi Optical Resolution USB Power, High-Rise, Removable Lid
Amazing image clarity and detail — 4800 dpi optical resolution (1), ideal for photo enlargements
As an affiliate, we earn on qualifying purchases.
As an affiliate, we earn on qualifying purchases.
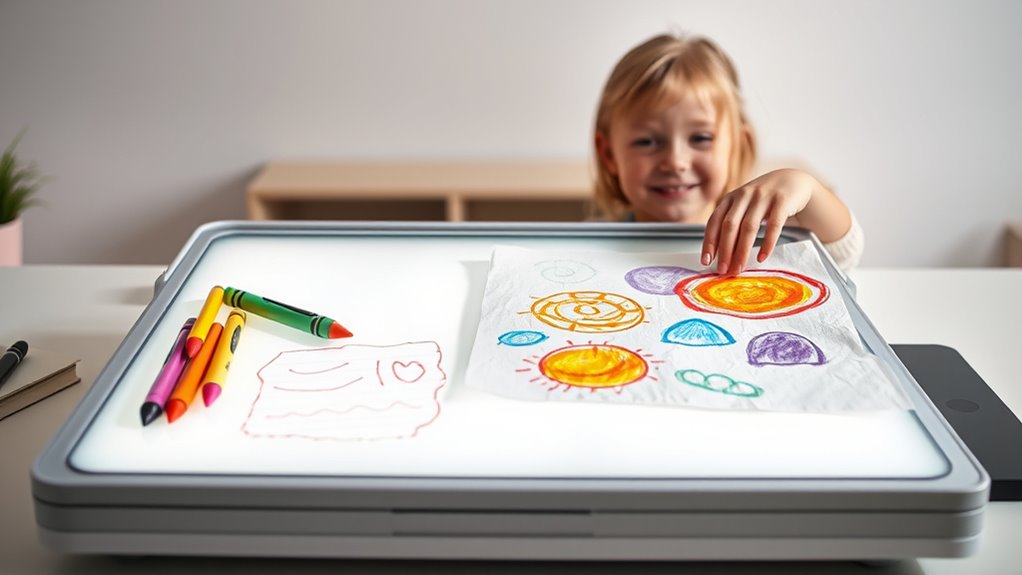
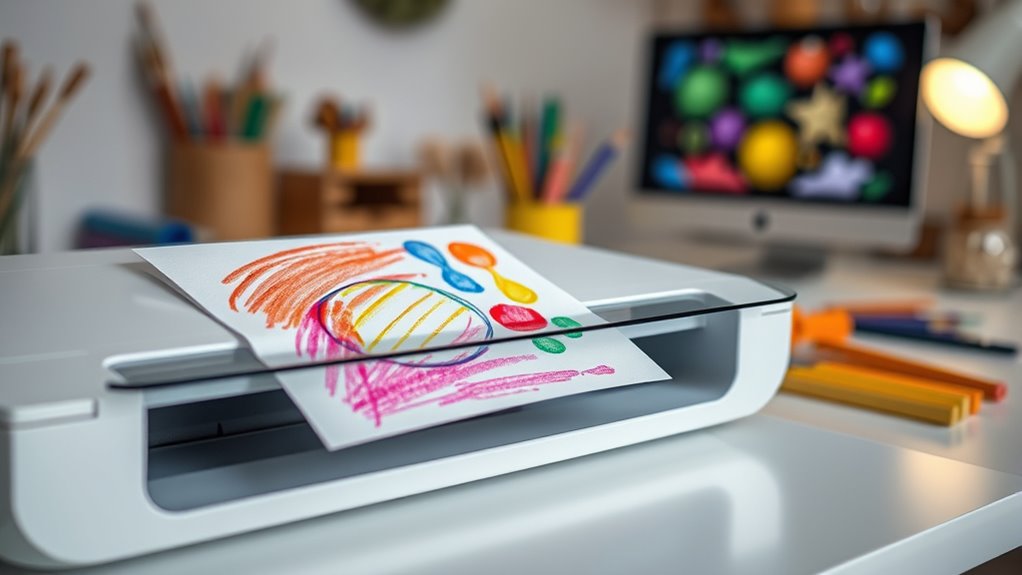
Preparing Artwork for Scanning

Preparing your child’s artwork properly guarantees the best possible scan quality. First, ensure the artwork is clean and free of dust or smudges, which can affect image clarity. Second, carefully flatten any wrinkled or folded pieces to prevent distortions during scanning. Third, consider proper artwork storage—store pieces flat in a protective folder or sleeve to avoid damage before scanning. Using appropriate scanning equipment, set the scanner to the ideal resolution for detailed images, typically 300-600 DPI. Handle everything gently to prevent tears or creases. Additionally, understanding artwork preservation techniques can help maintain the original quality of your child’s creations over time. By organizing artwork and preparing it carefully, you’ll achieve clearer, more vibrant digital copies that preserve your child’s creativity beautifully.
Epson Perfection V19 II Color Photo and Document Flatbed Scanner with 4800 dpi Optical Resolution USB Power, High-Rise, Removable Lid
Amazing image clarity and detail — 4800 dpi optical resolution (1), ideal for photo enlargements
As an affiliate, we earn on qualifying purchases.
As an affiliate, we earn on qualifying purchases.
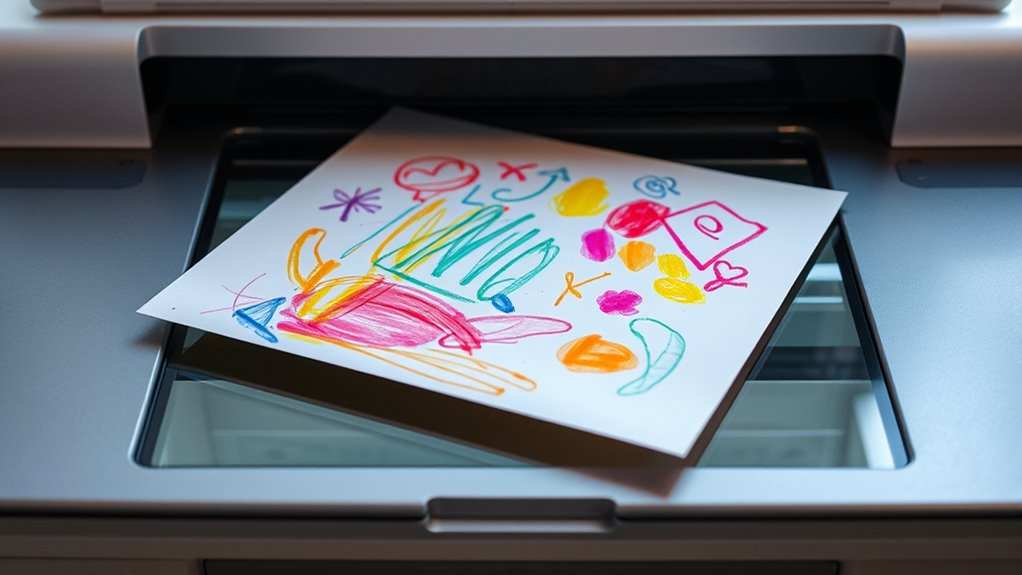
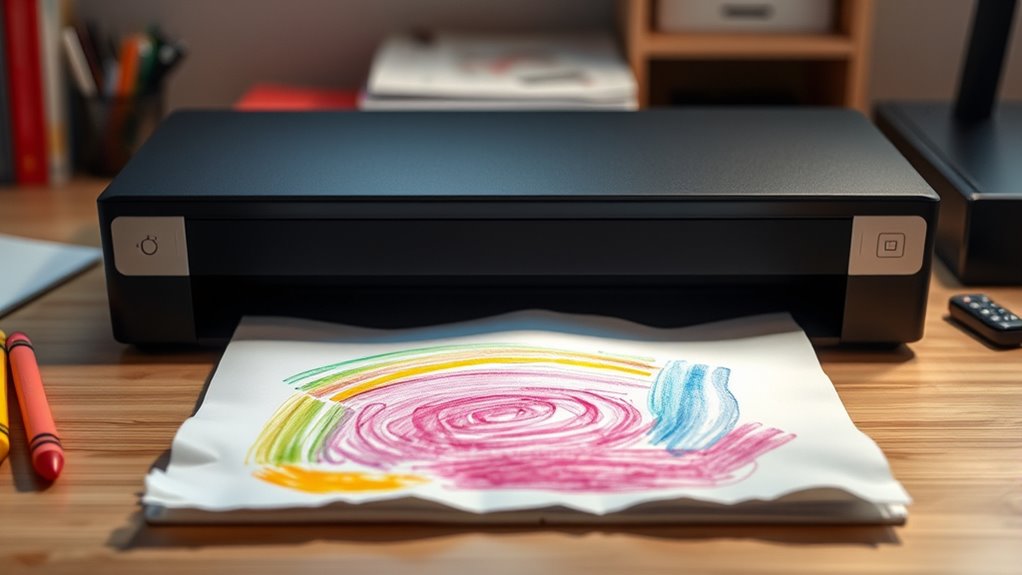
Step-by-Step Guide to Digitizing Drawings and Paintings
Once your artwork is properly prepared, you can begin the process of digitizing it. Start by placing your piece on a flat, clean surface, ensuring good lighting without glare. Use a scanner with color calibration capabilities to capture accurate colors; this step is essential for preserving your child’s original work. Scan at a high resolution, such as 300 dpi or higher, to capture details. After scanning, review the digital image for color accuracy, adjusting settings if necessary. Save your file in a suitable format like TIFF or PNG for quality preservation. To make storage easier, apply file compression if needed, but avoid excessive compression that can reduce quality. This process guarantees your kid’s artwork is preserved faithfully and ready for digital archiving. Additionally, ensuring proper air quality during digitization can help maintain the clarity of your scans.

Scanner Bin – The Clever Document Scanning Solution
Flatbed scanners simply cannot compete with your smartphone and a Scanner Bin. Improved resolution and color rendering compared…
As an affiliate, we earn on qualifying purchases.
As an affiliate, we earn on qualifying purchases.
Organizing and Naming Digital Files

To keep your digital artwork organized, use consistent naming conventions so you can easily find files later. Create a clear folder structure that groups related images together, making navigation simple. This way, your digital collection stays neat and accessible as it grows. Implementing simple, trustworthy guidance can help you develop effective organization habits.
Consistent Naming Conventions
Establishing consistent naming conventions is essential for keeping your digital artwork organized and easily accessible. Clear file naming helps you quickly locate specific pieces and reduces confusion. To do this effectively: 1. Use descriptive, straightforward names that include the child’s name, date, and artwork title. 2. Incorporate consistent formats for dates (e.g., YYYY-MM-DD) to maintain chronological order. 3. Apply metadata tagging to add details like age or medium, making searches more efficient. Implementing organized file management practices enhances your ability to efficiently browse and retrieve artwork files.
Organized Folder Structure
Creating an organized folder structure is key to keeping your digital artwork files manageable and easy to find. Start by categorizing files by year, project, or child’s name, and use clear, consistent naming conventions. Incorporate color calibration to guarantee scans look true to the original, and choose reliable storage solutions to protect your files. Here’s a simple visual:
| Level 1 | Level 2 | Level 3 |
|---|---|---|
| 2024 Artwork | Child’s Name | Scanned Artwork |
| Projects | Art Type (Paintings) | Date (YYYY-MM-DD) |
| Archives | Special Events | High-Resolution Scans |
This structure keeps files organized and accessible, making it easier to find specific pieces quickly. Proper organization and storage solutions will preserve your child’s artwork for years to come. Additionally, understanding the importance of proper preservation can help maintain the quality and sentimental value of your digital files over time.
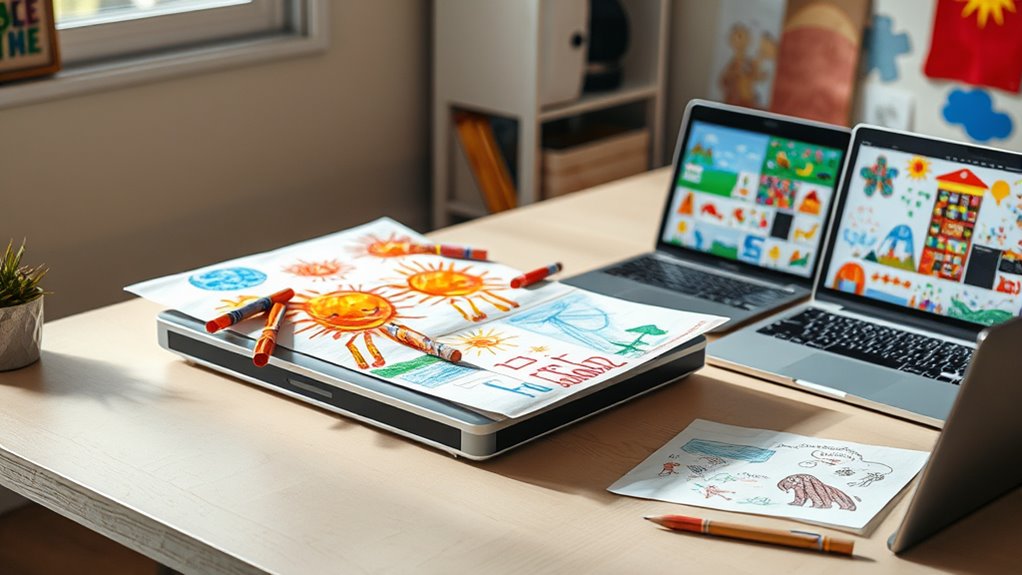
Creating Digital Albums and Archives
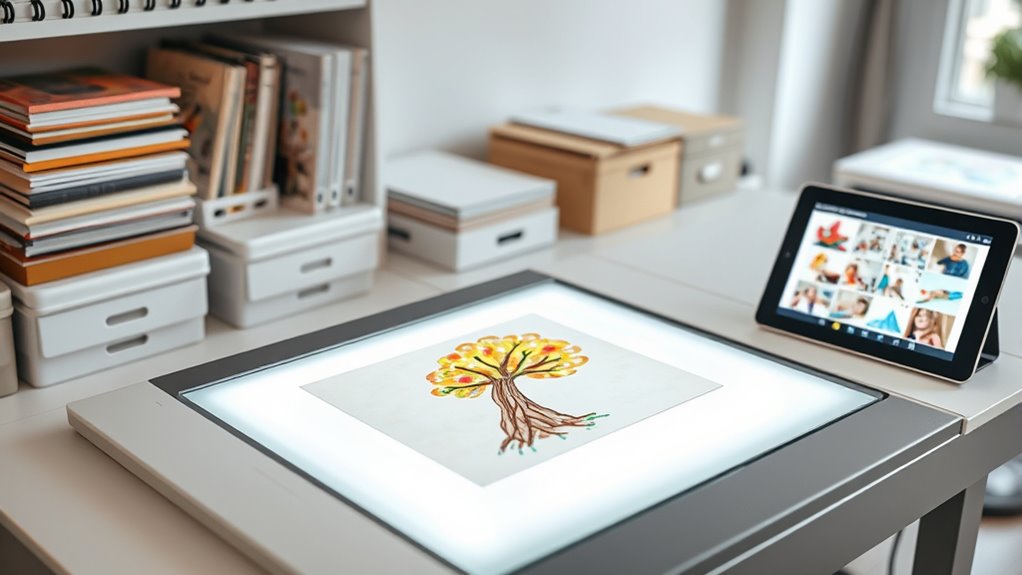
Turning your scanned artwork into digital albums and archives helps preserve your creations and makes them easy to access and share. To guarantee your images look vibrant and true to life, start with proper color calibration during scanning. This step guarantees consistent color quality across all files. Next, organize your files systematically within your digital albums, making retrieval simple. When storing, use file compression to reduce file sizes without sacrificing quality, saving space and improving load times. Additionally, selecting the appropriate file formats ensures your images maintain quality while remaining manageable in size. Finally, consider creating backups of your archives to prevent data loss. By following these steps, you’ll maintain the integrity of your child’s artwork while keeping your digital collection neat and accessible. Creating well-organized, calibrated, and compressed archives ensures your child’s masterpieces are preserved beautifully for years to come.
Tips for Preserving the Quality of Scanned Art
Once your artwork is scanned and organized, it’s important to take steps to keep the digital images looking their best. To ensure proper art preservation, always scan at a high resolution—300 dpi or higher—to capture details and colors accurately. Save your files in lossless formats like TIFF or PNG for superior quality, especially if you plan to edit or print later. Avoid compressing images excessively, as this can degrade their clarity. When storing your digital archives, back up copies on multiple devices or cloud services to prevent loss. Keep your files organized with clear labels and folders, making retrieval easier. Regularly check your backups to verify their integrity. Understanding sound vibrations and their impact can also inspire creative ways to enhance your digital preservation efforts. These habits help maintain the quality of your scanned art and support effective digital archiving over time.
Sharing and Printing Digital Copies of Kids’ Artwork
Sharing and printing digital copies of your kids’ artwork allows you to celebrate their creativity and preserve precious memories. To guarantee the best results, consider these steps:
- Use proper color calibration to maintain accurate, vibrant colors when displaying or printing. This avoids dull or mismatched hues.
- Choose the right file format—PDFs are ideal for printing, while JPEGs work well for sharing online or via email.
- Adjust settings before printing, like resolution and size, to keep details sharp and clear.
- Selecting high-quality printing materials and printers can significantly enhance the longevity and appearance of your children’s artwork materials and printers.
Creative Ways to Use Digital Artwork in Projects
Digital artwork created by kids offers a wealth of creative possibilities beyond display or printing. You can incorporate these images into personalized projects like custom calendars, greeting cards, or photo books. Before using the artwork, consider performing color correction to enhance vibrancy and consistency across different devices. Save files in versatile formats like JPEG or PNG to guarantee compatibility with various editing tools and printing services. You might also experiment with combining multiple pieces into collages or digital scrapbooks, creating unique keepsakes. Additionally, use digital art as backgrounds for presentations or incorporate them into digital storytelling projects. By leveraging file formats and visual representation techniques, you guarantee your child’s creations look polished and professional, transforming simple artwork into meaningful, multimedia projects.
Frequently Asked Questions
How Can I Ensure Colors Stay True After Scanning?
To keep colors true after scanning, you should start with proper color calibration of your monitor and scanner. Adjust your scanner settings, selecting the highest quality and color mode options available. Use calibration tools or software to guarantee your scanner accurately captures colors. Before scanning, preview your artwork and tweak settings as needed. This way, you’ll preserve the vividness and authenticity of your child’s creations every time.
What Software Is Best for Editing Scanned Artwork?
You should choose software that offers robust color correction tools and supports various file formats like JPEG, PNG, or TIFF. Programs like Adobe Photoshop or GIMP are excellent options because they allow precise editing and color adjustments, ensuring your scanned artwork looks vibrant and true to the original. These tools help you fine-tune your images, preserve color accuracy, and save in versatile formats for easy sharing or printing.
How Often Should I Back up Digital Art Files?
Remember when floppy disks were the gold standard? Now, you should back up your digital art files regularly—at least once a week if you’re actively creating. Keep your files organized with clear naming conventions and folders. Use cloud storage for easy access and added security. Frequent backups prevent loss and make sure your child’s masterpieces stay safe over time. Consistent backups give you peace of mind and keep your digital archive tidy.
Can I Scan 3D or Textured Artwork Effectively?
You can scan 3D or textured artwork effectively by using 3D scanning technology, which captures all angles and surface details. For textured artwork, consider using a high-resolution flatbed scanner or photogrammetry, which takes multiple photos to recreate depth and texture. While 2D scanners work well for flat pieces, 3D scanning tools are essential for preserving the intricate details of textured or three-dimensional creations.
What Are Eco-Friendly Options for Digital Storage?
When it comes to digital storage, going green is a smart move. You can choose eco-friendly options like cloud storage providers committed to renewable energy or use external drives made from sustainable materials. These choices help reduce environmental impact while keeping your kids’ artwork safe. Think of it as killing two birds with one stone—preserving memories and protecting the planet at the same time. It’s a win-win situation!
Conclusion
Digitizing your child’s artwork is a fantastic way to preserve memories without clutter. You might worry about losing the charm of the original, but high-quality scans capture every detail and color beautifully. Plus, digital copies make sharing with family easy and creating lasting keepsakes simple. Embrace this tech-savvy approach, and your child’s masterpieces will stay vibrant and accessible for years to come—no matter how many new creations they bring home.