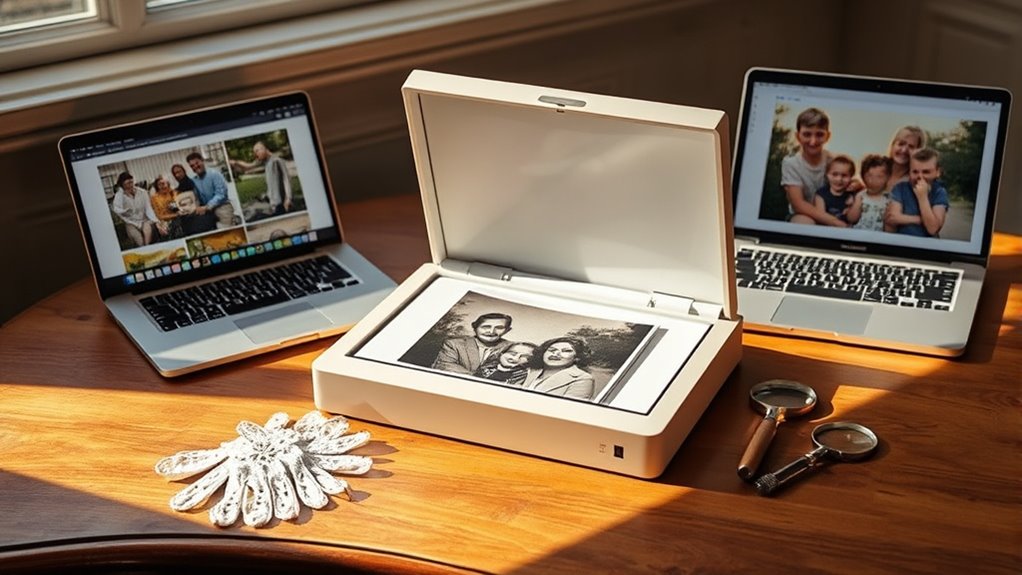
To digitize your old family photos, gather your images and supplies like gloves, a flatbed scanner, or a smartphone with good lighting. Carefully clean and prepare each photo, ensuring they’re flat and dust-free. Use a scanner or high-quality camera to capture the images at 300-600 DPI for clarity. Organize and store the digital files securely, then enhance and share them as you like. Keep exploring for detailed steps to preserve your treasured memories effectively.
Key Takeaways
- Gather and organize physical photos using albums or storage boxes before digitization.
- Prepare photos by cleaning, supporting fragile items, and ensuring proper alignment on the scanner bed.
- Use a flatbed scanner at 300-600 DPI with calibrated color settings for high-quality digital copies.
- Save images in high-resolution, lossless formats like TIFF or PNG for preservation, and JPEG for sharing.
- Organize, back up, and enhance digital photos with metadata, color correction, and easy sharing methods.

Epson Workforce ES-400 II Color Duplex Desktop Document Scanner for PC and Mac with Auto Doc Feeder (ADF), Image Adjustment Tools
FAST DOCUMENT SCANNING – Speed through stacks with the 50-sheet Auto Document Feeder, perfect for office scanning and...
As an affiliate, we earn on qualifying purchases.
Gathering Your Photos and Supplies
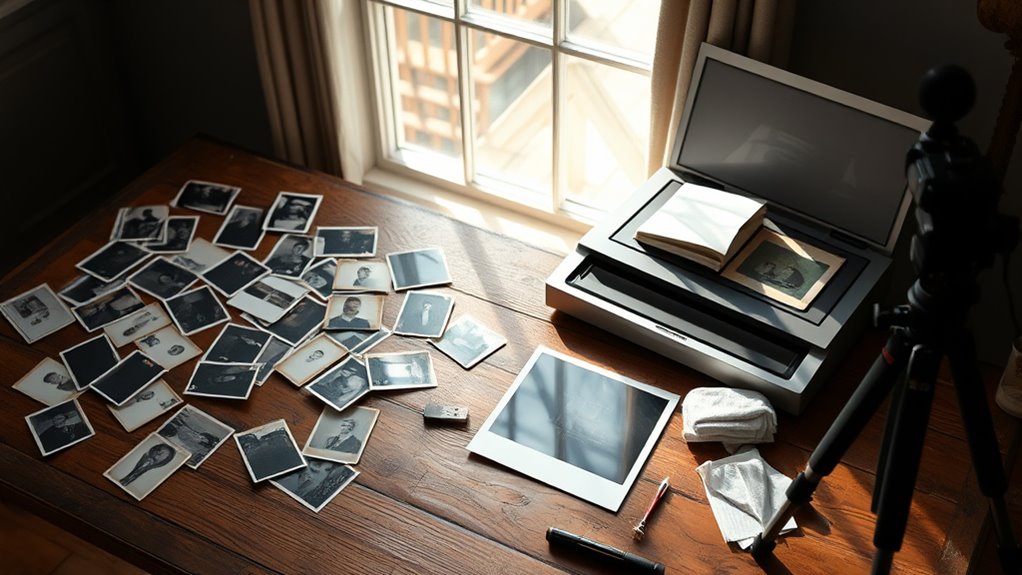
Before you begin digitizing your family photos, it’s important to gather all the items you’ll need. Start by collecting your photos, whether they’re in photo albums, boxes, or loose stacks. Organize them using photo album organization techniques so you can easily find specific images later. Next, gather supplies like gloves to prevent fingerprints, a clean workspace, and a scanner or camera. Consider archival storage solutions to protect original photos during the process and afterward. Having everything ready guarantees a smooth workflow and reduces interruptions. Proper organization not only speeds up the digitizing process but also helps keep your collection intact and manageable. Additionally, understanding the importance of AP Tuning techniques can inspire you to handle your collection with care, ensuring the preservation of your family history. Once you’ve assembled your photos and supplies, you’re ready to move forward with digitization confidently.

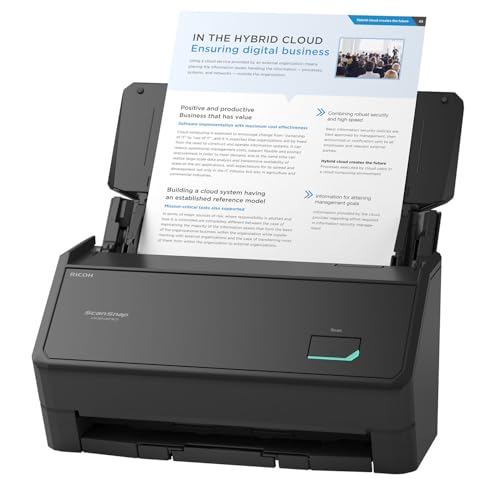
ScanSnap iX2500 Wireless or USB High-Speed Cloud Enabled Document, Photo & Receipt Scanner with Large 5" Touchscreen and 100 Page Auto Document Feeder for Mac or PC, Black
OUR MOST ADVANCED SCANSNAP. Large touchscreen, fast 45ppm double-sided scanning, 100-sheet document feeder, Wi-Fi and USB connectivity, automatic...
As an affiliate, we earn on qualifying purchases.
Choosing the Right Scanning Method
When selecting a scanning method, you’ll need to contemplate different scanner types, like flatbed or handheld models. Decide whether a desktop scanner or a portable device fits your space and convenience needs better. You should also choose between automatic scanners that handle the process for you or manual options that give you more control. Additionally, consider the headphone jack compatibility of your scanner if you plan to connect audio accessories or require specific ports for your setup.
Scanner Types Overview
Choosing the right scanner depends on the types and sizes of your family photos, as well as your desired quality and budget. For standard photos, flatbed scanners are versatile and easy to use, suitable for prints and documents. If you’re working with film negatives or slides, specialized slide scanners or film scanners are best, offering high-resolution and precise color reproduction. These scanners are designed to handle delicate negatives and slides, converting them into digital files with clarity. Consider whether you need a dedicated device for film or a general scanner with negative adapters. Budget options vary from basic models to high-end professional scanners, so choose one that matches your expectations for quality without overspending. This makes certain you get the best results for your family history project. Inspirational quotes about fatherhood can motivate you to preserve and cherish memories with your loved ones.
Desktop vs. Portable Options
Deciding between desktop and portable scanners depends on your specific needs and how you plan to digitize your family photos. Desktop scanners are ideal if you want high photo preservation quality and consistent image resolution, especially for larger or fragile photos. They often offer superior image resolution, ensuring detailed digital copies. Portable scanners, on the other hand, provide flexibility and convenience for quick scans or when space is limited. While they may not match the resolution of desktop models, many portable options still produce high-quality images suitable for most purposes. Consider how often you’ll scan photos, the size of your collection, and the level of detail you need. Additionally, understanding essential oils and their proper use can help you create a relaxing environment during your digitization project. Choosing the right scanner guarantees your family memories are preserved with clarity and precision.
Automatic vs. Manual Scanning
Selecting the right scanning method is key to efficiently digitizing your family photos. Automatic scanners are great for quick results and can handle large batches, making them ideal if you prioritize speed. They often deliver decent scanning accuracy but may compromise on detail, which can impact photo preservation. Manual scanning, on the other hand, allows for more precise control, ensuring higher scanning accuracy and better detail in each image. This method is better if you want to preserve the quality of delicate or valuable photos. While manual scanning takes more time and effort, it offers greater control over exposure, color, and clarity. Ultimately, choose automatic scanning for volume and convenience, and manual scanning if you want the best possible results for long-term photo preservation. Additionally, understanding the importance of color accuracy can help you achieve true-to-life reproductions of your images during the digital conversion process.
ScanSnap iX2400 High-Speed Simple One-Touch Button Color Document, Photo & Receipt Scanner with 100 Page Auto Document Feeder for Mac or PC, Black
SIMPLE, FAST ONE-TOUCH SCANNING. Press one button and documents are scanned, cleaned up, and organized at incredible speeds...
As an affiliate, we earn on qualifying purchases.
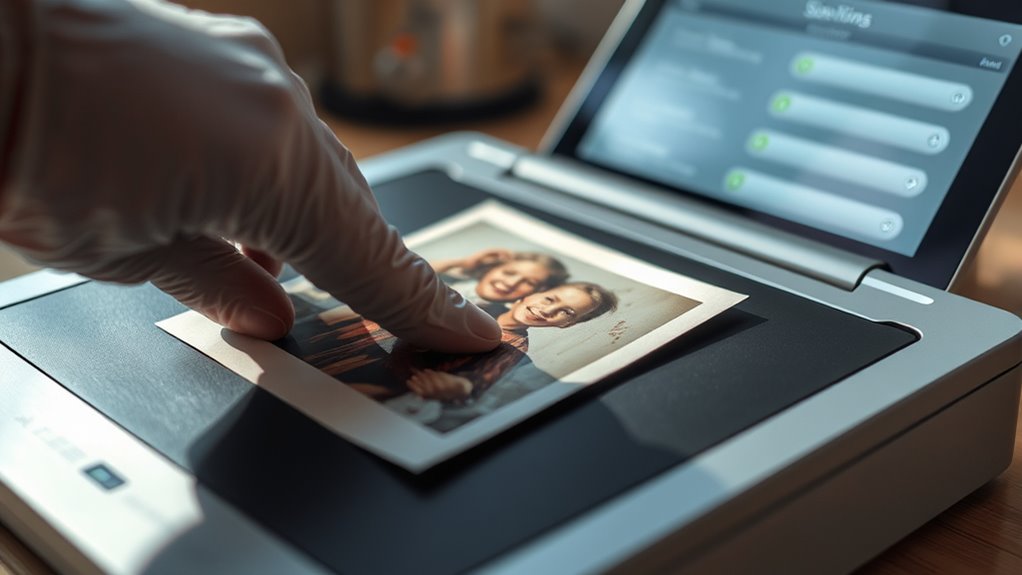
Preparing Your Photos for Scanning

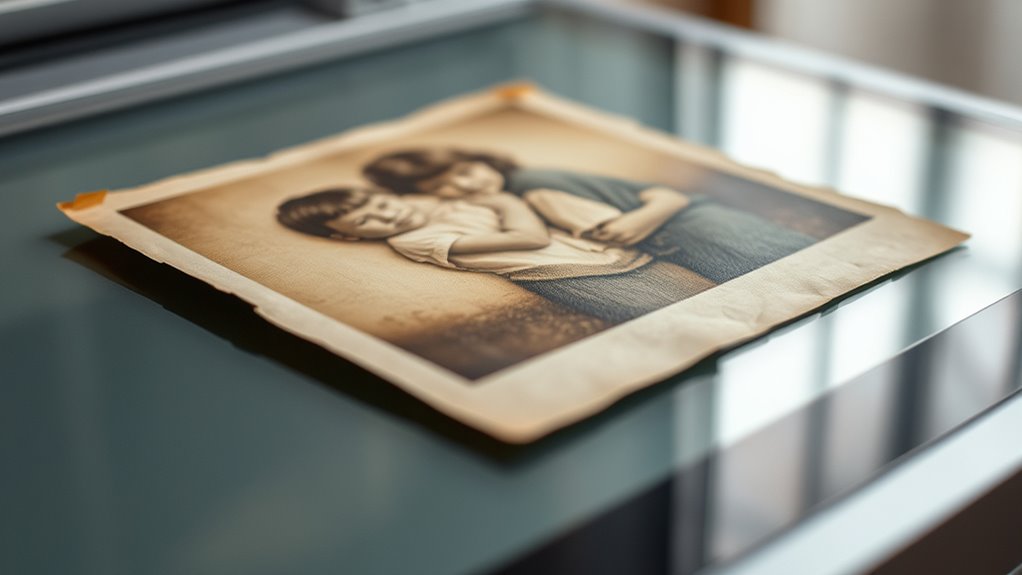
Before you start scanning, it’s important to prepare your photos to guarantee they come out clear and damage-free. Handle your photos with clean hands or wear gloves to prevent oils and dirt from damaging the images. Gently remove any loose dust or debris using a soft brush or a blower. If your photos have creases or tears, consider using archival materials like acid-free tissue paper to support and protect them during handling. Avoid using adhesives or tapes that could cause long-term damage. Confirm your photos are flat and free of curling by placing them under a heavy, clean object for a few hours if necessary. Proper preparation not only preserves the photos but also helps achieve high-quality digital copies. Additionally, understanding the importance of digital affairs can help you safeguard your digital images against potential emotional or legal issues in the future.
Canon imageFORMULA R10 - Portable Document Scanner, USB Powered, Duplex Scanning, Document Feeder, Easy Setup, Convenient, Perfect for Mobile Users
STAY ORGANIZED – Easily convert your paper documents into digital formats like searchable PDF files, JPEGs, and more.Power...
As an affiliate, we earn on qualifying purchases.
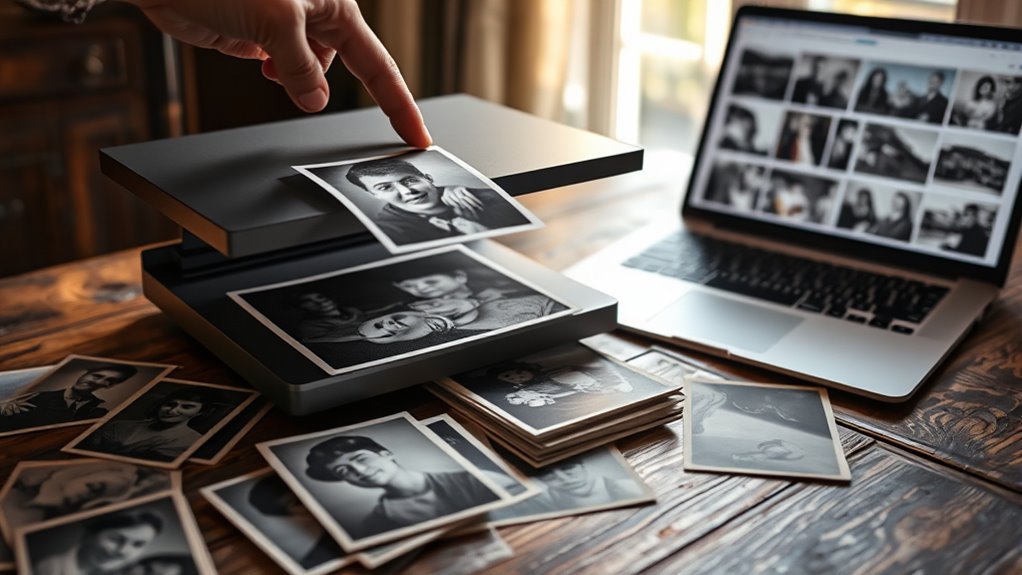
Scanning With a Flatbed Scanner
When you start scanning with a flatbed scanner, make sure your photos are clean and properly aligned. Adjust the scanner settings to get the best resolution and color accuracy for your images. Taking these steps guarantees your digital copies will look clear and true to the original. Additionally, ensuring your photos are digitized at a high quality can help preserve their details and prevent issues related to data privacy in digital storage.
Preparing Your Photos
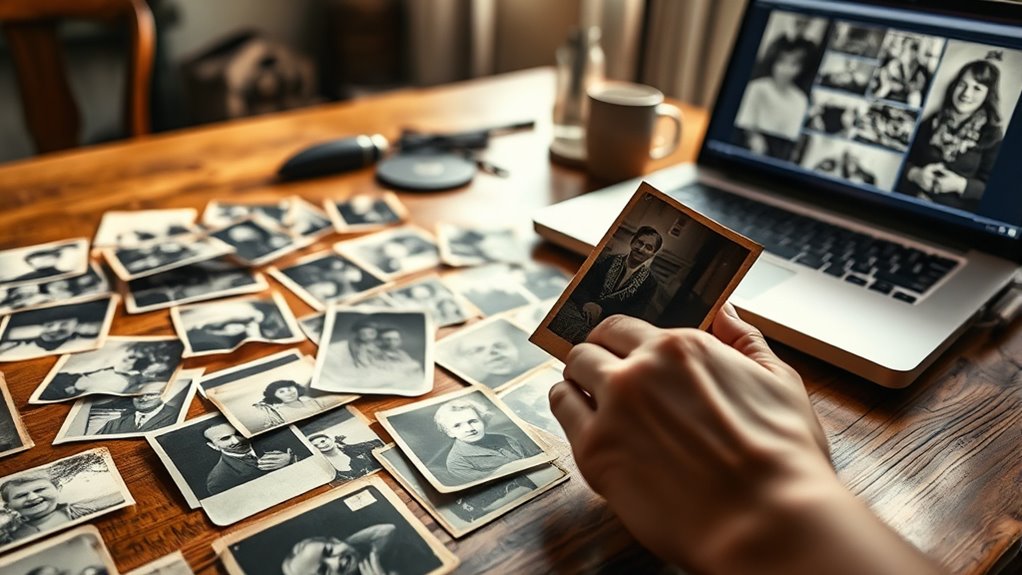
To guarantee your old family photos scan clearly and accurately, it’s important to prepare them properly before loading them onto your flatbed scanner. Start by carefully removing photos from albums, handling them by the edges to avoid fingerprints and damage. Organize your photos using photo album organization techniques—group similar sizes or themes for easier processing. Check each photo for dust, smudges, or tears, gently cleaning them with a soft brush or lint-free cloth. Store your photos temporarily in archival storage techniques, such as acid-free sleeves, to prevent further deterioration. This preparation minimizes scanning errors and ensures your digital copies are high quality. Additionally, storing photos properly can help maintain their condition over time and facilitate easier digitization. Taking these steps helps preserve your family history while making the scanning process smoother and more efficient.
Optimizing Scanner Settings
Optimizing your scanner settings is essential to capturing the best possible digital images of your old family photos. Start with resolution tips: scan at 300 to 600 DPI for high-quality results, especially if you plan to enlarge or print. Adjust color calibration to ensure accurate colors, avoiding dull or overly saturated images. Use the scanner’s preview feature to fine-tune settings before the final scan. Here’s a quick guide:
| Setting | Recommendation |
|---|---|
| Resolution | 300-600 DPI |
| Color Calibration | Match original photo colors |
| File Format | TIFF for preservation, JPEG for sharing |
| Brightness/Contrast | Adjust for clarity and detail |
Using a Smartphone or Tablet for Digitization

Using a smartphone or tablet for digitizing old family photos is an accessible and convenient option that many people overlook. With your device, you can quickly capture images without specialized equipment. To keep your digital collection organized, create a dedicated folder for scans and use consistent naming conventions. This makes photo organization easier and saves frustration later. When scanning, guarantee good lighting and hold your device steady to avoid blurry images. Once digitized, explore storage solutions like cloud services or external drives to keep your photos safe and accessible. Proper filter replacement and regular maintenance can help ensure your device’s camera remains in optimal condition, making your digitization efforts more effective. This method allows you to digitize multiple photos efficiently and keep your digital archive organized, making it simple to find specific memories and share them with family.
Adjusting Settings for Optimal Quality
Once you’ve captured your photos with your device, adjusting the settings guarantees they look their best. Properly configured settings enhance photo preservation and certify you choose the right digital file formats for longevity. Set your resolution high—ideally 300 dpi—to retain detail. Choose lossless formats like TIFF or PNG for archival quality, while JPEGs are suitable for sharing. Use the table below to guide your adjustments:
| Setting | Recommended Choice |
|---|---|
| Resolution | 300 dpi |
| File Format | TIFF or PNG (for preservation), JPEG (for sharing) |
| Color Settings | sRGB color profile |
Fine-tuning these parameters gives you clear, durable images that stand the test of time. Understanding the importance of scientifically-backed strategies can help ensure your digital archives support your holistic wellness journey.
Saving and Organizing Your Digital Files
After digitizing your photos, it’s essential to save and organize your files systematically to guarantee easy access and long-term preservation. Start by creating clear folders labeled with dates, events, or family members. Use consistent naming conventions for your files to prevent confusion. Incorporate photo metadata—such as dates, locations, and descriptions—to make searching easier later. Choose reliable storage solutions like external drives, cloud services, or a combination of both, ensuring your files are backed up regularly. Keep your digital library updated and organized, so you can quickly find specific photos whenever needed. Properly saving and organizing your digital files not only preserves your family history but also makes sharing memories simple and stress-free.
Editing and Enhancing Digital Images

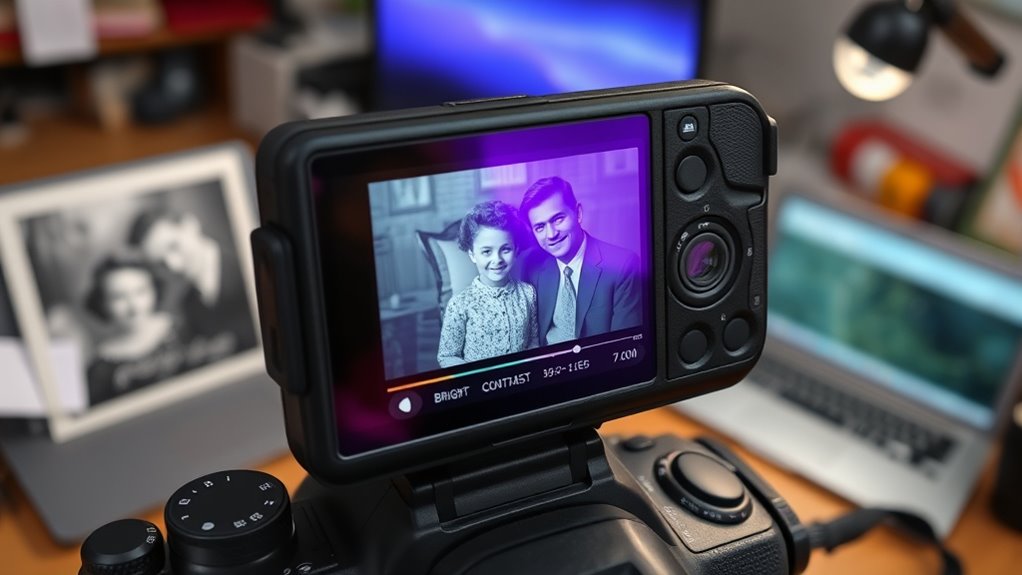
Once your photos are digitized, you can improve their appearance by adjusting brightness and contrast to bring out details. Removing digital blemishes helps restore faded or damaged areas, making your images look cleaner. Sharpening and enhancing details can add clarity and make your photos look more vivid and lively.
Adjust Brightness & Contrast
Adjusting the brightness and contrast of your scanned photos is a crucial step in enhancing their overall appearance. Proper adjustments can bring out hidden details, improve clarity, and make the image look more natural. When performing photo color correction, increasing the contrast can help define features, while adjusting brightness balances the overall tone. Use editing tools to fine-tune these settings until the image looks balanced and true to life. This process is essential for digital image enhancement, as it restores the photo’s original vibrancy and detail, especially if the scan is faded or dull. Be careful not to overdo it, which can cause loss of detail or unnatural coloring. Small, subtle adjustments often yield the best results, making your old photos more vivid and memorable.
Remove Digital Blemishes
Removing digital blemishes is an essential step in refining your scanned photos and restoring their original charm. Digital blemishes like dust, scratches, and spots can distract from the photo’s true beauty. Using photo restoration software, you can easily eliminate these imperfections. Carefully select the blemish removal or healing tool and brush over each flaw. To visualize the process, consider this table:
| Blemish Type | Common Location | Restoration Tip |
|---|---|---|
| Dust Spots | Faces, Background | Use healing brush |
| Scratches | Edges, Hair | Clone stamp tool |
| Discoloration | Faded areas | Adjust color correction |
| Fading | Overall image | Apply subtle touch-ups |
| Tears or Creases | Corners, Edges | Patch with surrounding pixels |
Sharpen and Enhance Details
To bring out the fine details and guarantee your scanned photos look sharp and vibrant, focus on enhancing the image’s clarity. Use sharpening tools to improve fine lines, textures, and edges, making details pop without introducing noise. Proper photo framing helps center the subject and eliminates distracting backgrounds, creating a more polished look. Next, perform color correction to restore faded hues, balancing brightness and contrast for a more authentic appearance. Adjusting color saturation enhances vibrancy, bringing your photos back to life. Be careful not to over-sharpen or over-saturate, as this can create unnatural results. Combining precise sharpening with thoughtful color correction ensures your digital images preserve the original charm and detail of your family photos.
Backing Up Your Digital Collection
Original Text:
Backing up your digital collection is essential to prevent the loss of precious family photos due to hardware failures, accidental deletion, or cyber threats. To ensure your memories are safe, store copies in multiple locations, like external drives and cloud services. Keep photo metadata intact to maintain context and details. Consider digital watermarking to protect against unauthorized use. Use a table to understand backup options:
| Storage Type | Benefits | Best Use |
|---|---|---|
| External Drive | Offline, portable | Local backups |
| Cloud Storage | Accessible, scalable | Off-site security |
| Network Server | Centralized, shared access | Family archives |
| DVDs/Blu-ray | Durable, long-term storage | Archival copies |
Regularly update backups to ensure all recent changes are saved and your collection remains protected.
Modified Text:
You are trained on data up to October 2023.
Sharing and Preserving Family Memories
After securing your digital family photos through reliable backups, sharing these memories helps strengthen your family bonds and keeps stories alive for future generations. You can create digital archives on cloud platforms or external drives, making access easy and safe. Consider using photo restoration tools to enhance faded or damaged images before sharing, ensuring they look their best. Sharing photos via email, social media, or family websites allows relatives to reconnect with past moments and add their stories. Preserving these memories digitally ensures they won’t fade or get lost over time. By combining thoughtful sharing with careful digital archiving and photo restoration, you safeguard your family’s history while fostering meaningful connections across generations.
Frequently Asked Questions
How Do I Identify the Best Resolution for Scanning Old Photos?
When choosing the photo resolution for scanning, consider your desired scanning quality. A higher resolution, like 300 DPI or above, captures more detail, making enlarged prints clearer. If you want to preserve fine details, opt for 600 DPI or higher. For sharing online, 300 DPI usually suffices. Balancing resolution with file size is key—you want sharp images without creating unwieldy files. Always scan at a resolution that matches your intended use for the photos.
What File Formats Are Recommended for Preserving Digital Images?
When choosing file formats for preserving digital images, you want options that support photo editing and guarantee quality. JPEG is common for sharing, but for archiving, TIFF offers high quality and flexibility for editing. PNG is great for images with transparency. Save your files in these formats and back them up to cloud storage to keep your family memories safe and accessible for future photo editing.
How Can I Prevent Damage During the Scanning Process?
To prevent damage during the scanning process, handle fragile photographs with care by using clean, lint-free gloves to avoid oils and dirt. Always support the photo’s edges and avoid touching the surface directly. Before scanning, gently clean photo surfaces with a soft brush or microfiber cloth to remove dust. These steps help protect your photos from scratches, tears, or other damage, ensuring your images stay preserved for years to come.
What Are Affordable Options for High-Quality Scanners?
Think of affordable scanners as the hidden gems waiting to unlock your memories. For budget scanners, brands like Epson, Canon, and Kodak offer high-quality options without breaking the bank. You can also try DIY scanning tips like cleaning your scanner glass and using the right resolution settings. These tips guarantee your scans come out crisp and clear, making it easier to preserve your family history for generations to come.
How Do I Restore Faded or Damaged Photos Digitally?
When restoring faded or damaged photos digitally, you’ll want to use photo editing software like Photoshop or GIMP. These tools allow you to perform digital restoration by adjusting brightness, contrast, and color balance. You can also repair tears, remove spots, and sharpen details. Take your time with photo editing to bring your images back to life, preserving those precious memories for future generations.
Conclusion
Now that you’ve got the tools and know-how, your family’s memories are safe from the jaws of time—more secure than Fort Knox! Digitizing your old photos might seem intimidating at first, but it’s a rewarding journey that keeps your stories alive for generations. So, grab your scanner or phone, plunge in, and turn those dusty snapshots into digital treasures. Your future self will thank you for preventing these priceless moments from vanishing into thin air!