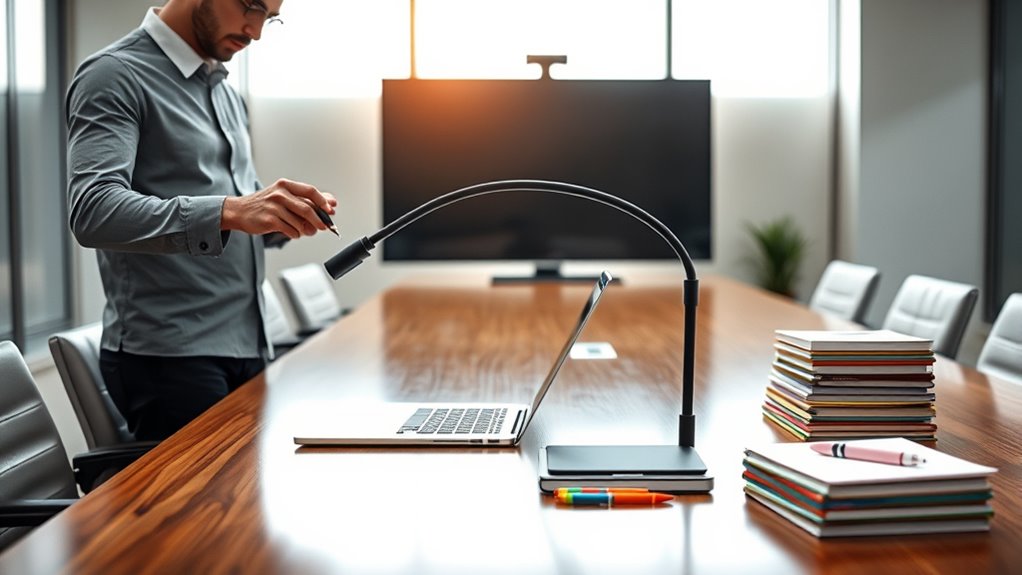

To set up a document camera for virtual meetings, position it directly above or at a slight angle to minimize distortion and guarantee the entire document or object is visible. Adjust the height for the best view, and lock the camera in place. Assess ambient lighting, eliminate glare, and use lamps with soft, even light at 45-degree angles. Check your setup with a quick test to improve clarity—continue to learn more tips for a professional presentation.
Key Takeaways
- Position the camera directly above or slightly angled for a clear, natural perspective of the document or object.
- Ensure even, glare-free lighting using natural light cautiously and adjustable artificial lights at 45-degree angles.
- Lock the camera in place after adjusting to prevent shifts and maintain a professional view throughout the meeting.
- Test the setup by reviewing the camera feed, adjusting angles and lighting for optimal visibility before going live.
- Connect the camera to your computer and verify image quality with a quick test to ensure clarity and proper setup.

Setting up a document camera is a straightforward process that can substantially enhance your teaching or presentation experience. When preparing for virtual meetings, proper camera positioning is essential to ensure your content is clear and engaging. Start by positioning the camera directly above or slightly angled toward the materials you plan to display. This setup minimizes distortion and offers your viewers a natural perspective, making it easier for them to follow along. Adjust the height so that the camera captures the entire document or object without cutting off edges or creating unnecessary shadows. Avoid placing the camera too low or at odd angles, as this can make your presentation appear awkward or unprofessional. Once you’ve found the ideal camera position, lock it in place to prevent accidental shifts during your session. Proper camera setup can make a significant difference in how your content is perceived. Lighting enhancement plays a key role in creating a sharp, well-lit image that’s easy to see. Before the meeting, evaluate your ambient lighting and make adjustments to eliminate glare and shadows. Natural light can be excellent, but it’s best to avoid direct sunlight that causes glare or uneven brightness. Supplement with controlled artificial lighting—such as desk lamps or adjustable LED lights—to evenly illuminate your materials. Position the lights so they don’t cast shadows over the document or object; typically, placing lights at 45-degree angles on either side works well. Avoid harsh, direct lighting that causes reflections or glare, especially if you’re working with glossy surfaces. If your camera has built-in light adjustment features, use them to fine-tune brightness and contrast, ensuring your visuals are crisp and legible. As you set up, double-check the overall scene before going live. Look through your camera feed to confirm that the positioning captures the full content clearly and that lighting is balanced. Small tweaks to either the camera angle or lighting setup can dramatically improve the clarity of your visuals. Remember, the goal is to make your content as visible and natural as possible without distracting shadows or glare. Once everything looks right, connect your camera to your computer and run a quick test to verify that the image quality aligns with your expectations. With these simple steps—focused on camera positioning and lighting enhancement—you’ll create a professional, visually appealing setup that greatly enhances your virtual meetings.

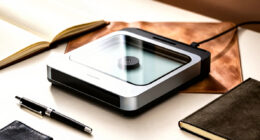
IPEVO V4K Ultra High Definition 8MP USB Document Camera — Mac OS, Windows, Chromebook Compatible for Live Demo, Web Conferencing, Distance Learning, Remote Teaching, Green
Features an 8 Megapixel camera for capturing Ultra High Definition live images up to 3264 x 2448 pixels
As an affiliate, we earn on qualifying purchases.
As an affiliate, we earn on qualifying purchases.
Frequently Asked Questions
How Do I Connect a Document Camera to Different Video Conferencing Platforms?
You can connect your document camera to various video conferencing platforms by checking its compatibility and using the appropriate device connection methods. Most cameras support USB or HDMI connections, which are widely compatible with platforms like Zoom, Teams, or Skype. Simply plug in your camera via USB or HDMI, select it as your video source within the platform’s settings, and verify your device drivers are up to date for seamless video conferencing compatibility.
What Are the Best Lighting Conditions for Clear Document Camera Images?
Think of your workspace as a stage where good lighting makes your performance shine. For clear document camera images, guarantee your lighting setup mimics daylight—bright but diffused—to avoid harsh shadows. Keep ambient conditions steady, avoiding glare or reflections. Use soft, even lighting from multiple sources if possible. This helps your camera capture crisp, detailed images, making your presentation more professional and engaging for your audience.
How Do I Troubleshoot Common Connectivity Issues With Document Cameras?
When troubleshooting connectivity issues with your document camera, start by checking for wireless interference that might disrupt the signal, like other devices or thick walls. Confirm your power supply is stable and plugged in properly, as power issues can cause connection drops. Restart your camera and your computer, update drivers, and re-establish the connection. If problems persist, try using a wired connection to improve stability.
Can I Use a Document Camera With Multiple Devices Simultaneously?
Yes, you can use a document camera with multiple devices simultaneously for multi-device sharing and simultaneous viewing. To do this, you’ll need a capture device or software that supports multiple outputs. Connect the camera to a computer or hub that manages multiple streams, then share those streams across various devices. Keep in mind, the quality of simultaneous viewing depends on your network speed and hardware capabilities.
What Maintenance Is Required to Keep My Document Camera Functioning Properly?
To keep your document camera functioning properly, you should regularly clean the lenses with a soft, lint-free cloth to guarantee clear images. Additionally, check for firmware updates from the manufacturer and install them whenever available. This maintains peak performance and security. Avoid using harsh chemicals, and handle the device gently during cleaning and updates. Regular maintenance ensures your document camera stays reliable and delivers high-quality visuals during your virtual meetings.
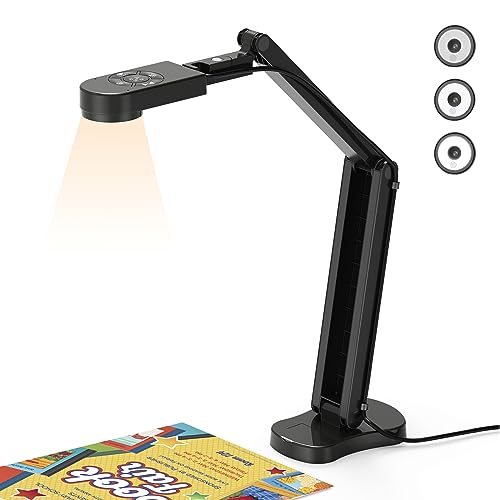
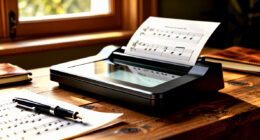
THUSTAR 8MP Document Camera & Webcam 4K with Dual Microphones, USB Visualiser A3-Size, 3-Level LED Lights, Image Invert Function, Fold, for Live Demo, Distance Education -Windows, macOS and Chrome OS
USB Document Camera with adjustable image reversal: The camera that can manually adjust image reversal. In video chat…
As an affiliate, we earn on qualifying purchases.
As an affiliate, we earn on qualifying purchases.
Conclusion
Now that you’ve set up your document camera, you’re like a modern-day Galileo, bringing ideas into focus with clarity and confidence. Just as telescopes reveal distant worlds, your camera uncovers details others might miss. With this simple tool, you’ll elevate your virtual meetings, making your presentations as captivating as a starry night. Embrace the power of technology, and let your visuals shine as brightly as the constellations above.

AlKOR USB Document Camera for Teaching & Distance Learning,Manual Focus Webcam with Mic, Foldable Design for Mac OS/Windows/Chromebook-Online Classes, Web Conferencing & Live Demos,Remote Work
AIKOR 2MP 3-in-1 USB Webcam, Document Camera and Visualiser: It can be used as a webcam for video…
As an affiliate, we earn on qualifying purchases.
As an affiliate, we earn on qualifying purchases.
IPEVO V4K Ultra High Definition 8MP USB Document Camera — Mac OS, Windows, Chromebook Compatible for Live Demo, Web Conferencing, Distance Learning, Remote Teaching, Green
Features an 8 Megapixel camera for capturing Ultra High Definition live images up to 3264 x 2448 pixels
As an affiliate, we earn on qualifying purchases.
As an affiliate, we earn on qualifying purchases.