
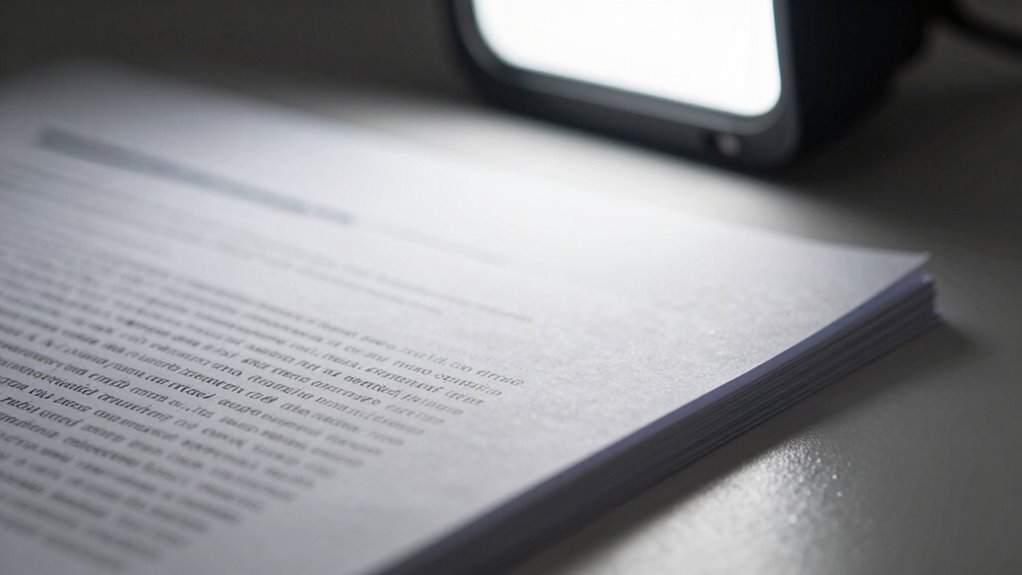
The key lighting trick most overlook is using diffused, angled light sources to eliminate shadows and glare, ensuring crisp, clear images. Position lights at 30-45 degrees to avoid harsh reflections, and use diffusers or softboxes to soften the light and even out coverage. Proper brightness and color temperature are essential for true color accuracy. If you keep exploring, you’ll discover how small adjustments can make a big difference in your document camera quality.
Key Takeaways
- Use diffused, soft lighting at 30-45 degree angles to minimize shadows and glare on documents.
- Incorporate diffusion accessories like softboxes or translucent fabrics for even, glare-free illumination.
- Position lights slightly in front and to the sides, avoiding overhead glare and reflections.
- Match light color temperature to natural daylight for true color accuracy.
- Use multiple light sources to evenly fill shadows and prevent uneven illumination.

RALENO Softbox Photography Lighting Kit, 16'' x 16'' Softbox Lighting for TikTok with LED Bulb (50W | 5500K | 97 CRI | TLCI≥97), Continuous Light for Video Recording & Photography Shooting
COMPACT & DELICATE SOFTBOX: Are you looking for a compact and delicate softbox kit? Then the 16×16-inch softbox…
As an affiliate, we earn on qualifying purchases.
As an affiliate, we earn on qualifying purchases.
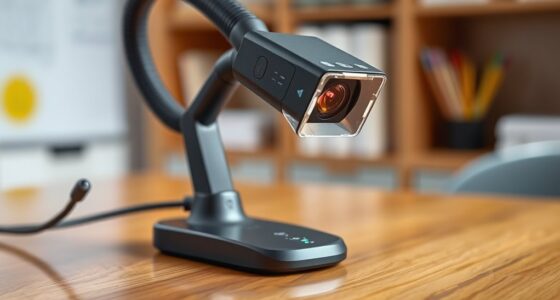
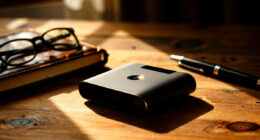
Why Lighting Is Key to Clear Document Camera Images
Good lighting is essential for capturing clear images with a document camera because it directly affects how well the camera can see and focus on the documents. Proper lighting ensures your camera’s sensor receives enough light, reducing the need for constant adjustments during document camera calibration. Bright, even lighting minimizes shadows and glare, which can distort images and hinder clarity. Software enhancements can help optimize image quality, but they work best when the initial capture is well-lit. By controlling lighting conditions, you make calibration easier and improve overall focus. This results in sharper, more legible images, whether for presentations, recordings, or remote learning. Remember, good lighting sets the foundation for high-quality images, reducing the need for post-processing or troubleshooting. Additionally, understanding proper lamp height can significantly enhance the lighting setup for your document camera. Implementing risk management strategies can also help ensure consistent image quality over time. Moreover, investing in competitive pricing can provide better equipment options, leading to improved lighting and overall image clarity. A well-designed workspace setup can further contribute to achieving optimal lighting conditions. In fact, the importance of Italian gelato culture can be likened to how essential good lighting is for visual clarity.

LED Desk Lamp with USB Ports,Touch Desk Lamps for Home Office with 5 Color Modes,3 Brightness Desk Light with Small Night Light,Reading Lamp Table Lamp for Bedroom Bedside Study Black (with adapter)
【TOUCH CONTROL DIMMABLE DESK LAMP】 the LED desk light has 5 light colors and 3 brightness levels. You…
As an affiliate, we earn on qualifying purchases.
As an affiliate, we earn on qualifying purchases.
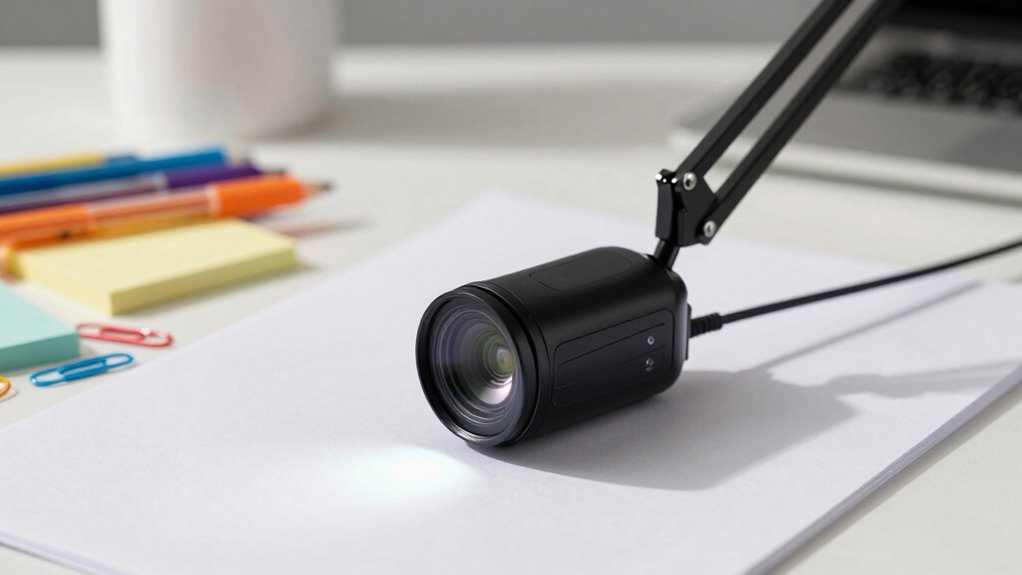
How Light Direction and Brightness Impact Your Setup
The direction and brightness of your lighting play essential roles in how well your document camera captures images. Proper light direction minimizes shadows and glare, making details clearer. Aim light sources to shine directly onto the document without creating harsh reflections. Brightness controls how much detail your camera can pick up; too dim, and your images lose clarity, too bright, and highlights may wash out. Adjust the light temperature to match the document’s colors—warm (lower color temperature) adds a cozy feel, while cooler (higher color temperature) produces a more neutral look. Consistent light direction prevents color shifts and uneven illumination. By balancing light brightness and carefully choosing light direction, you guarantee your document camera captures sharp, true-to-life images every time.
Photography Diffuser Fabric 78.7 x 59 Inches/ 2 x 1.5M Nylon Light Modifier Cloth for Lighting Softbox, Light Box Tents, Panel
Diffusion Fabric: Effectively soften the light of natural light and all kinds of film and photography lights.
As an affiliate, we earn on qualifying purchases.
As an affiliate, we earn on qualifying purchases.
Why Diffused Lighting Improves Clarity
- Minimizes shadows and glare for sharper details. Additionally, using natural lighting techniques can enhance the quality of your document presentations significantly.
- Guarantees consistent light color and temperature for true color reproduction.
- Improves overall image clarity, making text and images easier to read and analyze. Furthermore, achieving color accuracy is crucial for ensuring that the details are faithfully represented.

iZELL Reading Light, USB Clamp Lamp for Child Reading Book in Bed at Night, LED Small Desk Lamp with Silicone Adjustable Arm Clip on Beside Table for Studying Working Drafting Sewing – 15.8‘’ White
【ENERGY SAVING EYE CARE LAMP】- This led book light consumes 80% less energy compared to incandescent lamps. Consists…
As an affiliate, we earn on qualifying purchases.
As an affiliate, we earn on qualifying purchases.
Choosing the Best Light Sources for Your Needs
How do you choose the best light sources for your document camera setup? Focus on lighting with adjustable color temperature to match your environment, ensuring clarity without color distortion. Proper lighting is essential for showcasing details accurately, much like ensuring safety in waterpark environments. Utilizing LED skincare masks can also help promote skin health while working in front of your camera setup. Energy efficiency is also key; LED lights are a smart choice for saving power and reducing heat. Additionally, using portable oil radiators can help maintain a comfortable temperature in your workspace without adding excess humidity. Consider the table below to understand your options:
| Light Source | Advantages | Disadvantages |
|---|---|---|
| LED | Energy-efficient, adjustable color temp | Higher upfront cost |
| Fluorescent | Bright, affordable | Less energy-efficient, flicker risk |
| Incandescent | Warm light | Low efficiency, heat production |
| Halogen | Bright, color accurate | High energy consumption |
| Natural Light | Cost-free, natural | Unpredictable, depends on weather |
Pick a source that balances color accuracy, energy use, and your setup needs. Additionally, using advanced filtration systems can help maintain a healthy environment while using your document camera. A well-lit workspace can significantly enhance bonding with the newborn, fostering a better atmosphere for both work and personal life.
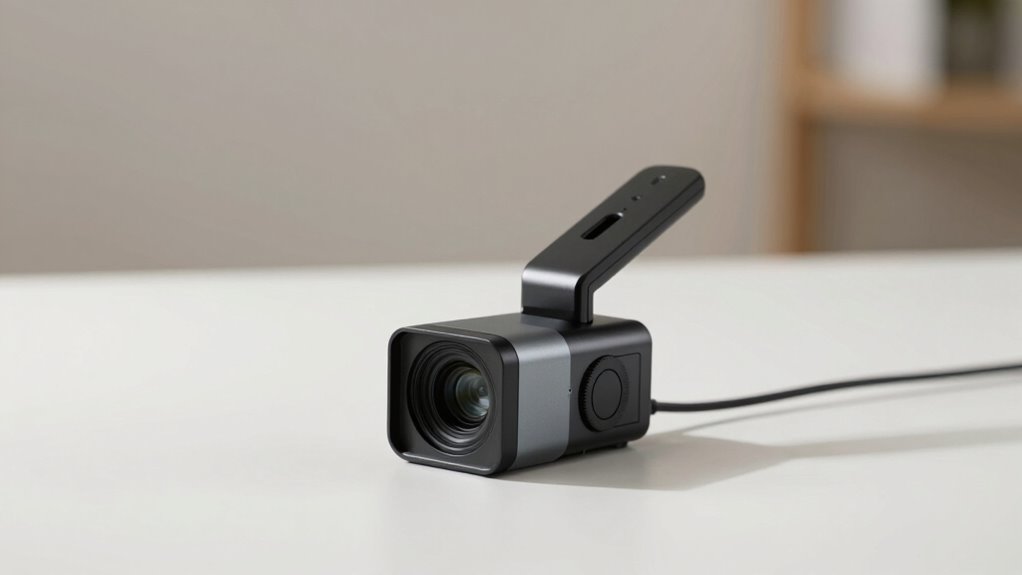
How to Position Your Lights for Maximum Visibility
To get the best visibility, you need to carefully position your lights to avoid shadows and guarantee even coverage. Using diffused lighting softens harsh spots, making details clearer. Position your lights at strategic angles to eliminate glare and maximize clarity on your document camera. Additionally, consider the optimal placement of fixtures to enhance the overall lighting design in your workspace. Incorporating principles from AI ethics can also help in designing spaces that promote user comfort and efficiency. Furthermore, integrating aromatherapy benefits can create a calming environment that enhances focus and productivity. Maintaining a balanced approach to weight and diabetes management can improve overall well-being and concentration while working. It’s also important to ensure that water damage is addressed quickly, as it can affect not only the environment but also the quality of your workspace.
Avoid Shadows With Placement
Properly positioning your lights is essential to eliminate shadows that can obscure your document camera’s view. Shadow prevention depends heavily on how you arrange your lighting to complement camera positioning. To achieve this:
- Place lights at angles that illuminate the document evenly, avoiding direct overhead placement which can cast shadows.
- Use multiple light sources to fill in potential shadow areas, especially on uneven surfaces.
- Keep lights slightly in front and to the sides of the document, not directly above or behind, to minimize shadow creation.
Additionally, understanding golf history can enhance your appreciation for the precision required in both lighting setups and the game itself. Similarly, exploring regional flavors in coffee and tea can deepen your insight into the subtleties involved in creating the perfect setup.
Utilize Diffused Lighting Effects
Using diffused lighting is key to achieving maximum visibility with your document camera. It softens harsh shadows and creates even illumination, making details clearer. Pay attention to color temperature—aim for a neutral or slightly warm tone to enhance clarity without distorting colors. Adjust the light intensity so it’s bright enough to illuminate your document without causing glare or washout. Using diffusers or bouncing light off reflective surfaces helps spread light evenly across the subject. Proper diffusion reduces eye strain and ensures your viewers see every detail sharply. Keep the light source consistent in quality and position to maintain uniform illumination. By controlling these factors, you’ll optimize your setup for crisp, clear images every time.
Position Lights at Angles
Positioning your lights at the right angles is vital for achieving maximum visibility with your document camera. Proper angles reduce glare and shadows, guaranteeing clear, sharp images. Use creative lighting by experimenting with different angles to highlight details effectively. Keep in mind that adjusting the color temperature of your lights can enhance clarity and reduce color distortions.
Here are three tips to optimize your setup:
- Angle lights at 30 to 45 degrees to evenly illuminate the document without creating reflections.
- Use softer, diffused lights at these angles to avoid harsh shadows and glare.
- Match the color temperature of your lights to natural daylight for true color accuracy.
Positioning lights at strategic angles combined with creative lighting techniques ensures your document camera captures every detail perfectly.
Common Lighting Mistakes That Hurt Your Image Quality
Poor lighting can ruin your image quality quickly. Overhead glare, lack of diffusion, and uneven shadows all create distractions and reduce clarity. Recognizing these common mistakes helps you correct them for a sharper, more professional look. Additionally, ensuring proper home safety measures can enhance both your setup and overall comfort during use. Incorporating effective soundproofing techniques can also minimize external noise, allowing for a more focused recording environment. Furthermore, maintaining a balance between support and boundaries in your space can foster a more productive atmosphere for both you and your viewers.
Overhead Lighting Glare
Overhead lighting glare is a common mistake that can considerably degrade your document camera’s image quality. It creates unwanted reflections and reduces clarity, making details hard to see. To avoid this, consider these tips:
- Position lights at an angle to prevent direct overhead glare and minimize lighting shadows.
- Use diffusers or softboxes to scatter light evenly, reducing harsh reflections.
- Adjust the height and angle of your lights to avoid shining directly onto the document or surface.
Insufficient Diffusion Techniques
Insufficient diffusion of light can considerably impair your document camera’s image quality by creating uneven lighting and harsh shadows. Without proper diffusion materials, light beams remain harsh and direct, causing glare and sharp shadows that obscure details. Using basic lighting accessories like bare bulbs or unshielded lamps increases the risk of uneven illumination. To improve your setup, incorporate diffusion materials such as softboxes, diffusers, or translucent fabrics that spread light evenly across your document. These accessories reduce harshness and eliminate hotspots, resulting in a clearer, more professional image. Neglecting diffusion techniques can leave your footage looking stark and unappealing, so always guarantee your lighting accessories are properly configured to soften and disperse light effectively.
Uneven Shadow Distribution
Have you noticed uneven shadows that distract from your document camera’s clarity? Uneven shadow distribution can create irregular shadow patterns, making your images look unprofessional. To improve, focus on achieving light uniformity across your setup. Here are three common mistakes to avoid:
- Positioning lights too close or at odd angles, creating harsh or uneven shadows.
- Using a single light source, which causes inconsistent shadow patterns.
- Ignoring diffuser placement, leading to sharp shadow edges and uneven light spread.
Address these issues by spreading your lighting evenly and avoiding harsh angles. Proper placement and diffusers help create soft, uniform light, reducing unwanted shadow patterns. This results in clearer, more professional-looking images and a better viewing experience.
Simple Accessories to Enhance Your Document Camera Lighting
Enhancing your document camera lighting doesn’t require complex equipment—simple accessories can make a significant difference. Using basic items like color calibration cards helps guarantee accurate color reproduction, preventing dull or off-tone images. These cards are easy to incorporate and improve the overall quality of your visuals. Additionally, consider the power sources for your lighting setup. Portable options like rechargeable batteries or USB-powered lights give you flexibility, especially if you’re working in different locations or without nearby outlets. Small accessories such as adjustable clip-on lights or diffusers can also soften shadows and improve light distribution. Together, these simple tools help you achieve more consistent, professional-looking images without the need for expensive upgrades.
Frequently Asked Questions
Can Natural Light Be Effectively Used With a Document Camera?
Yes, you can effectively use natural light with a document camera. You want to maximize ambient illumination while avoiding harsh shadows, so position your camera near a window with diffused light. Using light diffusion techniques, like sheer curtains or a white sheet, helps soften the light, reducing glare and glare spots. This setup creates a balanced, bright image that improves clarity without relying solely on artificial lighting.
How Do I Prevent Shadows on My Documents During Filming?
To prevent shadows on your documents, focus on shadow reduction by adjusting your lighting angles. Position lights at a 45-degree angle from the document, avoiding direct overhead placement. Use multiple light sources if possible, and guarantee they’re evenly distributed to minimize shadows. Soft, diffused lighting also helps, so consider using lamp covers or diffusers. Experiment with angles until you find the setup that keeps your documents well-lit and shadow-free.
What’s the Ideal Color Temperature for Document Camera Lighting?
Think of your lighting as the brushstrokes on a canvas, shaping how your documents appear. Aim for a color temperature around 5000K to 5500K, which provides neutral, daylight-like light. This range guarantees accurate color reproduction and reduces harsh shadows. Use diffusers to soften the light, enhancing color accuracy and preventing glare. Proper temperature and diffusion help your audience see every detail clearly, just as you intend.
How Often Should I Replace or Upgrade My Lighting Setup?
You should consider replacing or upgrading your lighting setup every 12 to 18 months, depending on usage and performance. Regular lighting maintenance helps guarantee consistent brightness and color accuracy, preventing dimming or color shifts. If your lights flicker, become dimmer, or show signs of wear, it’s time for an upgrade. Staying proactive with your lighting maintenance and upgrading frequency keeps your document camera images clear and professional.
Are There Specific Light Brands Recommended for Document Cameras?
You should absolutely consider trusted brands like Neewer, Elgato, or LimoStudio for your lighting equipment, as they deliver professional-grade brightness and clarity. These brands are renowned for their durability and consistent performance, making your document camera setup look flawless. Skimping on brand recommendations could turn your presentation into a shadowy mess, so invest wisely in reliable lighting gear to make every detail pop brilliantly.
Conclusion
Mastering your document camera lighting is like tuning a fine instrument—you’ll reveal crystal-clear images that captivate your audience. By paying attention to light direction, diffusion, and positioning, you transform ordinary setups into extraordinary ones. Avoid common mistakes, and use simple accessories to boost your clarity. When your lighting is just right, your documents will shine brighter than ever, making your presentations as smooth and impactful as a gentle breeze on a warm day.