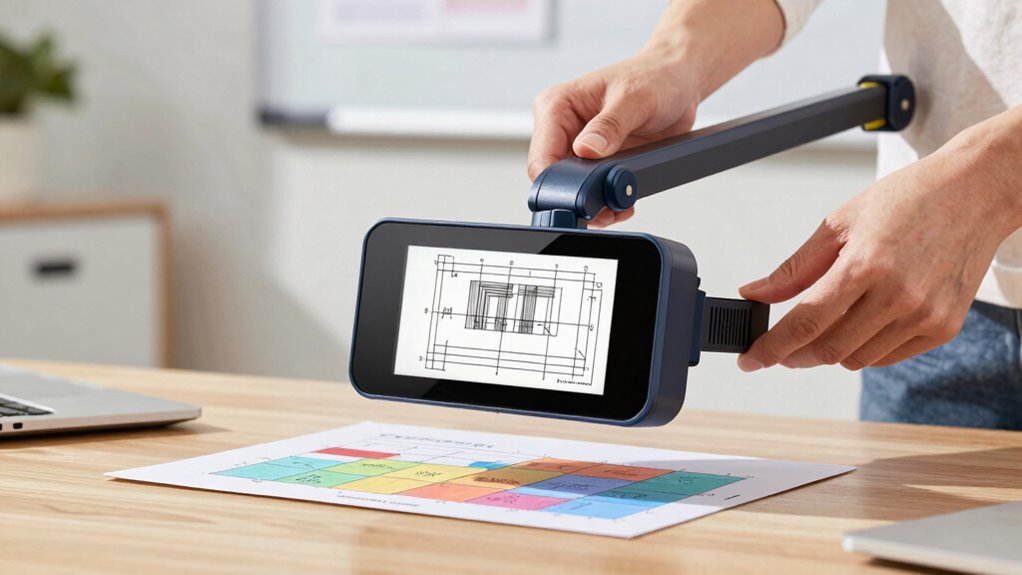

To explain forms faster with a document camera, position it directly above the document for a clear view, adjusting height and focus for sharp images. Use good lighting and highlight sections for emphasis, switching quickly between annotation tools if needed. Keep the camera steady and centered to prevent distortion. Incorporate visual cues like zooming or highlighting to make explanations more engaging and efficient. Keep practicing these tips to reveal even more techniques as you go.
Key Takeaways
- Position the camera directly above the form for clear, distortion-free images.
- Adjust lighting and focus settings to ensure crisp, glare-free visibility.
- Highlight key sections or details using color coding or digital annotations.
- Keep camera steady and at the optimal height to capture the entire form efficiently.
- Use quick transitions, such as zooming or highlighting, to emphasize important points rapidly.
THUSTAR 8MP Document Camera & Webcam 4K with Dual Microphones, USB Visualiser A3-Size, 3-Level LED Lights, Image Invert Function, Fold, for Live Demo, Distance Education -Windows, macOS and Chrome OS
- Adjustable Image Reversal: Manual left/right and up/down flip
- High-Resolution Output: 8MP, 2448P, 30fps live video
- Auto Focus Feature: Single press for automatic focus
As an affiliate, we earn on qualifying purchases.
As an affiliate, we earn on qualifying purchases.
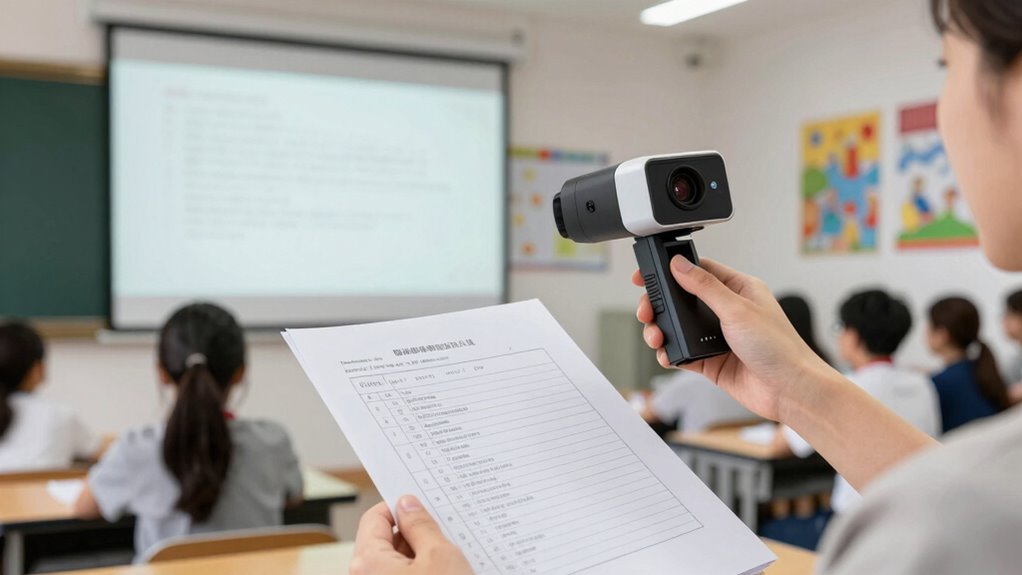
Why Using a Document Camera Can Help You Explain Forms Faster
—
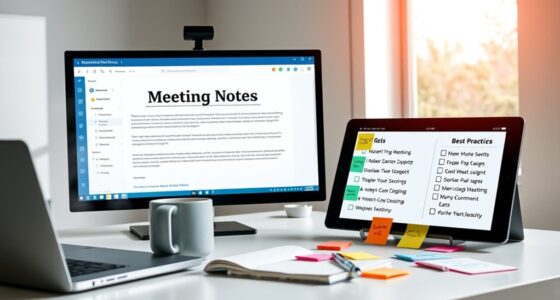
Have you ever struggled to clearly explain complex forms or documents? A document camera can help you do this faster and more effectively. With digital integration, you can project documents in real-time, allowing everyone to see details instantly. This speeds up your explanation, reducing confusion and questions. Accessibility features, such as adjustable contrast and magnification, make it easier for learners with visual impairments to follow along. Instead of flipping through pages or passing around papers, you can showcase the entire form on a screen, saving time. Plus, your audience stays engaged because they see exactly what you’re pointing to, making the process smoother. Using a document camera streamlines explanations, making complex forms easier to understand for everyone. Additionally, it can enhance color accuracy in visual presentations, ensuring that important details stand out effectively. By utilizing digital content formats, you can further improve how information is conveyed, making the learning experience more dynamic. Furthermore, like the growing trend of plant-based ice cream, which caters to diverse dietary needs, a document camera can adapt to various learning styles, making it a versatile tool in any educational setting. This inclusivity mirrors the fashion industry’s move towards inclusive casting, ensuring that all individuals have representation in various fields. With a document camera, you can present savory ingredients clearly, making complex recipes easier to follow along with during cooking demonstrations.
—

Elmo 1433 Model OX-1 Visual Presenter Document Camera, 1080p Full HD USB, 8MP CMOS Sensor, Built-In Microphone, One-Push Auto Focus, 8x Digital Zoom, A3 Capture Area, Foldable, White
- Video Resolution: 1080p Full HD at 15fps, 720p at 30fps
- Zoom and Microphone: 8x digital zoom, built-in microphone
- Sensor and Resolution: 8MP CMOS sensor, 3280×2464 pixels
As an affiliate, we earn on qualifying purchases.
As an affiliate, we earn on qualifying purchases.
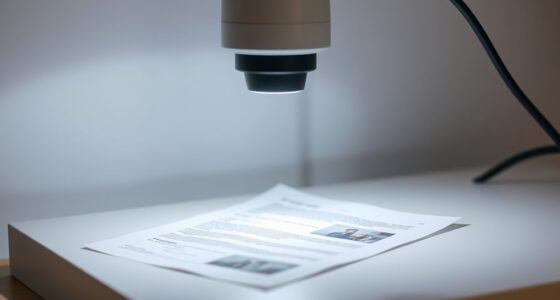
Setting Up Your Document Camera for Clear, Sharp Images
To get clear, sharp images, start by properly positioning your camera directly above the document, ensuring it’s centered and stable. Next, adjust the focus settings so the text appears crisp without blurriness. Fine-tuning these details will make your document images sharp and easy to read. Additionally, consider the investment strategies that could be illustrated with your document camera for enhanced understanding. Utilizing a flexible publishing platform can also help you explore new tools that enhance your presentation experience. Furthermore, understanding the brewing methods can provide valuable visuals when discussing coffee-related topics. Incorporating visuals of farmhouse designs can further enrich your explanations and engage your audience effectively.
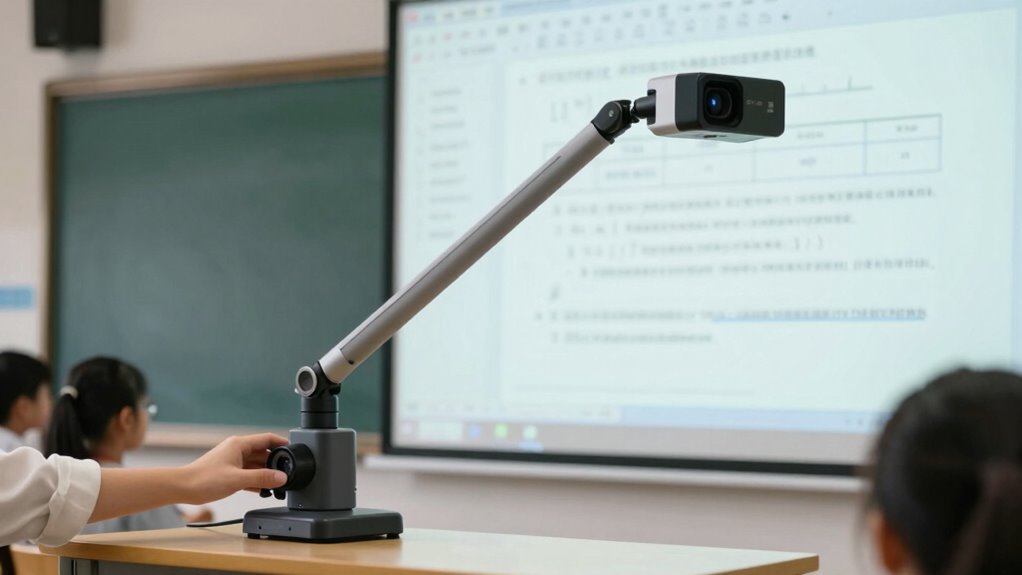
Proper Camera Placement
Ensuring your document camera is properly positioned is vital for capturing clear, sharp images. Start with camera positioning by placing it directly above the document, avoiding angles that distort or obscure details. Adjust the height so the entire form fits within the frame without excessive zoom, which can reduce clarity. Good lighting techniques are also essential; make sure the area is well-lit with even, soft light to prevent shadows or glare. Position your light sources to minimize reflections on glossy surfaces. Keep the camera steady, using a stable surface or tripod if available. Consistent lighting and precise camera positioning make it easier to capture sharp images, helping your audience see every detail clearly and speeding up the explanation process. Additionally, incorporating natural light into your setup can enhance the overall visibility and warmth of your presentation. The clarity of your visuals can significantly impact audience engagement, making effective communication essential in educational settings.
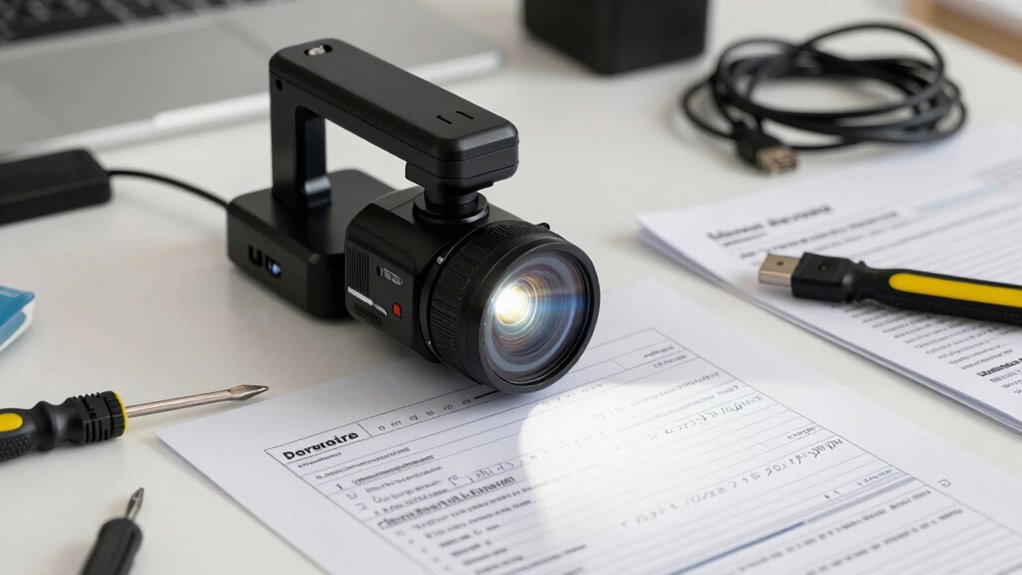
Adjusting Focus Settings
Are you getting blurry or out-of-focus images with your document camera? To fix this, start with lens calibration to verify the camera’s optics are aligned correctly. Many cameras have manual focus controls, but if yours features autofocus adjustment, use it to fine-tune the sharpness. First, place your document in the camera’s view and activate autofocus. If the image remains blurry, manually adjust the focus dial until the text is crisp. Regular lens calibration helps maintain clarity over time, especially if you move the camera frequently. Additionally, optimizing the air quality benefits of your workspace can improve overall visibility and focus. Clear, well-lit environments, similar to those seen in runway styles, can significantly enhance image quality. Effective ethical choices in lighting and workspace setup also contribute to better visual clarity. Using lightweight foundations can help create a more inviting atmosphere for presentations. Double-check that the autofocus adjustment is functioning properly, as this can save you time during presentations. Clear, sharp images make it easier to explain forms effectively and keep your audience engaged. Additionally, ensuring your document camera is properly mounted and leveled can enhance image quality by preventing distortion.

IPEVO V4K Ultra High Definition 8MP USB Document Camera — Mac OS, Windows, Chromebook Compatible for Live Demo, Web Conferencing, Distance Learning, Remote Teaching, Green
- High-Resolution Camera: 8MP Ultra HD live images
- Smooth Live Streaming: Up to 30 fps at full HD
- Fast Focusing: Minimizes interruptions during use
As an affiliate, we earn on qualifying purchases.
As an affiliate, we earn on qualifying purchases.
Quick Tips to Highlight and Annotate Forms on the Spot
When you’re working with a document camera, highlighting and annotating forms quickly can make a big difference in your presentation. Use color coding to distinguish different sections or key points instantly—bright colors grab attention and make information clearer. Keep annotation tools handy, like pens or digital markup features, to jot down notes or circle important details on the spot. Additionally, having a support network can enhance your confidence during presentations, allowing you to focus more on your audience. Incorporating architectural solutions can streamline your content delivery, ensuring that your message resonates effectively. Adjust your highlight thickness and color for emphasis, and switch between tools seamlessly to avoid delays. Practice quick, confident strokes to keep your flow smooth. By combining color coding with efficient annotation tools, you can clarify complex forms rapidly, helping your audience understand and follow along without missing a beat. Additionally, incorporating performance parts upgrades can enhance the overall effectiveness of your presentation environment.
THUSTAR 8MP Document Camera & Webcam 4K with Dual Microphones, USB Visualiser A3-Size, 3-Level LED Lights, Image Invert Function, Fold, for Live Demo, Distance Education -Windows, macOS and Chrome OS
- Adjustable Image Reversal: Manual left/right and up/down flip
- High-Resolution Output: 8MP, 2448P, 30fps live video
- Auto Focus Feature: Single press for automatic focus
As an affiliate, we earn on qualifying purchases.
As an affiliate, we earn on qualifying purchases.
Troubleshooting Common Document Camera Problems
Have you ever faced a blurry image or a frozen screen while using your document camera? These issues often stem from technical glitches or improper maintenance routines. Start by checking the camera’s connections and power source—loose cables or low batteries can cause disruptions. Regularly clean the lens with a soft, dry cloth to prevent smudges that blur images. If the image freezes, try restarting the device or updating its firmware. Confirm your software is compatible and up to date. Troubleshooting also includes inspecting the mount and focus settings. If problems persist, consult the user manual or contact tech support. Staying proactive with maintenance routines minimizes technical glitches and keeps your document camera functioning smoothly, making your form explanations faster and more effective. Additionally, engaging in music therapy integration can enhance your focus and reduce stress while troubleshooting these technical issues. Understanding the importance of proper maintenance routines can also help prevent future problems with your document camera. Using a sulfate-free shampoo can help maintain the overall health of your hair, ensuring you look your best while presenting. Moreover, be aware that using eco-friendly craft materials can further support sustainable practices in your presentations. Incorporating landscaping techniques can create a more inviting atmosphere for your audience, enhancing their engagement with the material.
Engage Your Audience During Form Explanations
After resolving technical issues and ensuring your document camera operates smoothly, the next step is to actively engage your audience during form explanations. Use interactive techniques like asking questions or encouraging audience participation to keep everyone involved. Point out specific sections of the form, then pause to invite feedback or clarify doubts. Make eye contact and vary your tone to maintain interest. Incorporate visual cues, such as highlighting or zooming in on important details, to make explanations clearer. By involving your audience, you foster a more dynamic learning environment and help prevent misunderstandings. Remember, your goal is to make the process as interactive and engaging as possible, so your audience stays attentive and absorbs the information efficiently. Additionally, consider using essential oils for dizziness relief to create a calming atmosphere that enhances focus and understanding.
Save Time and Boost Efficiency During Training
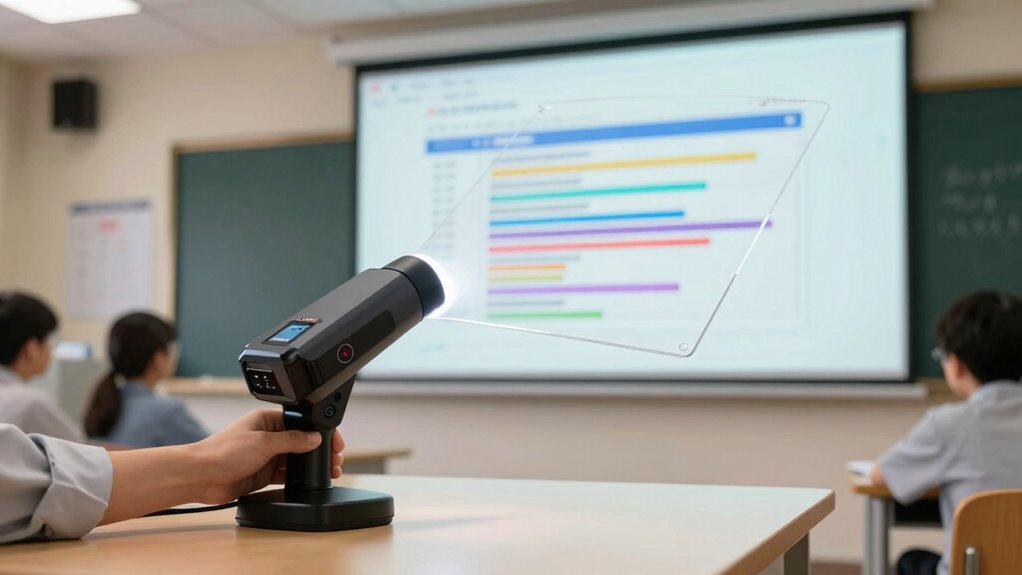
Using a document camera can substantially streamline your training sessions, allowing you to present materials more efficiently. It enables instant digital integration, reducing time spent on setup and shift. You can quickly switch between documents, minimizing delays. Incorporate collaborative learning by sharing the camera view with participants, fostering real-time interaction. Here’s how it boosts efficiency:
| Benefit | Description | Impact |
|---|---|---|
| Digital Integration | Connects physical materials digitally | Faster access and sharing |
| Time Saving | Reduces need for printing and switching | Quicker lesson flow |
| Collaborative Learning | Encourages group interaction | Better engagement |
Frequently Asked Questions
What Types of Forms Are Best Suited for a Document Camera?
You’ll find that forms with detailed sections, such as tax documents, medical forms, or technical checklists, are best suited for a document camera. This setup allows you to highlight specific areas with digital annotation, making explanations clearer. Make sure your ergonomic setup is comfortable to view and manipulate the forms easily. This way, you can efficiently guide your audience through complex forms, improving understanding and engagement.
Can I Record My Form Explanations Using a Document Camera?
Yes, you can record your form explanations with a document camera. Focus on proper camera positioning to clearly capture the form details, and use digital annotations to highlight key areas during the recording. This way, your explanations stay clear and engaging. Recording allows students to revisit your instructions anytime, reinforcing learning. Just make certain your camera is stable, and your annotations are synchronized with your narration for the best results.
How Do I Adjust the Lighting for Optimal Image Clarity?
Imagine you’re explaining a complex form to a student. To get the clearest image, adjust your lighting setup by placing a soft light behind the camera, avoiding harsh shadows. Then, fine-tune your camera positioning, ensuring the form fills the frame evenly. Regularly check the image clarity on your screen, making small adjustments as needed. Proper lighting and camera positioning make your explanations more engaging and easier to understand.
Is There a Recommended Distance Between the Camera and the Form?
You should position the camera at a suitable distance of about 12 to 18 inches from the form, depending on its size. Adjust the camera height so the entire form fits clearly in the frame without distortion. This ideal distance ensures your audience can see details easily, while maintaining focus and clarity. Keep experimenting with the distance until you find the perfect balance for readability and presentation quality.
How Do I Connect My Document Camera to a Projector or Screen?
You can connect your document camera to a projector or screen using a wireless connection or HDMI setup. If you prefer wireless, verify your camera supports Wi-Fi and connect it to the same network as your projector. For HDMI, plug the cable into the camera’s output port and the projector’s input. Coincidentally, choosing the right connection simplifies your setup, making it seamless to display documents instantly.
Conclusion
Using a document camera transforms your form explanations from a tedious chore to a swift, engaging experience. With the right setup and quick tips, you’ll capture your audience’s attention like a 21st-century storyteller. Don’t let technical hiccups slow you down—think of it as your modern quill, making every lesson more efficient and memorable. Embrace this tool, and watch your training sessions become as smooth as a well-oiled machine, even in the digital age.