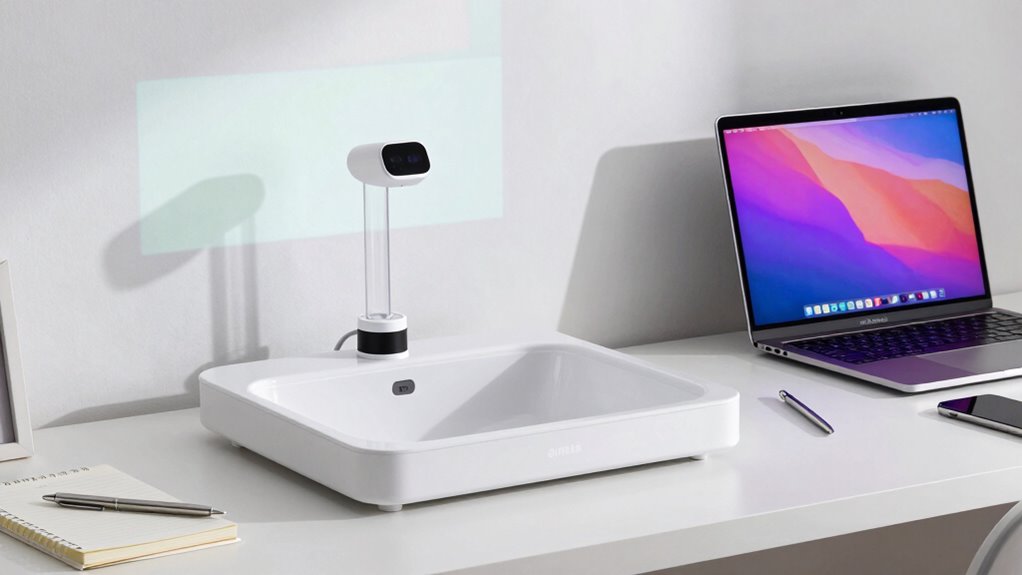
To turn any desk into a visualizer station in just 10 minutes, start by choosing a clutter-free spot with easy access to power and good lighting. Gather your camera, smartphone, and adjustable mounts, then secure them firmly on a stable surface. Test your setup to guarantee clear visuals and ideal angles. Adjust lighting to reduce glare and reflections. Keep everything organized and stable. If you want expert tips on perfecting your setup, keep going for more advice.
Key Takeaways
- Gather essential equipment: camera or smartphone, adjustable mount, lighting, and necessary cables for quick setup.
- Select a clutter-free, stable desk surface with easy access to power outlets and good ambient lighting.
- Secure the camera or smartphone on an adjustable mount at eye level for clear document or object visibility.
- Connect devices using wireless or wired methods, ensuring proper placement to minimize glare and shadows.
- Perform a quick calibration and test to optimize visual clarity and ensure all equipment functions smoothly.

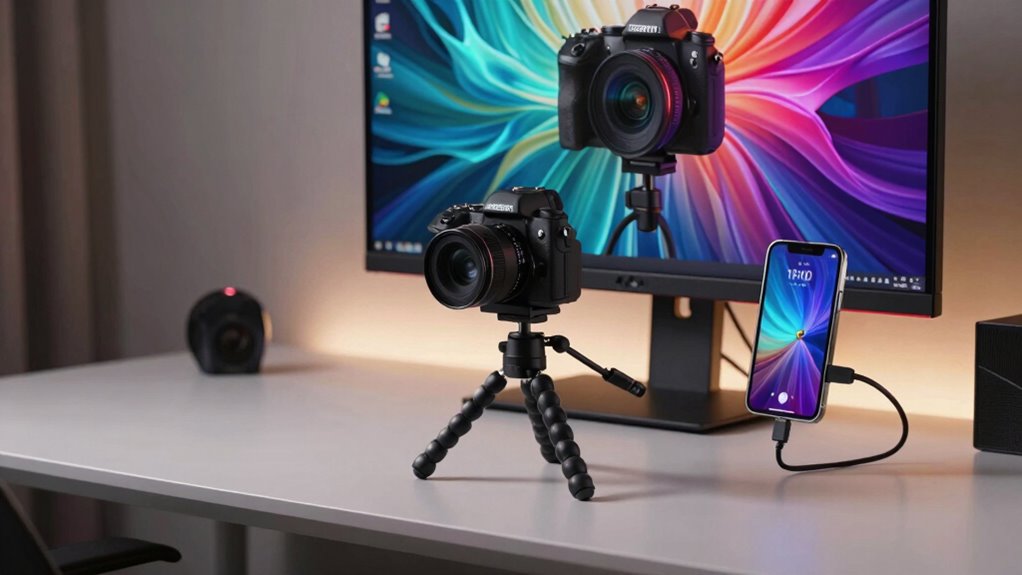
COOPER ChatStand, Adjustable Cell Phone Stand for Desk, Phone Stand for Recording, iPhone Holder for Filming, Small iPhone Tripod, Soporte para Celular, Fits Samsung, Android, (Night Black)
Now We're Talking: Universal cell phone holder for desk for face-level video calls, recording videos; this iPhone Stand…
As an affiliate, we earn on qualifying purchases.
As an affiliate, we earn on qualifying purchases.
Why a Visualizer Station Can Transform Your Teaching and Presentations
A visualizer station can dramatically enhance your teaching and presentations by making it effortless to share real-time, detailed visuals. This setup encourages creative display, allowing you to showcase concepts dynamically and engage your audience visually. With a visualizer, you can instantly project documents, objects, or sketches, transforming static content into lively visual storytelling. This boosts your ability to clarify complex ideas and maintain attention. Instead of relying solely on slides, you create a more interactive experience that sparks curiosity and understanding. The ease of sharing detailed visuals on the spot makes your lessons and presentations more compelling and memorable. Ultimately, a visualizer station empowers you to communicate more effectively, transforming traditional teaching into a vibrant, engaging exchange of ideas.

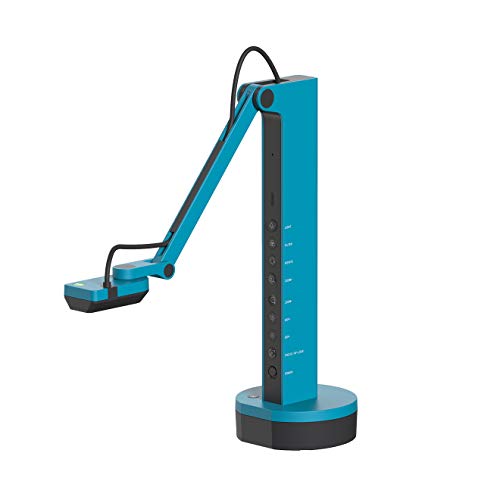
IPEVO V4K Ultra High Definition 8MP USB Document Camera — Mac OS, Windows, Chromebook Compatible for Live Demo, Web Conferencing, Distance Learning, Remote Teaching, Green
Features an 8 Megapixel camera for capturing Ultra High Definition live images up to 3264 x 2448 pixels
As an affiliate, we earn on qualifying purchases.
As an affiliate, we earn on qualifying purchases.
Decide on Your Budget and Find Affordable Materials
Before you start gathering materials, it’s important to determine how much you’re willing to spend. Budget planning helps you set clear limits, ensuring you don’t overspend. Consider what essential components you need for your visualizer station, like a camera, stand, or lighting. When sourcing materials, look for affordable options without sacrificing quality. You can find budget-friendly alternatives at local stores, online marketplaces, or recycled items. Comparing prices and reading reviews helps you make informed decisions. Focus on selecting durable, reliable materials that fit your budget. Additionally, consider integrating smart home technology to enhance your visualizer’s functionality; product roundups can provide insights into the best options available. Exploring new frontiers in digital content can provide innovative ideas for your project. Planning ahead prevents impulse buys and keeps your project on track financially. With a clear budget and smart material sourcing, you’ll be able to create an effective visualizer station without breaking the bank. Additionally, consider incorporating eco-friendly practices to ensure your setup is sustainable and environmentally responsible. For instance, you might explore using bike generators to power your station, which can convert pedaling into renewable energy.

Weilisi 10.2" Desk Ring Light with Stand, 360° Rotate Desk Lamps for Home Office with C-Clamp, Flexible Height Desk Light, Adjust Arm Ring Light for Desk, Podcast, Gaming, Recording, Zoom Lighting
Soft & Uniform Desk Lamps for Office -Weilisi full-screen desk light provides enough uniform & diffused light, restores…
As an affiliate, we earn on qualifying purchases.
As an affiliate, we earn on qualifying purchases.
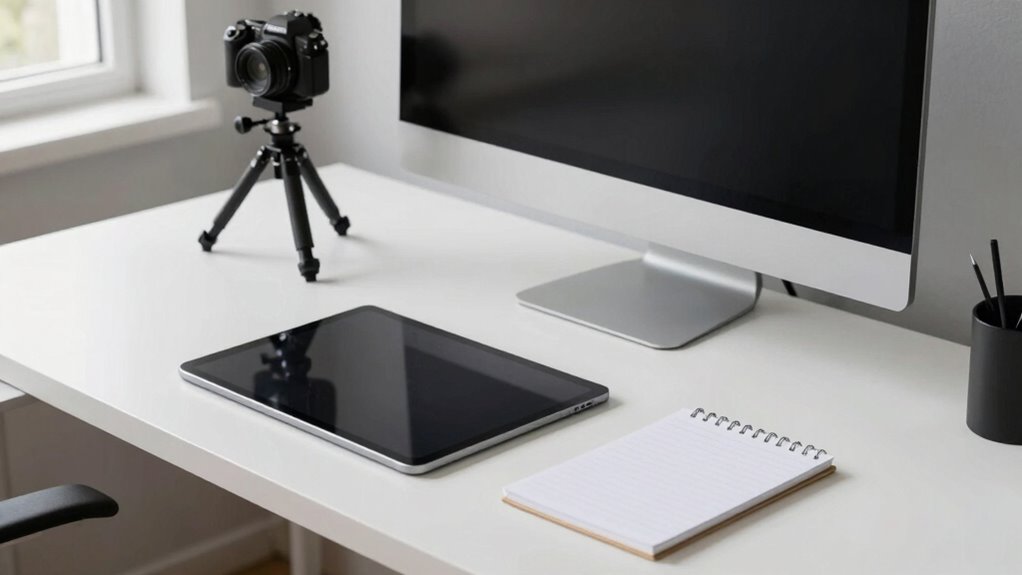
Choose the Best Spot and Lighting for Your Visualizer Setup
Certainly! Here’s your revised article subheading content with the requested modifications:
—
Choosing the right spot and lighting is essential to guarantee your visualizer setup works effectively. Pick a location with minimal background clutter to keep your focus clear. Ascertain the spot offers good visibility and easy access to power outlets. For lighting, aim for ambient lighting that’s soft and evenly distributed—avoid harsh glare or shadows that can distort the image. Position your visualizer at eye level to promote ergonomic positioning, reducing strain during extended use. Natural light can help, but avoid direct sunlight that causes glare. Use additional light sources if needed, but keep them diffuse. The goal is to create a balanced environment that enhances visibility and comfort, making your visualizer station both functional and easy to use. Additionally, a well-optimized setup can greatly improve your overall engine performance, similar to how a high-quality flywheel enhances vehicle efficiency. Incorporating top car protection accessories can also elevate your workspace, ensuring your equipment remains safe and well-maintained. Just as whole-home water systems can be optimized for better performance, understanding the ethical implications of technology is crucial for AI integration in various sectors. Moreover, investing in precious metals can serve as a valuable strategy for securing financial stability, akin to diversifying your visualizer setup for enhanced functionality.
—
Let me know if you need any further modifications!
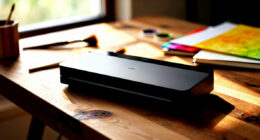
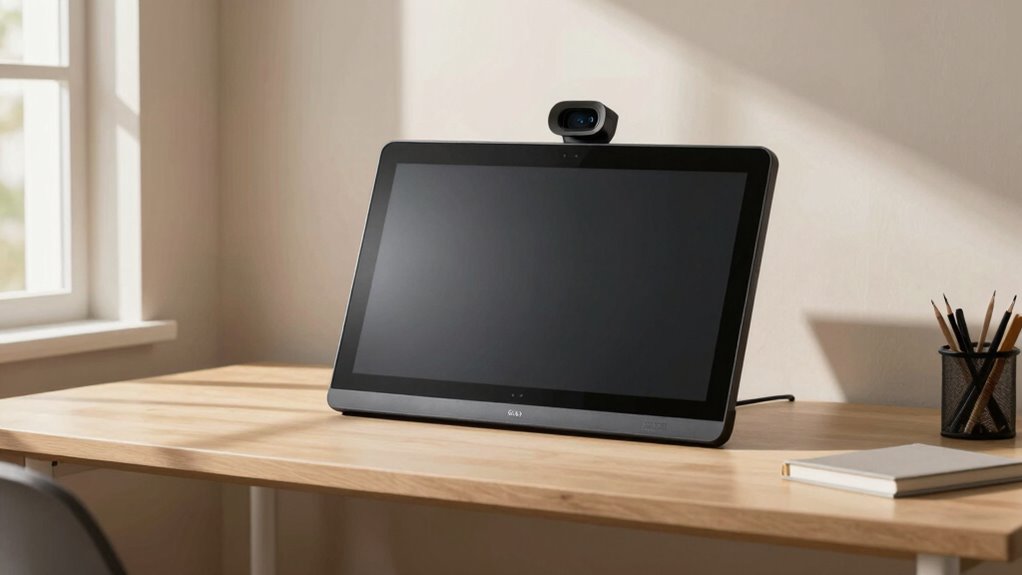
IPEVO VZ-X Wireless 8MP Document Camera, 3 Modes of Connectivity — Wi-Fi, HDMI, and USB, Compatible with Web Conferencing Software, Works Wirelessly with iOS, tvOS, and Android,Black, Blue
The 8 MP Camera in Wi-Fi and HDMI mode captures images in high definition (1920 x 1080), and…
As an affiliate, we earn on qualifying purchases.
As an affiliate, we earn on qualifying purchases.
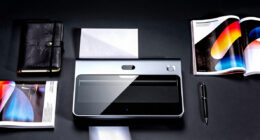
Gather the Tools Needed to Set Up Your Visualizer
To set up your visualizer efficiently, gather all the necessary tools beforehand. Start with creative accessories like adjustable arms or flexible mounts to position your camera or smartphone easily. An ergonomic design guarantees comfort during setup and extended use, so choose accessories that reduce strain. Keep a clean cloth or lens cleaner handy for clear visuals. You might also need a power strip or extension cord if your devices require extra outlets. Don’t forget to have a screwdriver or tools for assembly if your equipment requires it. Collecting these items upfront saves time and prevents interruptions. With everything ready, you’ll create a smooth, comfortable setup that’s both functional and visually appealing, turning your desk into an effective visualizer station in no time. Consider incorporating commercial kitchen equipment to enhance your workspace, as it can provide additional functionality and support for various food-related projects.
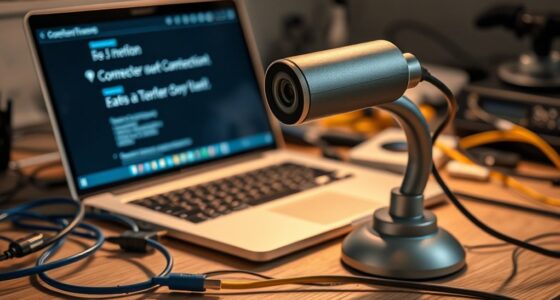
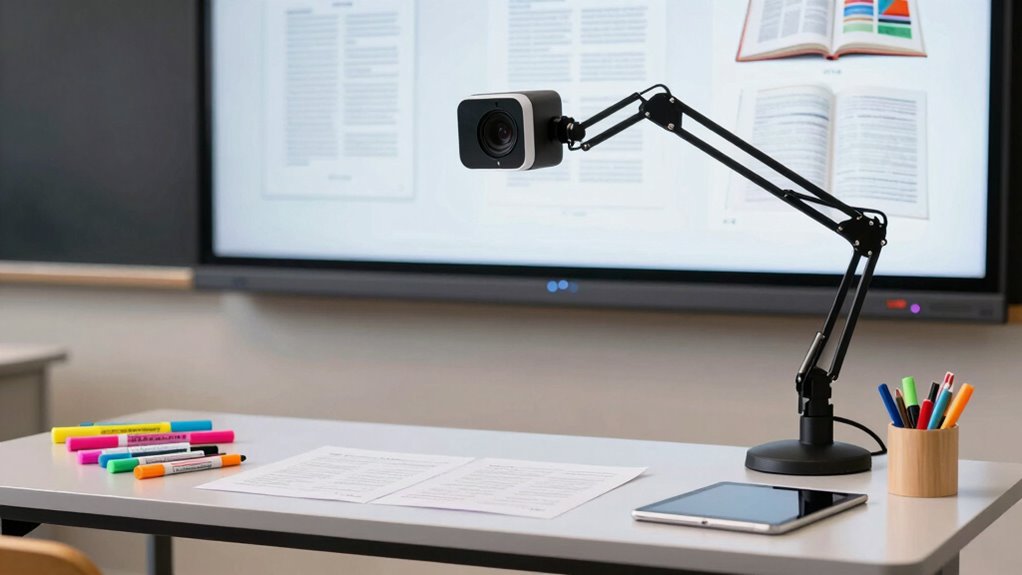
Hook Up Your Camera and Smartphone for Clear Viewing
Sure! Here’s your revised content with the requested addition:
—
Connecting your camera or smartphone properly is essential for achieving clear, high-quality visuals. Start by securing your device on a stable, adjustable mount to guarantee ergonomic comfort during extended use. Use the appropriate cables or wireless connections, like Bluetooth or Wi-Fi, to link your device to your computer or visualizer software. Keep the aesthetic design of your setup in mind—choose sleek mounts and discreet cables that blend seamlessly into your workspace. Additionally, consider utilizing automated trading tools to enhance your efficiency during presentations. Engaging with AI trends can also inspire innovative approaches to your visual presentations. Adjust the camera angle for ideal document or object visibility, avoiding glare or shadows. Making sure your device is steady and well-positioned minimizes motion blur and enhances clarity. Additionally, ensuring color accuracy in your setup will significantly improve the overall visual experience. Incorporating celery juice into your routine can also boost cognitive function and focus during your sessions. Engaging in play-based activities can further support a child’s mental health and focus, enhancing their overall engagement. With these steps, you’ll create a clean, functional visualizer setup that supports both comfort and professional presentation.
—
Let me know if you need any further adjustments!
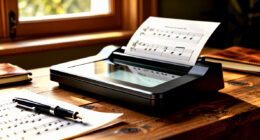
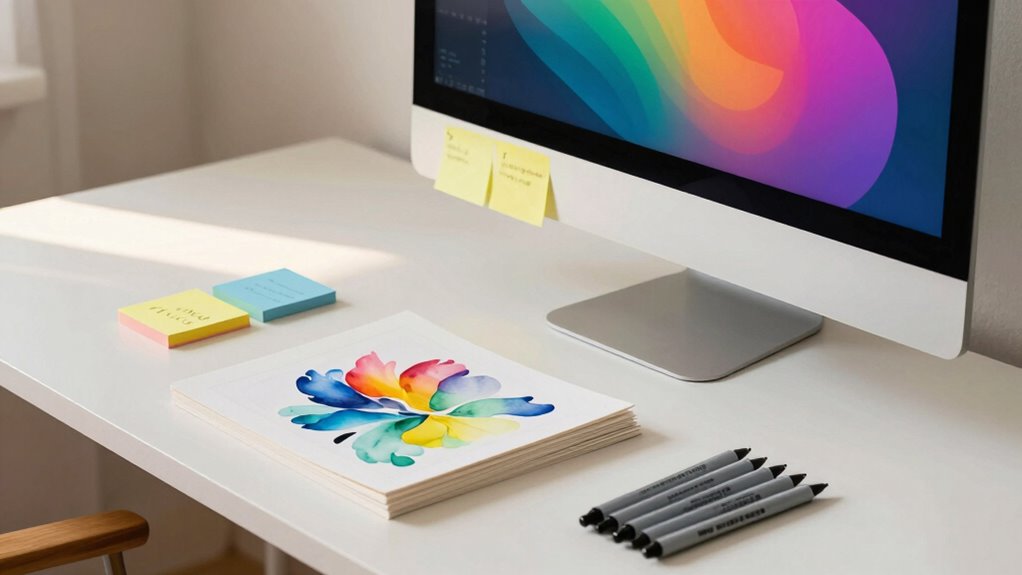
Position Your Documents and Sketches for Easy Access
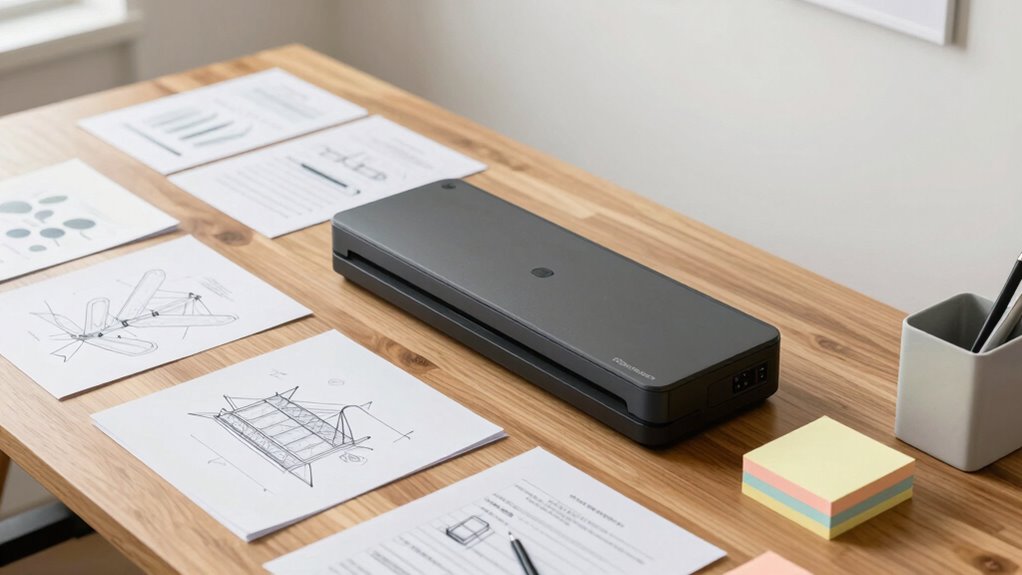
To keep your documents and sketches within easy reach, use vertical stands to organize them upright on your desk. Clear document holders also help keep your workspace tidy and prevent papers from slipping or cluttering your view. Additionally, ensuring your workspace is free from hazards can contribute to a more safer living environment. Arranging your materials this way makes it simple to access what you need quickly and stay focused. One way to enhance your workspace is by using essential DIY tools, which can improve efficiency and safety during your projects. Exploring hidden foodie spots can also inspire your creative process as you document your culinary adventures. Moreover, embracing inclusive casting in fashion can provide fresh perspectives that enhance your design ideas. Consider incorporating battery inverter generators to power your tools during creative sessions, ensuring a reliable energy source for uninterrupted work.
Organize With Vertical Stands
Vertical stands are a simple yet effective way to keep your documents and sketches within easy reach. They maximize vertical storage, helping you organize your workspace without clutter. By standing your papers upright, you free up valuable desk space and make it easier to flip through different projects quickly. Vertical stands also improve space efficiency, allowing you to stack multiple documents or sketches in a compact area. This setup keeps your desk tidy and your workspace streamlined, so you can focus on your work without searching through piles. Choose stands that are adjustable or fit your specific paper sizes for ideal organization. With vertical stands, you create a more organized, accessible, and efficient visualizer station that enhances your workflow. Additionally, incorporating smart automation features can further optimize your workspace by seamlessly integrating technology into your daily tasks. Implementing smart furniture solutions can also help create a multifunctional environment that adapts to your needs. Furthermore, consider utilizing eco-friendly disposal methods to responsibly manage any materials you no longer need, ensuring your workspace remains both organized and sustainable. Using firewood management techniques in a well-organized environment can also inspire creativity and enhance productivity through effective organization.
Use Clear Document Holders
Clear document holders are a practical addition to your visualizer station, allowing you to see and access your sketches and papers at a glance. They keep your workspace organized and improve efficiency by reducing clutter. Choose holders with an ergonomic design to prevent strain and make switching between documents smooth. Incorporate color schemes that match your workspace to create a cohesive look, making it easier to identify different projects quickly. Position these holders within easy reach, so you don’t have to stretch or strain when grabbing a sketch or note. Clear acrylic or plastic options work best for visibility, ensuring your documents stay visible from multiple angles. Using well-designed, color-coordinated document holders helps streamline your workflow, keeping everything you need front and center.
Set Up a Stable Surface for Clear and Steady Demonstrations
To guarantee your demonstrations are clear and steady, start by selecting a flat, level surface free of wobble. Add non-slip materials like rubber pads or mats to keep everything in place. Before you begin, double-check that the surface remains stable to prevent any disruptions.
Choose Flat, Level Surface
A stable, flat surface is essential for creating an effective visualizer station. You want your demonstrations to be clear and steady, so choose a surface that’s level and free of wobble. Avoid uneven or warped desks, as they compromise stability. Make sure your surface has good surface durability, supporting your equipment without dents or scratches. Proper desk organization helps keep everything steady and accessible. Use a level or straightedge to check the surface before setting up. Consider placing a sturdy, flat board on top if your desk isn’t perfectly flat. Here’s a quick comparison:
| Feature | Importance |
|---|---|
| Flat, level surface | Ensures steady, clear demonstrations |
| Surface durability | Supports equipment without damage or warping |
| Desk organization | Keeps setup stable and clutter-free |
| Surface checks | Prevents wobbling and maintains focus |
Use Non-Slip Materials
Using non-slip materials beneath your setup is key to maintaining stability during demonstrations. Non-slip mats and grip pads prevent your equipment from sliding or shifting, ensuring a steady surface for clear visuals. Place a non-slip mat directly on your desk to create a stable foundation, especially if your surface is smooth or uneven. Grip pads can be added under items like cameras, tablets, or displays to keep them firmly in place. These materials are lightweight, affordable, and easy to reposition, making setup quick and reliable. By using non-slip mats and grip pads, you reduce the risk of accidental slips or movements, which can disrupt your demonstration and affect clarity. Secure your setup with these simple tools for a smooth, distraction-free visual experience.
Ensure Stability Before Use
Before starting your demonstration, double-check that your setup is stable and secure. Stability importance can’t be overstated—it guarantees clear visuals and prevents accidents, safeguarding your equipment safety. An uneven or wobbly surface can distort images and cause mishaps. To visualize this, consider the following setup:
| Stable Surface Features | Benefits |
|---|---|
| Flat, sturdy tabletop | Prevents wobbling |
| Non-slip pads underneath | Keeps everything in place |
| Reinforced edges | Supports weight evenly |
| Potential instability risk | Action to fix |
| Uneven surface | Use shims or sturdy mats |
| Slippery surface | Add grip pads |
| Loose screws or joints | Tighten or reinforce |
Ensuring stability is key to safe, effective visualizer use.
Test Your Setup to Ensure Everything Works Properly
To guarantee your setup is ready for use, start by testing each component to confirm everything functions correctly. Check your camera, microphone, and speakers to ensure clear audio and visuals. Verify that your digital integration works smoothly, with all software updated and connected properly. Adjust your monitor or display for ergonomic comfort, making sure it’s at eye level to prevent strain. Test your adjustable desk or seating to confirm it supports your posture comfortably. Run a quick video call or recording to identify any glitches or lag. This step helps prevent disruptions during your actual sessions. Confirm that all cables are secure and that your setup feels intuitive. Proper testing ensures your visualizer station is reliable, comfortable, and ready for productive use.
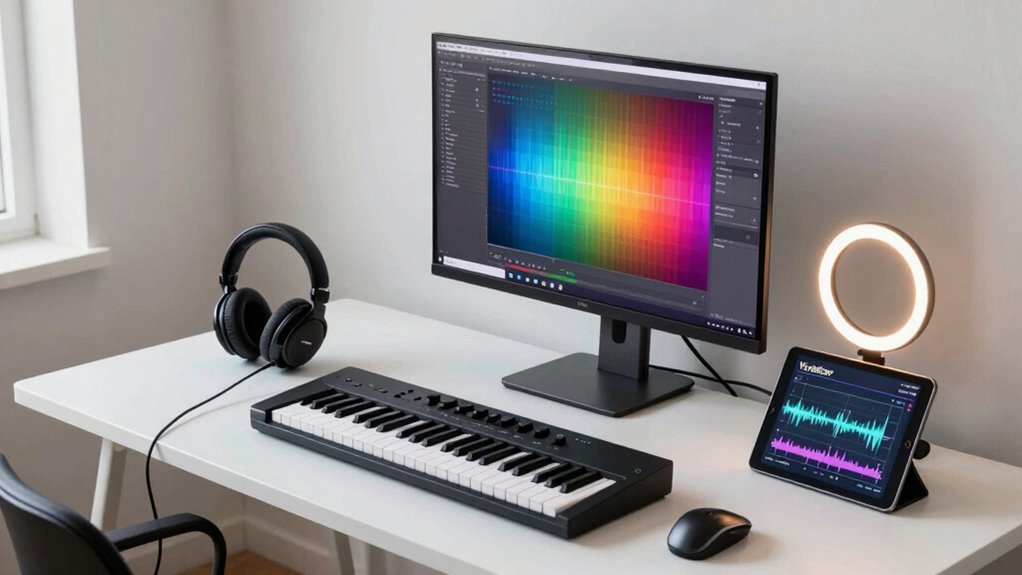
Optimize Lighting and Visual Clarity for the Best Results
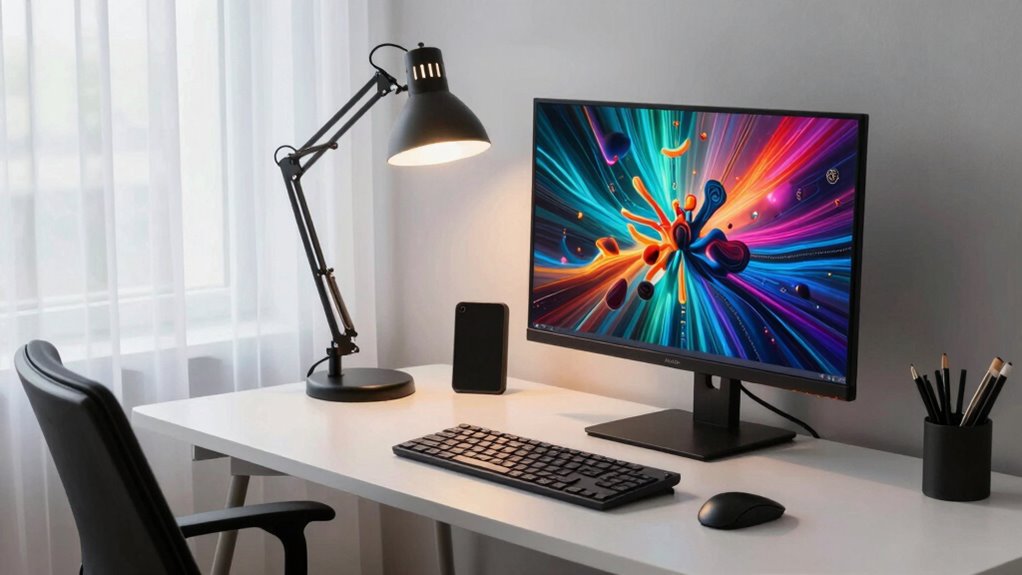
Once you’ve confirmed that your equipment functions properly, the next step is to optimize your lighting and visual clarity. Start by adjusting your ambient lighting to guarantee it’s bright enough without creating shadows or reflections. Soft, diffuse light helps reduce eye strain and enhances image clarity. Position your light sources to minimize glare on your visualizer or screen—angle lamps away from the camera or display to prevent reflections. Use matte finishes on nearby surfaces and avoid shiny objects that can cause glare. Proper lighting setup ensures your visuals are crisp and easy to see, making your sessions more effective. Adjusting ambient lighting and reducing glare will greatly improve your ability to clearly see and share detailed visuals during your sessions.
Troubleshoot Common Setup Problems and Maintain Your Visualizer
If your visualizer isn’t working as expected, troubleshooting common setup issues can quickly resolve the problem. First, check equipment compatibility—ensure your device and software are compatible with your computer and operating system. Next, verify your connections: secure cables and inspect for damage. If colors look off, perform a color calibration to improve accuracy. Also, update your device drivers and software to fix bugs and improve performance. To maintain your visualizer, regularly clean the lens and check for firmware updates. When troubleshooting, keep these tips in mind:
- Confirm equipment compatibility before setup
- Perform color calibration for accurate visuals
- Keep drivers and software updated
- Regularly clean and inspect the device
Frequently Asked Questions
What Types of Materials Are Best for a DIY Visualizer?
For a DIY visualizer, you should select lightweight, transparent, and sturdy materials like acrylic sheets or clear plastic for the main viewing surface. Use foam boards or cardboard for the frame, as they’re easy to cut and affordable. When doing your material selection, prioritize durability and ease of assembly. Follow these DIY tips to guarantee your visualizer is stable and functional, making your project both practical and cost-effective.
How Can I Improve the Audio Quality During Presentations?
Did you know that poor audio quality can reduce audience engagement by up to 60%? To improve your presentation, focus on sound amplification and proper microphone placement. Use a high-quality microphone positioned close to your mouth for clear audio. Test sound levels beforehand, and eliminate background noise. These simple steps guarantee your voice comes through loud and clear, keeping your audience engaged and attentive throughout your presentation.
Are There Portable Options for a Mobile Visualizer Station?
Yes, you can create a portable visualizer station with wireless connectivity and efficient power management. Use a compact, battery-powered document camera or portable projector that offers wireless features like Wi-Fi or Bluetooth to connect seamlessly to your devices. Opt for models with good battery life and easy charging options. This setup lets you move freely, share visuals instantly, and keep your station powered without fuss, making presentations more flexible and dynamic.
How Do I Connect Multiple Devices Simultaneously?
You can connect multiple devices simultaneously by using a visualizer with robust wireless connectivity and broad device compatibility. Guarantee the visualizer supports multi-device pairing, either through Wi-Fi or Bluetooth, depending on your setup. Use a dedicated app or software that manages multiple connections smoothly. This way, you can easily switch between devices or display content from several sources without interruptions, making your visualizer station versatile and efficient.
What Safety Precautions Should I Consider When Setting Up?
As you organize your workspace, picture a calm, safe environment where cables are neatly managed. You should guarantee your ergonomic setup promotes good posture, avoiding strain or discomfort. Keep electrical outlets and cords away from water or liquids, and use surge protectors. Regularly check equipment for damage, and avoid overloading power strips. These precautions help create a secure, efficient visualizer station, letting you focus on your work without worry.
Conclusion
With just a few simple steps, you can turn any desk into an effective visualizer station in only 10 minutes. By choosing the right spot, setting up your equipment properly, and testing everything beforehand, you guarantee clear, professional demonstrations. It might seem quick, but this setup can genuinely enhance your teaching or presentations. When you master the process, you’ll find it’s a reliable tool that boosts engagement and clarity every time you use it.