To prevent smudges when printing bullet journal inserts, you should optimize your printer settings by adjusting resolution (DPI) for sharpness, choosing high-quality paper with a smooth surface, and setting the right drying mode to allow ink to cure properly. Use the appropriate ink or toner compatibility, reduce print speed if needed, and consider applying fixatives after printing. Ensuring proper maintenance and layout can also help; keep exploring for more helpful tips.
Key Takeaways
- Use high-quality print settings with appropriate resolution (DPI) for sharper images and reduced smudging.
- Select heavyweight, smooth, matte or satin finish paper to prevent ink bleed and smudges.
- Adjust print speed to a slower setting, allowing ink to dry properly before handling.
- Regularly clean printer heads, update drivers, and ensure ink levels are sufficient for consistent quality.
- Apply light, even coats of fixatives after printing, and allow ample drying time to prevent smudging.

Epson EcoTank Photo ET-8550 Wireless Wide-Format Color All-in-One Supertank Printer with High Resolution Scanner, Ethernet, USB, and Color Touchscreen
CARTRIDGE-FREE PRINTING — Print lab-quality photos, graphics and creative projects; Get vibrant colors and sharp text with Epson's…
As an affiliate, we earn on qualifying purchases.
As an affiliate, we earn on qualifying purchases.
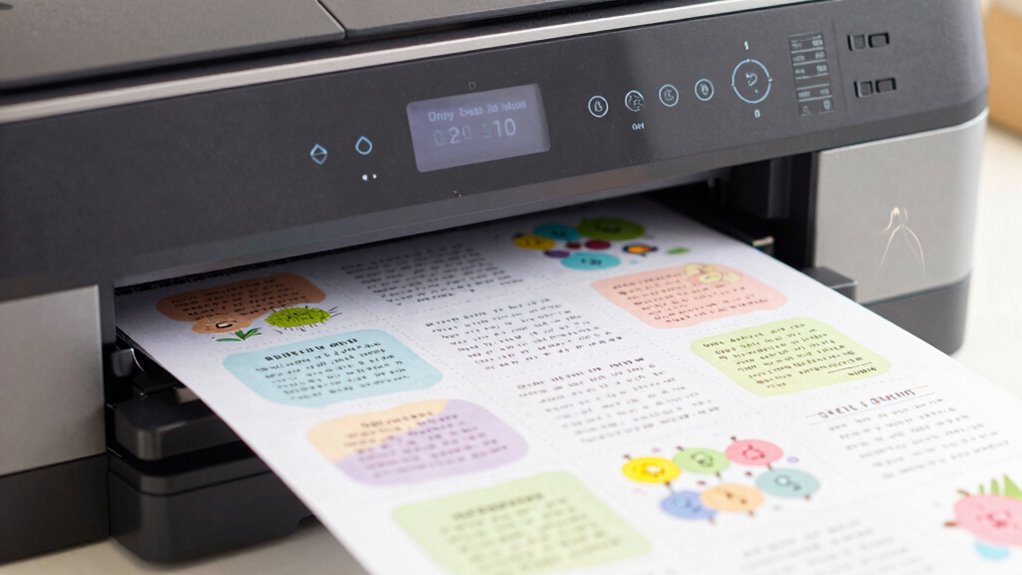
Why Printer Settings Are Key to Smudge-Free Bullet Journal Pages
Proper printer settings are essential to guarantee your bullet journal inserts come out clean and smudge-free. When you adjust these settings, you influence ink absorption, which affects how quickly ink dries on your paper. If your printer uses high-quality settings, it allows the ink to seep evenly into the paper texture, reducing smudging chances. Choosing the right paper with a smooth or slightly textured surface also helps control ink absorption. Too smooth, and the ink might sit on the surface longer, increasing smudging risk; too textured, and ink may bleed or smudge unevenly. Additionally, using advanced filtration systems in your inkjet printer can enhance the quality of the print, ensuring the ink dries faster and evenly, giving you crisp, smudge-free pages every time. Attention to these details saves you time and frustration during your bullet journal printing process. Furthermore, understanding color accuracy can significantly enhance the vibrancy of your printed designs, leading to a more visually appealing bullet journal. Additionally, understanding digital content formats can enhance your approach to printing and design for improved outcomes. Incorporating vinyl cutter settings into your design process can also help ensure precision in your craft projects, further elevating the quality of your bullet journal inserts.

Epson Premium Presentation Paper MATTE (8.5×11 Inches, Double-sided, 50 Sheets) (S041568),Bright White
Perfect for non-glare photographs, craft projects and signage.
As an affiliate, we earn on qualifying purchases.
As an affiliate, we earn on qualifying purchases.
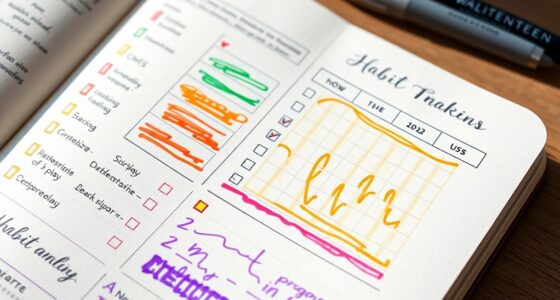
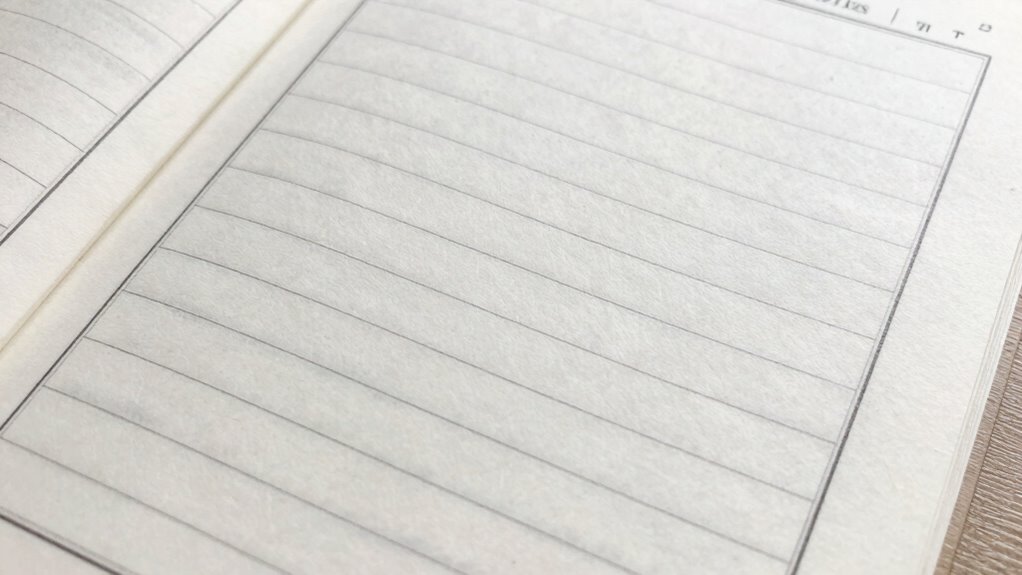
Choosing the Right Paper for Bullet Journal Inserts
Choosing the right paper is a key step in ensuring your bullet journal inserts look professional and stay neat over time. When focusing on digital organization, select paper with a smooth surface that prevents ink bleed and smudging, especially if you plan to print multiple copies. Consider your handwriting styles; if you write with fountain pens or markers, opt for thicker, higher-quality paper to avoid ink feathering. For those who prefer ballpoint or gel pens, medium-weight paper often works well. The right paper will also support neatness, making your handwriting more legible and your printed inserts crisp. Additionally, using luxury paper options can elevate your bullet journal experience and enhance the overall aesthetics. Ultimately, choosing the appropriate paper helps you maintain a tidy, organized journal that looks polished and remains durable through daily use. Incorporating eco-friendly practices can also enhance the overall quality and sustainability of your journal inserts.

Printhead Cleaning Kits Inkjet Printers, Printer Cleaning Kit for Epson Ecotank Printers, Printer Cleaner Kit for HP, Inkjet Printers Head Cleaning Solution for Canon Pixma Print Head Liquid Nozzles
Printhead Cleaning Kits for Inkjet Printers: Fosgoit Inkjet Printhead Cleaner for Epson Printer, Ink Jet Cleaning Solution for…
As an affiliate, we earn on qualifying purchases.
As an affiliate, we earn on qualifying purchases.
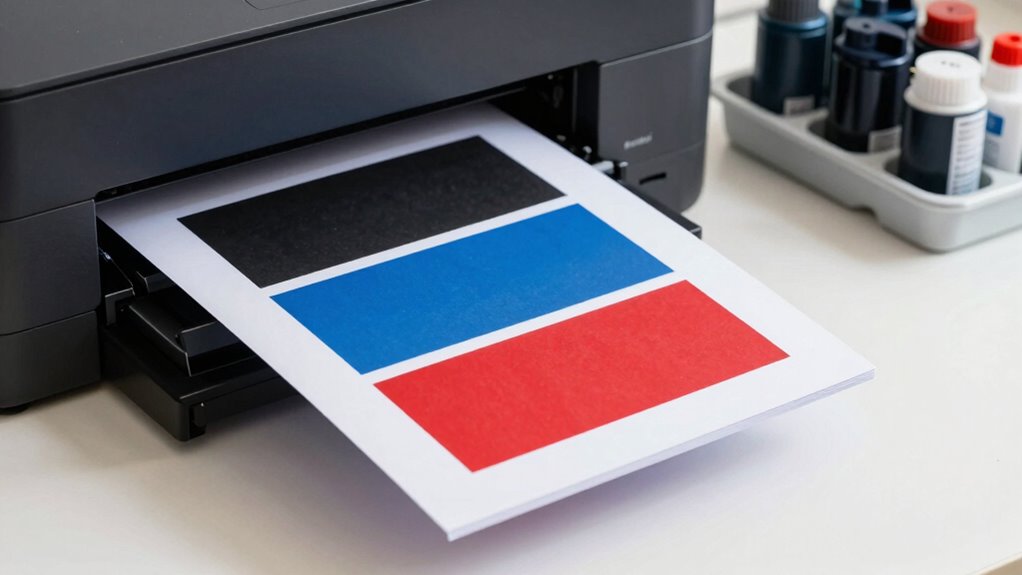
How to Adjust Printer Resolution for Crisp, Clean Prints
Adjusting your printer resolution is an essential step to guarantee your bullet journal inserts come out clear and professional-looking. Higher resolutions produce sharper images and text, but can also affect ink compatibility and paper textures. To maximize your prints, check your printer settings and select a resolution suited for your paper type.
Consider these tips:
- Use higher DPI (dots per inch) for smooth, detailed lines
- Match resolution to paper textures—rough paper benefits from lower DPI
- Test print small sections to find the balance between clarity and ink absorption
- Adjust settings if ink smudges or blurs occur
- Keep printer drivers updated for superior resolution options
Additionally, using the right airless paint spraying technique can improve your overall printing experience by ensuring that the ink adheres properly to various surfaces. Fine-tuning resolution helps prevent smudges and enhances overall print quality, especially on textured paper. Furthermore, using essential oils for toothache relief can provide soothing effects that may help ease any stress you feel while printing. Additionally, understanding media literacy can help you discern the quality of images and texts you choose to print. Moreover, using eco-friendly options for inks can further enhance the clarity and reduce the risk of smudges on your prints. Be mindful of piercing care and hygiene to ensure that any printed materials related to body art are clear and professional.

SENNELIER Delacroix Fixative 400Ml Spray
Fixative seals and protects pencil and charcoal drawings
As an affiliate, we earn on qualifying purchases.
As an affiliate, we earn on qualifying purchases.
Selecting Ink and Toner Options to Prevent Smudging
Selecting the right ink and toner can make a significant difference in preventing smudges on your bullet journal inserts. For ink, choose those with good absorption qualities suited to your paper type—quick-drying ink reduces the chance of smudging as you handle pages. When it comes to toner, verify toner compatibility with your printer model to avoid uneven application that can lead to smears. Some toners are designed for high-quality, smudge-resistant prints, making them ideal for journal inserts. Always check the specifications to match ink absorption properties with your paper’s surface. Using compatible toner and ink not only improves print clarity but also minimizes smudging, guaranteeing your inserts stay neat and professional-looking. Proper selection of these options helps you maintain a tidy, smudge-free journal. Additionally, understanding testing accuracy can further enhance the printing process, ensuring your inserts have consistent quality throughout. Effective debt management can also provide the financial freedom to invest in high-quality printing materials that elevate your journaling experience. Lastly, Curiosity and happiness can inspire unique designs and layouts that enhance the overall aesthetic of your journal.
Setting Your Printer to Drying or Curing Modes for Better Results
After making sure you’ve picked the right ink and toner, it’s time to focus on how your printer handles drying and curing processes. Setting your printer to the correct drying or curing mode guarantees ink compatibility and prevents smudging. Proper printer calibration is crucial for maximum results.
Consider these tips:
- Select the appropriate drying setting based on your ink type
- Use high-quality paper suited for your ink
- Adjust print speed to give ink more time to cure
- Enable any built-in curing modes if available
- Test print to fine-tune drying settings for best results
Using Proper Margins and Layouts to Avoid Smears at the Edges
Ever wonder why your ink smears at the edges of your printable pages? It’s often due to neglecting margin safety and layout consistency. To prevent smudges, set proper margins that leave enough space around the edges, ensuring your printer’s ink doesn’t reach the paper’s border. This buffer zone reduces the risk of smears during handling or cutting. Maintaining consistent layouts across your inserts helps keep ink placement uniform, minimizing accidental smudges caused by overlapping elements or uneven spacing. Use your design software’s margin and grid tools to create clear, even borders. By paying attention to margin safety and layout consistency, you’ll keep your bullet journal inserts clean, professional-looking, and free of smudges along the edges. Additionally, consider integrating smart home devices for an enhanced overall organization of your workspace.
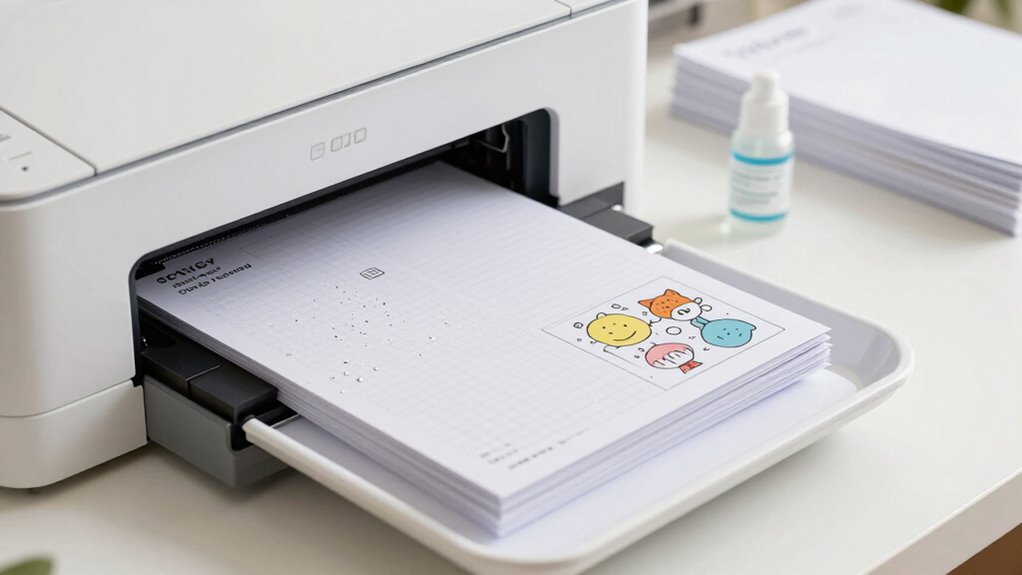
Post-Printing Tips for a Pristine Finish
To achieve a professional look, choose the right paper type that works well with your printer and ink. Embracing inclusive casting in design can also inspire unique layout ideas for your bullet journal inserts. Be careful when applying clear fixatives, and always use a light hand to avoid smudges or warping. Most importantly, give your inserts enough time to dry completely before handling to prevent smearing or damage. Additionally, consider the benefits of proper kitchen gear care to understand how different materials can impact your printing process.
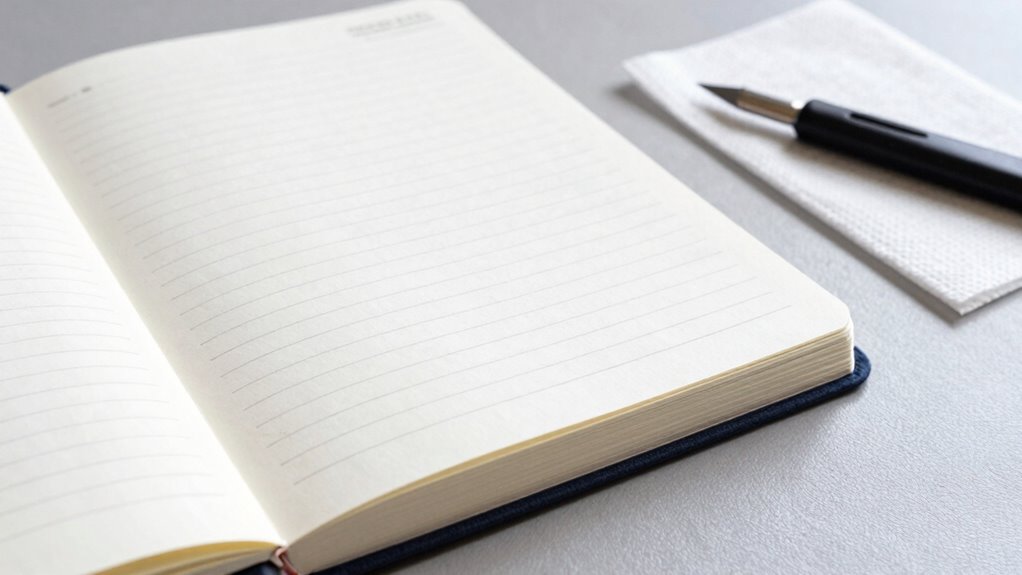
Use Proper Paper Types
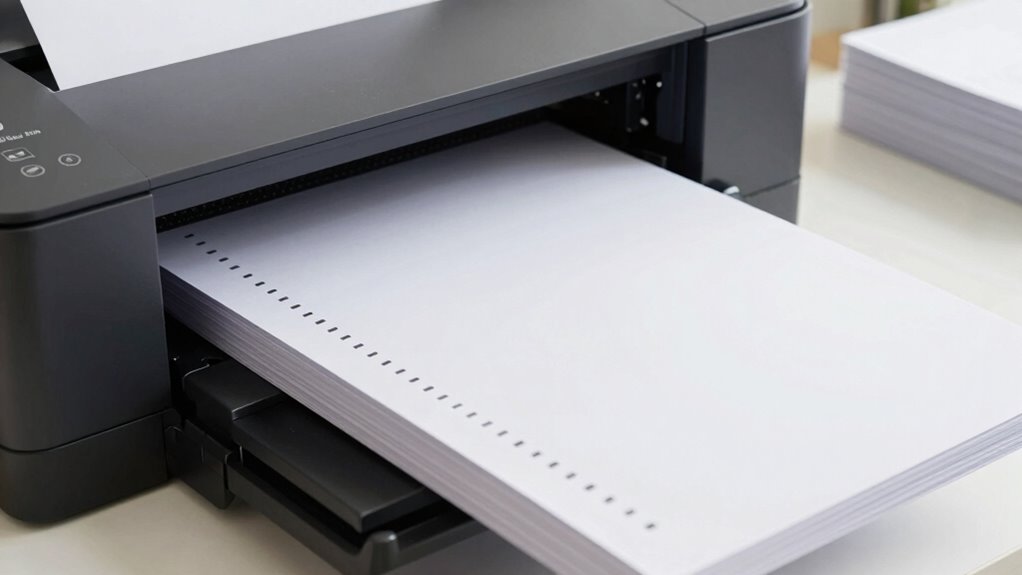
Choosing the right paper type is essential for achieving a professional, polished look with your bullet journal inserts. The paper textures influence how smooth or textured your pages feel, while ink absorption determines how well your ink stays crisp without smudging or bleeding. Picking high-quality paper designed for printing ensures your inserts look neat and vibrant. Electric bikes can also benefit from proper maintenance techniques** to ensure longevity and optimal performance.
Consider these tips:
- Use smooth, heavyweight paper for clean, sharp images
- Opt for matte or satin finishes to reduce glare and smudging
- Avoid thin paper that absorbs ink unevenly
- Choose acid-free paper for longevity and color retention
- Test different textures to find what works best with your printer and ink
Incorporating sustainable textile practices into your printing process can further enhance the quality of your bullet journal inserts. Proper paper selection helps prevent smudges and maintains a pristine finish.**
Apply Clear Fixatives Carefully
After selecting and printing your bullet journal inserts on high-quality paper, applying a clear fixative can help safeguard your work and keep it looking pristine. To avoid smudges or smearing, check ink compatibility first—some inks may react negatively with certain fixatives. Spray or brush on the fixative evenly, using light coats to prevent pooling or streaks. Consider your paper texture; smooth surfaces absorb fixatives more uniformly, reducing the risk of uneven coverage. Test the fixative on a small, inconspicuous area first, especially if your paper has a textured finish. Additionally, using commercial kitchen equipment can help create a well-organized workspace that minimizes distractions and enhances focus. Applying fixatives carefully ensures your inserts stay vibrant and protected without compromising the clarity or feel of your paper. Proper application helps maintain the integrity of your work over time. Furthermore, incorporating celebrity beauty tips can inspire innovative techniques that enhance your creative projects. Additionally, using high-quality performance parts can enhance your overall crafting experience by ensuring that your tools and materials work seamlessly together.
Allow Adequate Drying Time
Once you’ve applied your fixative, giving your prints adequate drying time is essential to prevent smudges and maintain a polished look. Proper drying allows ink absorption to complete smoothly, reducing the risk of smudges later. Rushing this step can compromise your bullet journal inserts’ quality. To guarantee the best results, consider these tips:
- Place prints on a flat, dry surface for even ink absorption.
- Keep prints away from humidity and direct sunlight.
- Wait at least 15-30 minutes, depending on ink type and paper thickness.
- Avoid stacking prints until fully dry to prevent smudging.
- Use a fan or gentle air circulation to speed up drying time.
Additionally, ensuring your prints are protected with top car protection can help maintain their integrity during the drying process.
Patience here preserves your insert’s crispness and professional appearance.
Troubleshooting Common Smudging Problems When Printing
Smudging during printing can be frustrating, but many common issues are easily fixable. One frequent cause is color blending, which occurs when ink doesn’t dry quickly enough or the print settings aren’t optimized. Adjusting the print speed or switching to a slower print mode can help. Additionally, paper textures play a significant role—rough or textured paper can cause ink to smudge more easily. Using smoother, higher-quality paper designed for your printer type reduces this problem. Always verify your printer’s ink levels are adequate and that you’re using the correct ink type for your paper. Properly aligning your print settings with your paper’s texture and choosing the right color profiles will prevent smudges and produce cleaner, more precise bullet journal inserts.
Maintaining Your Printer for Consistently Clear Results
To keep your printer producing clear results, you need to perform regular maintenance like cleaning print heads and checking for paper jams. Using quality ink and paper also makes a big difference in the final output. Finally, make sure your printer settings match the type of paper and ink you’re using for ideal results.
Regular Printer Maintenance
Regular printer maintenance is essential to guarantee your prints come out clear and sharp every time. To keep your printer functioning efficiently, regularly check and replace your ink cartridge to prevent color inconsistencies. Clean the print head to avoid smudges and streaks, ensuring crisp lines. Keep the paper path free of debris and dust, which can cause jams or blurry prints. Update your printer drivers and firmware to fix bugs and improve performance. Additionally, run diagnostic tests periodically to catch issues early.
- Replace ink cartridge before it’s completely empty
- Clean the print head according to manufacturer instructions
- Use compressed air to clear dust from internal parts
- Update printer drivers regularly
- Run test prints to monitor quality
Use Quality Ink and Paper
Using high-quality ink and paper is essential for achieving crisp, professional-looking prints for your bullet journal inserts. Good ink prevents bleeding, guaranteeing your writing stays sharp and clear. Selecting paper with the right texture helps prevent ink smudging and maintains a clean appearance. Low-quality paper can cause ink bleeding or uneven absorption, ruining your layout.
| Ink Quality | Paper Texture |
|---|---|
| Prevents bleeding | Reduces smudges |
| Ensures clarity | Enhances print sharpness |
| Lasts longer | Maintains shape |
| Bright colors | Smooth or textured surface |
| Compatible with ink | Suitable for bullet journaling |
Invest in premium ink and paper to keep your inserts neat and durable.
Proper Printer Settings
Ever wonder why your bullet journal prints sometimes look less sharp than you’d like? It’s often due to improper printer settings. To fix this, check your printer’s color calibration to ensure colors appear vibrant and accurate. Confirm paper compatibility so your printer uses the right settings for your paper type—whether matte or glossy. Adjust print quality to high resolution for crisp lines and text. Disable any unnecessary draft mode that sacrifices clarity. Finally, review your page layout to match your inserts’ dimensions, preventing cropping or misalignment. By maintaining your printer with these settings, you’ll achieve consistently clear, smudge-free results that elevate your bullet journal inserts.
Frequently Asked Questions
Can I Use a Home Inkjet Printer for Bullet Journal Inserts?
Yes, you can use a home inkjet printer for bullet journal inserts. Just make sure you select the right paper compatibility—preferably thicker, smooth paper designed for inkjet printing to prevent smudges. Also, choose your color ink options wisely; using fewer colors or high-quality ink can help reduce smearing. Adjust your print settings for the best results, and give prints ample time to dry before handling to keep your inserts looking neat.
Which Paper Weight Is Best to Prevent Smudging?
A 32-60 lb (120-240 gsm) weight paper works best to prevent smudging. You’ll find that smooth, slightly textured paper improves ink absorption and reduces smears. Coincidentally, choosing the right paper texture helps your ink dry faster, avoiding smudges during handling. If you notice smudging, try a heavier weight or a matte finish, which absorbs ink better and offers a more durable, smudge-resistant surface for your bullet journal inserts.
How Do I Fix Smudges Caused by Printer Rollers?
To fix smudges caused by printer rollers, start with proper printer maintenance by cleaning the rollers regularly to remove dust and debris. Check ink compatibility, ensuring you’re using the right type for your printer, as incompatible ink can cause smudging. Additionally, adjust the paper feed settings to minimize roller pressure. These steps help improve printing quality and reduce the chances of smudges on your bullet journal inserts.
Are There Specific Printer Brands Better for Bullet Journal Printing?
If you want reliability, consider brands like Canon, Epson, or HP, known for excellent printer compatibility and ink absorption. These brands excel in producing crisp, smudge-free inserts, ensuring your bullet journal looks neat and professional. You’ll love how their printers handle various paper types and ink, making your printing process smoother and more enjoyable. Choose wisely, and your journal pages will stay clean, vibrant, and free of smudges every time.
How Can I Speed up Drying Time Without Smudging?
To speed up drying time without smudging, use ink drying techniques like printing on higher-quality, smudge-resistant inks. You can also set your printer to a higher print quality for quicker drying, or let the pages sit flat for a few minutes before handling. Using heat or a fan can help, but be cautious not to smudge. These methods guarantee your inserts dry faster while keeping your work neat and smudge-free.
Conclusion
Now that you know the key settings and tips to prevent smudges, your bullet journal inserts can look pristine and professional. But don’t stop here—there’s always more to discover that could transform your printing results even further. Are you ready to reveal the secret techniques that will take your journal pages from good to flawless? Keep experimenting, and watch your pages become the envy of every planner enthusiast around. The perfect print is just a step away—are you prepared to perfect it?