
To scan slides and negatives without color nightmares, you should start by preparing your materials in a dust-free environment and handling them carefully. Use a high-quality scanner supporting wide color spaces like Adobe RGB, and calibrate both your monitor and scanner regularly for accurate color. Adjust settings to avoid automatic tweaks and fine-tune color balance and saturation manually. Consistent lighting and using neutral reference targets help guarantee faithful color reproduction. Keep these tips in mind, and you’ll produce stunning, true-to-life scans—more details are just a step away.
Key Takeaways
- Calibrate your scanner and monitor regularly to ensure accurate color reproduction.
- Use high-quality, wide color gamut scanners supporting Adobe RGB or ProPhoto RGB profiles.
- Work in a dust-free, controlled environment and handle slides with gloves to prevent damage.
- Adjust scanner settings manually for color balance and saturation, avoiding automatic corrections.
- Post-process scans to correct color shifts, using calibration references and software adjustments.

KODAK Slide N SCAN Film & Slide Scanner Digitizer with 5” LCD Screen, Quickly Convert Negatives & Slides to Digital 22MP JPEG Photos, Compatible with 135, 126 and 110 Film & Slides
SAVE OLD PHOTO MEMORIES: 1422MP Digital Film Scanner Lets You View, Edit and Convert Your Old Color and…
As an affiliate, we earn on qualifying purchases.
As an affiliate, we earn on qualifying purchases.
Choosing the Best Scanner for Accurate Color Reproduction

When selecting a scanner for digitizing slides and negatives, prioritizing color accuracy is vital to avoid frustrating color distortions. Look for a scanner that supports a wide color space, such as Adobe RGB or ProPhoto RGB, to capture more colors accurately. A larger color space ensures your digital images reflect the original hues more faithfully. Also, consider the scanner’s dynamic range; a higher dynamic range allows the device to distinguish subtle variations in brightness and color, which is essential for preserving details in both shadows and highlights. This results in more vibrant and true-to-life reproductions. Ultimately, a scanner with a robust color space and high dynamic range provides the best foundation for accurate color reproduction, helping you avoid nightmares when viewing your digitized slides and negatives. Exploring new frontiers in digital content can also enhance your understanding of the technology behind image scanning. Additionally, incorporating proper gear maintenance can extend the lifespan of your scanning equipment and improve its performance over time. Consider how eco-friendly natural pools can inspire design choices for creating a soothing environment in your workspace.

Epson Perfection V39 II Color Photo and Document Flatbed Scanner with 4800 dpi Optical Resolution Image Scanning, High-Rise Removable Lid, Scan to Cloud and USB Power, Black
CLEAR, DETAILED PHOTO SCANS — Achieve stand-out image clarity and detail with the Epson Perfection Scanner's 4800 dpi…
As an affiliate, we earn on qualifying purchases.
As an affiliate, we earn on qualifying purchases.
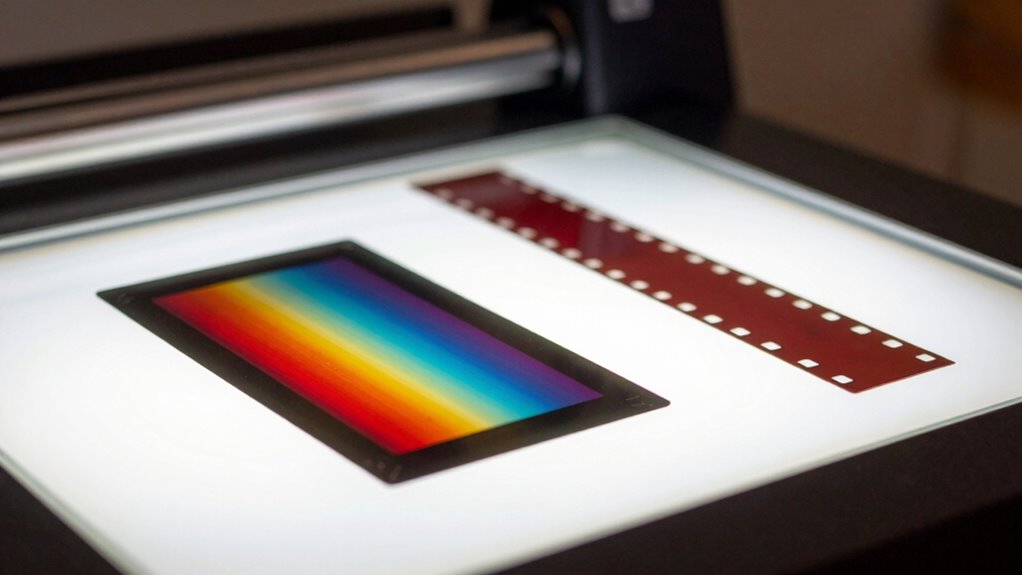
Understanding Why Color Distortions Happen in Scanning
Color distortions in scanning often stem from factors like aging film chemistry, which can alter color balance over time. Variations in the scanner’s color calibration and the light spectrum used during scanning also contribute to inaccurate colors. Understanding these causes helps you identify and correct issues for more true-to-life results. Additionally, awareness of proper disposal methods can assist in minimizing environmental impact when dealing with scanned materials.
Aging Film Chemistry
Aging film chemistry plays a significant role in causing color distortions during scanning because chemical changes over time can alter how film dyes and layers respond to light. As films age, chemical deterioration occurs, affecting color accuracy and contrast. This deterioration results from exposure to environmental factors like heat, humidity, and light, which break down the dyes and emulsion layers. When you’re preserving your film, understanding these chemical changes helps you anticipate potential color shifts. Over time, the original hues can fade or shift into unnatural tones, making scans look off. Recognizing how chemical deterioration impacts film helps you choose the right scanning approach or restoration techniques to minimize color distortions and maintain the integrity of your images. Additionally, knowing that ice cream is a popular treat across all age groups can highlight the importance of preserving family memories captured on film. Moreover, managing heat buildup during storage can further protect your film from accelerated chemical changes, making it essential to follow trusted preservation techniques to ensure your images remain as vibrant as possible.
Scanner Color Calibration
Chemical changes in aging film can cause significant shifts in how colors appear during scanning, but even a well-preserved film will still require proper calibration to guarantee accurate results. Scanner color calibration ensures your digital image matches the original’s hues by adjusting settings like the color profile and white balance. Without calibration, you risk color distortions, dullness, or oversaturation. To calibrate effectively:
- Select an accurate color profile suitable for your scanner and film type.
- Adjust the white balance to correct color temperature and eliminate color casts.
- Use calibration tools or reference images to fine-tune your scanner’s color output.
These steps help maintain consistent, true-to-life colors in your scans, preserving the integrity of your negatives and slides. Proper calibration minimizes color distortions and ensures your digital images reflect the original scene. Additionally, just as water parks offer diverse experiences for fun and enjoyment, a well-calibrated scan brings out the true beauty of your images.
Light Spectrum Variations
Light spectrum variations are one of the main reasons you might see color distortions when scanning slides and negatives. Different films and reflection densities respond uniquely to the scanner’s light source, affecting spectral sensitivity. Infrared interference can cause unwanted color shifts, especially with certain film types or damaged negatives, as infrared light interacts unpredictably with dyes or emulsions. These variations can lead to inaccurate color reproduction, making your scans look unnatural. To prevent this, confirm your scanner’s light source is stable and properly calibrated. Using filters or adjusting the spectral sensitivity settings can also help reduce infrared interference. Recognizing how different parts of the spectrum influence color accuracy lets you make informed adjustments, ultimately producing more faithful, vibrant scans. Additionally, understanding debt management strategies can help streamline your budget for investing in better scanning equipment.
KODAK Slide N SCAN Film & Slide Scanner Digitizer with 5” LCD Screen, Quickly Convert Negatives & Slides to Digital 22MP JPEG Photos, Compatible with 135, 126 and 110 Film & Slides
SAVE OLD PHOTO MEMORIES: 1422MP Digital Film Scanner Lets You View, Edit and Convert Your Old Color and…
As an affiliate, we earn on qualifying purchases.
As an affiliate, we earn on qualifying purchases.
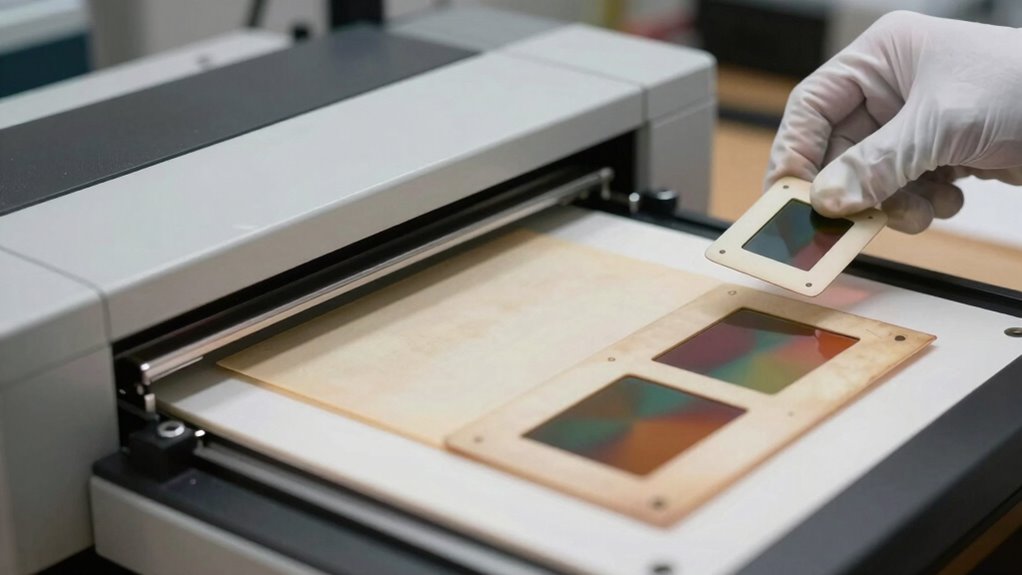
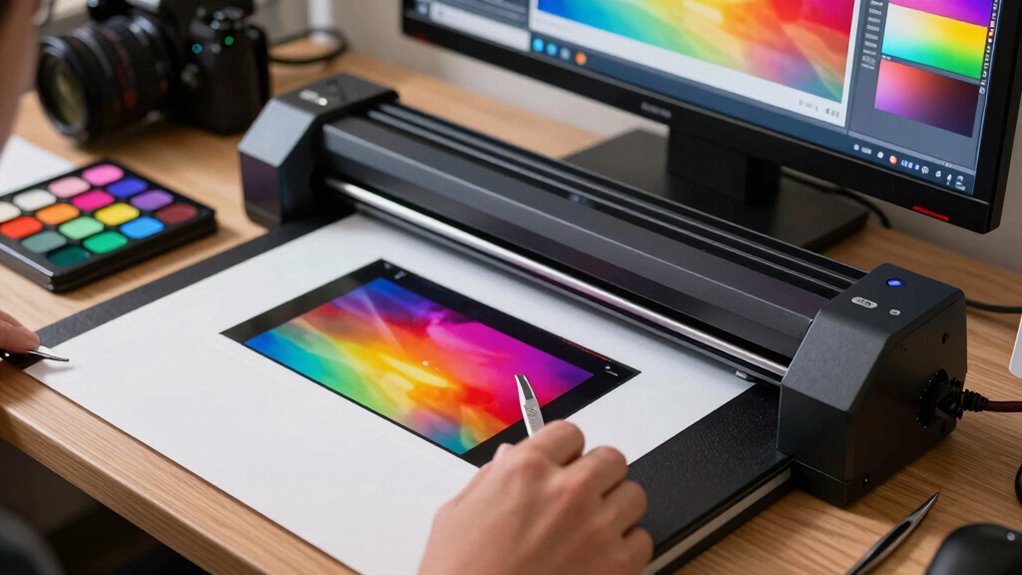
How to Prepare Slides and Negatives for Flawless Color Capture
To guarantee your scans come out vibrant and accurate, start by working in a clean, dust-free environment. Handle your slides and negatives carefully to prevent fingerprints and scratches. Using proper handling techniques helps preserve their quality and makes for flawless color capture. Additionally, consider the importance of color accuracy in ensuring that your scans reflect the true colors of the original images. Incorporating fresh ingredients in your scanning process, much like the culinary scene in Portland, can enhance the overall quality of your results.
Clean and Dust-Free Environment
Before you start scanning, it’s essential to verify your slides and negatives are free of dust and debris, as even tiny particles can cause specks or blemishes in the digital image. Conduct a thorough dust inspection in a clean, controlled environment. Confirm the ambient temperature is stable and moderate, around 65-75°F, to prevent static buildup and condensation. To maintain a dust-free workspace:
- Regularly wipe down surfaces with a microfiber cloth.
- Use compressed air to remove dust from slides and negatives.
- Keep the scanning area enclosed or covered when not in use.
This approach minimizes airborne particles and static, ensuring your slides and negatives stay pristine, resulting in flawless color capture and sharp digital images. Additionally, consider using water-cooled mattress pads to enhance your comfort and reduce distractions while you work.
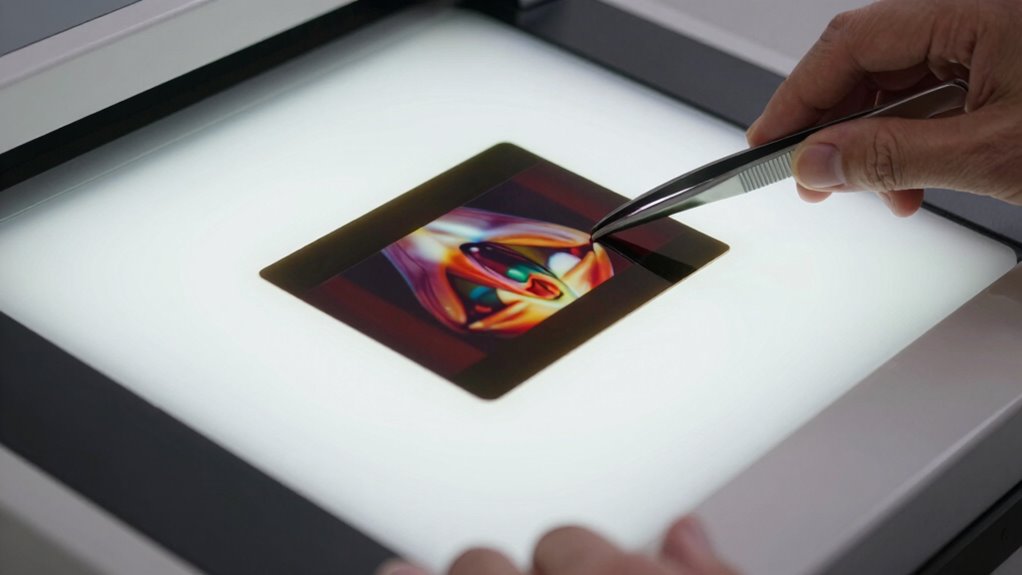
Proper Handling Techniques
Handling slides and negatives properly is essential to preserving their quality and ensuring flawless color reproduction during scanning. To achieve this, practice good film preservation by handling your materials with clean, dry hands or using cotton gloves. Store negatives and slides in acid-free sleeves or archival-quality containers to prevent deterioration. When preparing for negative archiving, avoid touching the emulsion side to prevent fingerprints and scratches that can distort colors. Keep your workspace dust-free, and use tools like air blowers or soft brushes to remove particles gently. Proper handling minimizes the risk of physical damage and preserves color fidelity over time, making your scans more accurate. Following these techniques helps maintain the integrity of your originals for consistent, high-quality digital reproductions.
KODAK Slide N SCAN Film & Slide Scanner Digitizer with 5” LCD Screen, Quickly Convert Negatives & Slides to Digital 22MP JPEG Photos, Compatible with 135, 126 and 110 Film & Slides
SAVE OLD PHOTO MEMORIES: 1422MP Digital Film Scanner Lets You View, Edit and Convert Your Old Color and…
As an affiliate, we earn on qualifying purchases.
As an affiliate, we earn on qualifying purchases.
Setting Your Scanner for Perfect Color Accuracy
Achieving perfect color accuracy starts with adjusting your scanner’s settings properly. Your goal is to align with color theory principles and utilize your scanning technology effectively. First, set the color mode to RGB, guaranteeing the scanner captures the full color spectrum. Second, adjust the resolution to at least 2400 DPI for detailed, high-quality scans, especially for negatives and slides. Third, fine-tune the color balance and saturation options, avoiding automatic adjustments that can distort colors. These steps help you create a neutral baseline, reducing color shifts. Remember, understanding how your scanner interprets color through scanning technology is key. Properly configuring these settings ensures your digital images stay true to the original, preventing color nightmares down the line.
Calibrating Your Monitor and Scanner for True Colors
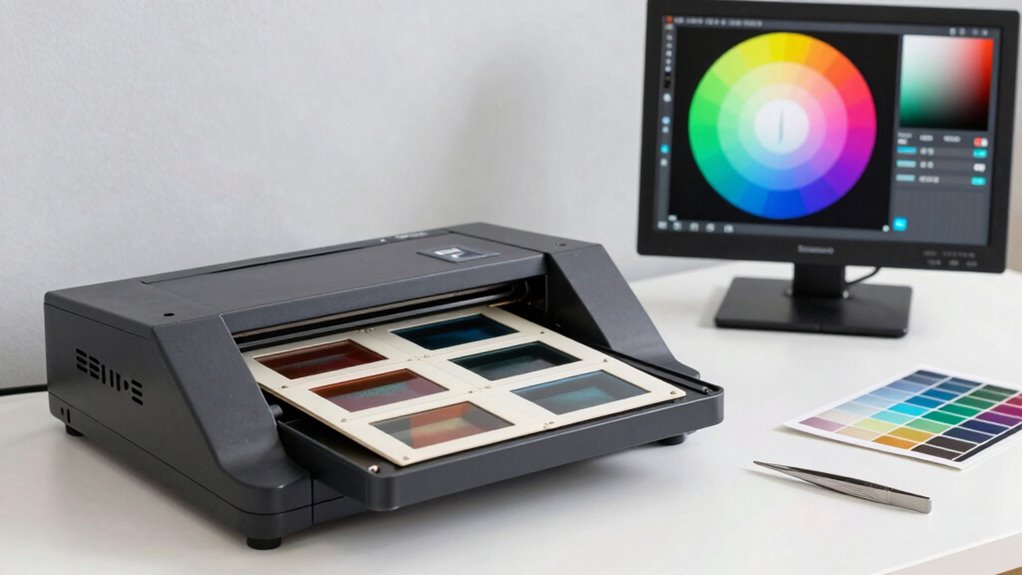
Once you’ve set your scanner for accurate color capture, the next step is to assure your monitor displays those colors correctly. Proper calibration ensures your monitor aligns with scanner output, respecting color theory principles for true reproduction. This process minimizes discrepancies and enhances scanner ergonomics, reducing eye strain and improving workflow. Use calibration tools and software to match your monitor’s display to industry-standard color profiles. Keep in mind that consistent lighting and environment also influence color perception. To deepen your understanding:
| Step | Focus Area | Purpose |
|---|---|---|
| 1 | Color Profile | Ensures color accuracy |
| 2 | Monitor Settings | Maintains consistency |
| 3 | Scanner Calibration | Aligns scanner output with display |
Calibrating both devices guarantees vibrant, true-to-life scans. Additionally, understanding passive voice detection can help you refine your written instructions for clarity.
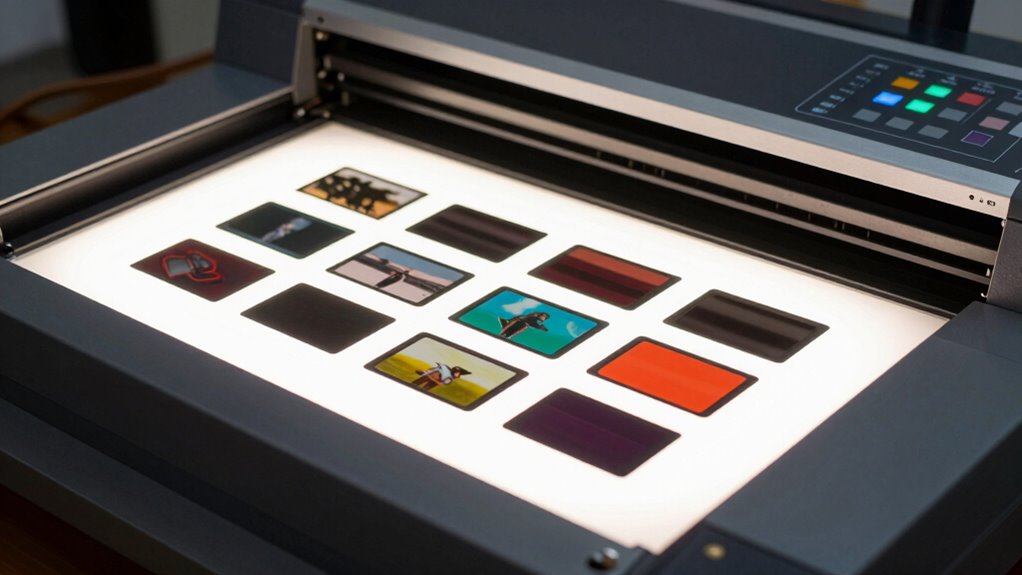
Adjusting Colors Post-Scan: Tips for Vibrant, True-to-Life Images
After scanning your slides or negatives, the colors may not look as vibrant or accurate as they appear in real life. To improve this, focus on effective color correction and saturation adjustment. First, analyze the image to identify dull or off-color areas. Second, tweak the white balance or color levels to correct any color cast, ensuring the tones reflect reality. Third, carefully adjust saturation to enhance vibrancy without oversaturating, which can cause unnatural hues. Use editing software with fine control over these parameters, and always compare your adjustments to the original slide or negative for accuracy. Remember, subtle changes often produce the best results. Proper post-scan editing helps you achieve vibrant, true-to-life images that truly showcase your original work.
Common Mistakes That Mess Up Your Colors: and How to Avoid Them
Incorrect color calibration can cause your scans to look dull or off-tone, making adjustments crucial before starting. Poor lighting conditions during scanning can introduce color casts or uneven exposure that distort your images. To avoid these issues, always calibrate your scanner properly and guarantee your lighting environment is stable and consistent.
Incorrect Color Calibration
Misconfigured color calibration is a common mistake that can ruin your scanning results by distorting the true hues of your slides and negatives. It often causes color shift and tonal imbalance, making your images look unnatural. To avoid this, check your scanner’s calibration settings regularly.
- Use a neutral gray or white reference target before scanning to ensure accurate color baseline. Additionally, embracing creative expression can enhance your overall scanning experience by allowing you to experiment with various artistic interpretations of your images.
- Adjust your color profiles and profiles for your scanner and monitor to match standard color spaces.
- Always preview scans and compare them to the original slides, making fine-tuned adjustments for consistent color accuracy. Failing to calibrate properly can lead to unintended color shifts and tonal imbalances, ruining your final images. Proper calibration keeps your colors true and your scans vibrant. Additionally, maintaining good indoor air quality can help reduce the presence of pollutants that may affect the scanning environment, ensuring cleaner conditions for your equipment.
Poor Lighting Conditions
Poor lighting conditions can dramatically affect the accuracy of your scanned colors, often leading to dull, washed-out, or overly warm images. To prevent this, use proper lighting techniques—preferably even, diffused light that minimizes shadows and glare. Avoid direct sunlight or uneven light sources, which can distort colors and make color restoration more difficult. Consistent lighting guarantees your scans capture true hues, reducing color shifts during digitization. Additionally, check your lighting setup regularly and adjust as needed. Proper lighting not only preserves original colors but also simplifies the editing process later. By controlling lighting conditions, you help ensure your scans maintain accurate, vibrant colors and avoid the common mistakes that compromise color fidelity.
Ensuring Consistent Color Quality Across Multiple Scans

To achieve consistent color quality across multiple scans, it’s essential to establish a standardized workflow and calibration routine. This helps maintain color consistency and pigmentation stability. First, regularly calibrate your scanner using a neutral gray or color target to set a baseline for accurate color reproduction. Second, use the same scanning settings—resolution, color profiles, and exposure—across all scans to ensure uniformity. Third, process the scans with consistent post-editing adjustments, avoiding drastic changes that could alter color fidelity. By maintaining these practices, you minimize variations caused by equipment or software, ensuring your scans exhibit stable pigmentation and true-to-original color quality throughout your project.
Troubleshooting Persistent Color Problems in Digitized Files

When persistent color problems continue despite your best efforts, it’s important to identify the root cause rather than just adjusting settings blindly. Start by inspecting your original slides or negatives for color shifts or fading, which can indicate issues with film preservation. If the physical condition looks fine, focus on your scanning software’s color correction tools. Sometimes, automatic adjustments overcompensate, creating unnatural hues. Try manual correction, adjusting contrast, hue, and saturation carefully. Use calibration tools and monitor your screen’s color accuracy to ensure your adjustments reflect the original. If problems persist, consider re-scanning with different profiles or applying targeted post-processing. Proper color correction not only improves visual accuracy but also helps preserve the integrity of your film collection over time.
Final Checks Before Saving and Sharing Your Scans
Before you save and share your scans, it’s essential to perform a final review to make sure everything looks accurate and professional. This step guarantees your digital archiving efforts support historical preservation and maintain image integrity.
- Check for color accuracy, ensuring no unwanted shifts or distortions remain.
- Inspect resolution and detail, confirming they meet your standards for clarity and future use.
- Verify metadata, like dates and descriptions, to facilitate easy retrieval and proper documentation.
Taking these steps guarantees your scans are ready for long-term storage, accessible for future generations, and free from errors that could compromise their value in historical preservation or digital archiving projects.
Frequently Asked Questions
Can Software Plugins Improve Color Accuracy During Scanning?
Yes, software plugins can improve color accuracy during scanning. They enhance color correction by fine-tuning hues, saturation, and contrast, ensuring your scans look true to life. Make sure the plugins are compatible with your scanning software to maximize their effectiveness. With the right software compatibility, these plugins streamline the process, reduce color nightmares, and help you achieve professional-quality scans that accurately reflect the original slides or negatives.
How Do Ambient Lighting Conditions Affect Scan Color Quality?
A stitch in time saves nine, and the same applies to your scans. Ambient lighting influence can markedly impact your scan’s color quality. Poor or inconsistent lighting causes color distortion factors, making images look dull or inaccurate. To avoid this, scan in a controlled environment with steady, neutral lighting. Minimize ambient light influence by turning off nearby lights and using a light source that evenly illuminates your slides or negatives.
Are There Specific Storage Tips to Preserve Original Slide and Negative Colors?
To preserve your slide and negative colors, focus on proper archival storage and environmental control. Store them in acid-free, opaque containers to block light and prevent chemical reactions. Keep your collection in a cool, dry, dark place with stable humidity and temperature to avoid deterioration. Avoid exposure to direct sunlight, extreme temperatures, and fluctuating conditions. Regularly check your storage environment to maintain ideal conditions and guarantee your images stay vibrant over time.
What Are the Best File Formats for Maintaining Color Fidelity?
You’ll want to save your scans in RAW or TIFF formats for premium color fidelity, even if it feels counterintuitive—because JPEGs are easier. These formats support detailed slide color correction and negative color grading, giving you flexibility without quality loss. Ironically, choosing the right file format is your best bet for preserving vibrant, accurate colors, ensuring your digital versions stay true to the original’s beauty and nuance.
How Often Should I Recalibrate My Scanner for Consistent Results?
You should recalibrate your scanner every few months or after significant changes in lighting or ambient conditions to guarantee consistent results. Regular scanner maintenance, including calibration, helps maintain color accuracy and detail. If you notice color shifts or inconsistencies, it’s a sign to recalibrate sooner. Following a regular calibration frequency keeps your scans true to the original, minimizing color nightmares and ensuring reliable, high-quality images over time.
Conclusion
Now that you know how to avoid color nightmares when scanning slides and negatives, you’re ready to achieve stunning, true-to-life images. Will you take the time to calibrate your equipment and prepare your materials properly? Remember, patience and attention to detail make all the difference. Once you master these techniques, your digital archives will shine with vibrant, accurate colors—bringing your cherished memories back to life just as they were meant to be seen.