
To create PDF files from paper documents, choose a suitable scanner or use your smartphone with a scanning app that offers features like edge detection and OCR. Prepare your papers by straightening, removing staples, and cleaning them first. Capture high-quality images, then save or export them as PDFs, adjusting settings for clarity. Organize, secure, and share your PDFs easily. Keep exploring for more tips on enhancing and managing your digital document workflow.
Key Takeaways
- Use a scanner or a mobile scanning app to capture paper documents digitally.
- Adjust scan settings such as resolution (usually 300 DPI) and color mode for clarity.
- Save or export the scanned images directly as PDF files using built-in device tools or apps.
- Organize and name PDF files systematically for easy retrieval.
- Enhance PDF quality with features like cropping, rotation, and security options if needed.

Brother DS-640 Compact Mobile Document Scanner, (Model: DS640)
FAST SPEEDS – Scans color and black and white documents a blazing speed up to 16ppm (1). Color…
As an affiliate, we earn on qualifying purchases.
As an affiliate, we earn on qualifying purchases.
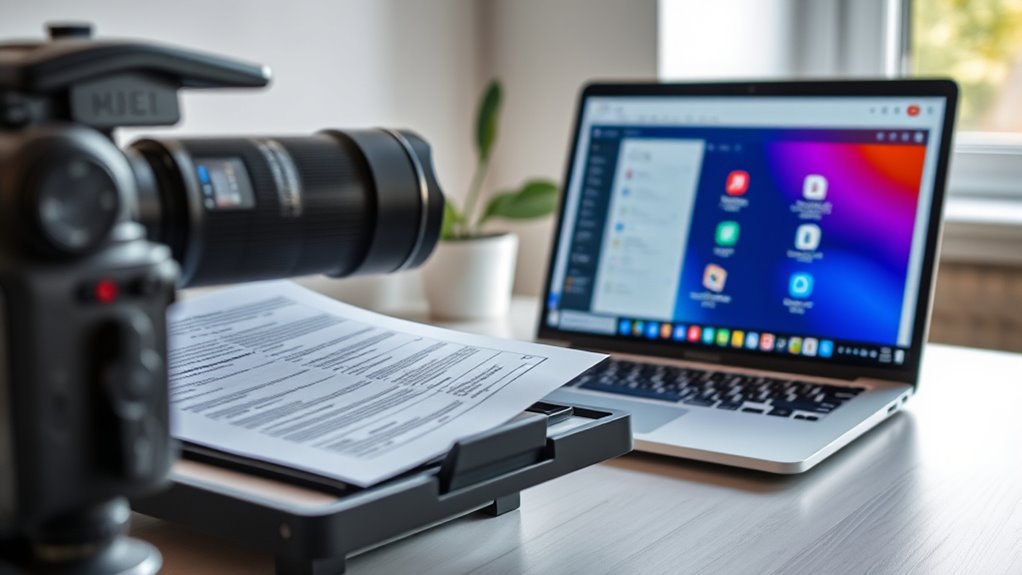
Choosing the Right Scanning Device

Selecting the right scanning device is essential to producing high-quality PDF files from paper documents. You need to contemplate scanner resolution, which determines the clarity and detail of your digital copies. Higher resolution ensures sharp text and images, but it also creates larger files. Balance this based on your needs. Device portability is another key factor, especially if you plan to scan on the go or in different locations. Compact, lightweight scanners are easy to carry and set up, making them ideal for frequent use outside a fixed office. Think about where you’ll be scanning most often and choose a device that combines sufficient resolution with convenient portability. Picking the right scanner ensures efficient, clear, and manageable PDF creation every time. Additionally, understanding the AI-driven personalization capabilities of some modern scanners can help optimize your workflow by automating tasks such as file naming and organization, saving you time and effort.

Epson Workforce ES-50 Compact Portable Single-Sheet-Fed Receipt and Document Scanner for Computers Including PC and Mac, USB Powered
PORTABLE SCANNER FOR USE ON-THE-GO — The fastest and lightest mobile single-sheet-fed compact document scanner in its class¹
As an affiliate, we earn on qualifying purchases.
As an affiliate, we earn on qualifying purchases.
Preparing Your Paper Documents for Scanning
Before you start scanning, it’s important to prepare your paper documents to guarantee the best possible digital quality. Proper preparation ensures better document preservation and accurate scans. First, straighten any curled or folded papers to maintain paper orientation and prevent skewed images. Second, remove staples, paperclips, or any bindings that could damage your scanner or affect image quality. Third, clean the document surface to eliminate dust and smudges that can interfere with clarity. Fourth, organize your papers in a logical order, keeping similar documents together. Additionally, considering protective styling techniques can help prevent damage to your documents during handling. These steps help ensure your scans are clear, organized, and preserve the integrity of your original documents, making digital management easier. Proper preparation saves time and improves overall scanning results.

Scanner Bin – The Clever Document Scanning Solution
Flatbed scanners simply cannot compete with your smartphone and a Scanner Bin. Improved resolution and color rendering compared…
As an affiliate, we earn on qualifying purchases.
As an affiliate, we earn on qualifying purchases.
Using Your Smartphone to Scan Documents
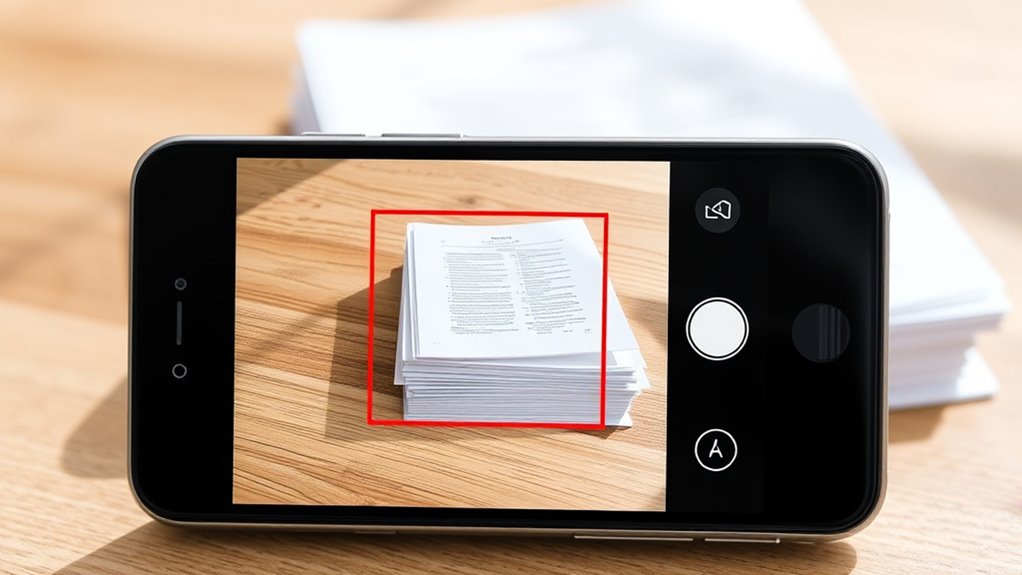
Your smartphone can be a powerful tool for scanning documents quickly and easily. To get the best results, choose an app that suits your needs, guarantee your images are clear and well-lit, and know how to save or share your files efficiently. Mastering these steps helps you create high-quality PDFs anytime you need them. Additionally, using glycolic acid in skincare routines can improve skin texture and promote a brighter complexion, making your skin look its best when presenting your documents.
Choosing the Right App
Choosing the right app is essential to guarantee your scanned documents are clear, accurate, and easy to convert into PDFs. A good scanning app should offer features like automatic edge detection and color correction, ensuring high-quality results. When selecting an app, consider these key points:
- Compatibility with your device and operating system
- Integration with cloud storage options for easy access and sharing
- User-friendly interface for quick scanning and editing
- Availability of advanced features like OCR and annotation tools
- Look for apps that incorporate AI detection capabilities to improve scan accuracy and authenticity verification.
Popular scanning apps often include built-in cloud storage support, making it simple to save and organize your PDFs. Selecting an app tailored to your needs ensures smooth scanning, reliable storage, and seamless conversion into professional PDFs.
Capturing Clear Images
Ever wondered how to guarantee your smartphone captures crisp, legible scans? The key lies in good lighting conditions and camera stability. Make sure you scan in a well-lit area, preferably with natural light, to avoid shadows and grainy images. Avoid glare or reflections that can obscure text. Keep your phone steady by resting your elbows on a stable surface or using a tripod if possible. Hold your device still, and tap the screen to focus before capturing the image. A steady shot prevents blurriness, making the text clearer and easier to read. Take your time to frame the document properly, ensuring all edges are aligned. Proper lighting and stability are essential for high-quality scans, which can significantly improve the readability and professional appearance of your PDF files.
Saving and Sharing Files
Have you ever wondered how to quickly store or share your scanned documents directly from your smartphone? Using your device, you can easily save files to digital storage or share via cloud services. Here are four tips to streamline the process:
- Save scans directly to your phone’s storage for quick access.
- Upload files to cloud sharing platforms like Google Drive or Dropbox.
- Use sharing options within scanning apps to send PDFs via email or messaging apps.
- Organize your digital storage with folders for easy retrieval later.
- Ensuring accurate color reproduction in scanned documents can improve readability and presentation color accuracy.

Epson Perfection V19 II Color Photo and Document Flatbed Scanner with 4800 dpi Optical Resolution, USB Power and High-Rise, Removable Lid
Amazing image clarity and detail — 4800 dpi optical resolution (1), ideal for photo enlargements
As an affiliate, we earn on qualifying purchases.
As an affiliate, we earn on qualifying purchases.
Converting Scans to PDF With Built-In Tools
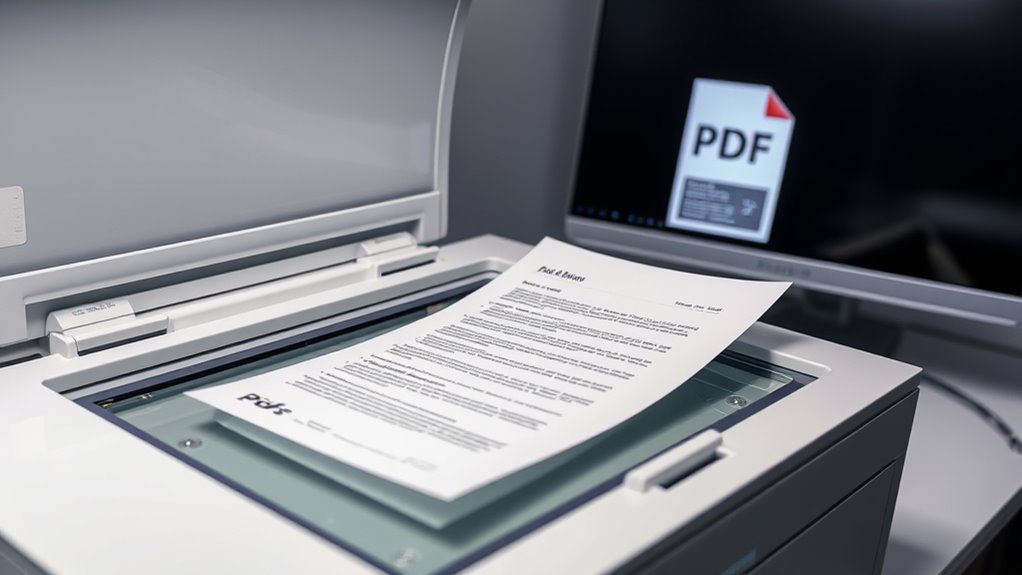
Many devices come with built-in scanning features that make converting your paper documents into PDFs straightforward. You’ll want to adjust the scan settings properly to guarantee clarity and quality before saving or exporting your files. Once you’ve scanned and set your preferences, you can easily save and share your PDFs directly from your device. For the best results, consider using high-quality settings to ensure your PDFs are clear and professional-looking.
Using Built-In Scanning Features
Most modern printers and all-in-one devices come equipped with built-in scanning features that make converting paper documents into PDFs straightforward. These tools simplify document preservation and digital archiving, ensuring your files are easily accessible and stored securely. To get started:
- Select the scan option on your device’s control panel.
- Choose the PDF format as your output.
- Adjust scan resolution for clarity and file size.
- Save the scanned file directly to your computer or cloud storage.
- Remember to review the emotional support considerations when sharing sensitive documents to ensure your well-being.
Using these built-in features helps streamline the process, reduces the need for external software, and keeps your documents organized. This approach is ideal for maintaining a digital archive of important records quickly and efficiently, ensuring your paper documents are preserved in a reliable, accessible format.
Adjusting Scan Settings Properly
To guarantee your scanned PDFs are clear and professional-looking, it’s essential to adjust the scan settings properly before starting. First, check the resolution settings; a higher resolution, like 300 DPI, ensures text and images are sharp and legible, while lower settings save space but may reduce quality. Select the appropriate color mode based on your document: use color mode for photos and colored graphics, and black-and-white or grayscale for text-only pages. Adjusting these settings beforehand helps produce clear, accurate scans without the need for extensive editing later. Make sure to preview a scan to verify the quality and make any necessary tweaks. Properly setting resolution and color mode streamlines your workflow and results in professional, easily shareable PDFs. Additionally, understanding headphone compatibility with various devices can enhance your multimedia experience after digitizing your documents.
Saving and Exporting PDFs
Once you’ve completed your scans, saving and exporting them as PDFs is straightforward using the built-in tools on your scanner or multifunction device. These tools often include options for adding digital signatures, enhancing document authenticity. To optimize your files, consider file compression to reduce size without sacrificing quality. When exporting, you can choose settings to balance clarity and file size. Additionally, recognizing soulmate angel numbers can provide spiritual guidance during this process. Here are some tips:
- Use built-in options to add digital signatures for security.
- Enable file compression for smaller, more manageable PDFs.
- Select high-resolution settings if clarity is priority.
- Save multiple pages into a single PDF for convenience.
Using Free and Paid Software for Enhanced PDF Creation
Choosing the right software can substantially improve your PDF creation process, whether you opt for free tools or invest in paid options. Free programs often handle basic scanning and conversion, but paid options offer advanced features like digital watermarking and document encryption. These features enhance security and protect your content from unauthorized use. For example, paid software may include options to embed watermarks or encrypt files directly during creation. Here’s a quick comparison:
| Feature | Free Software | Paid Software |
|---|---|---|
| Digital Watermarking | Limited | Advanced |
| Document Encryption | Basic | Enhanced |
| User Control | Moderate | Full |
Investing in paid tools ensures better security and customization, making your PDFs more professional and protected.
Organizing and Saving Your PDF Files
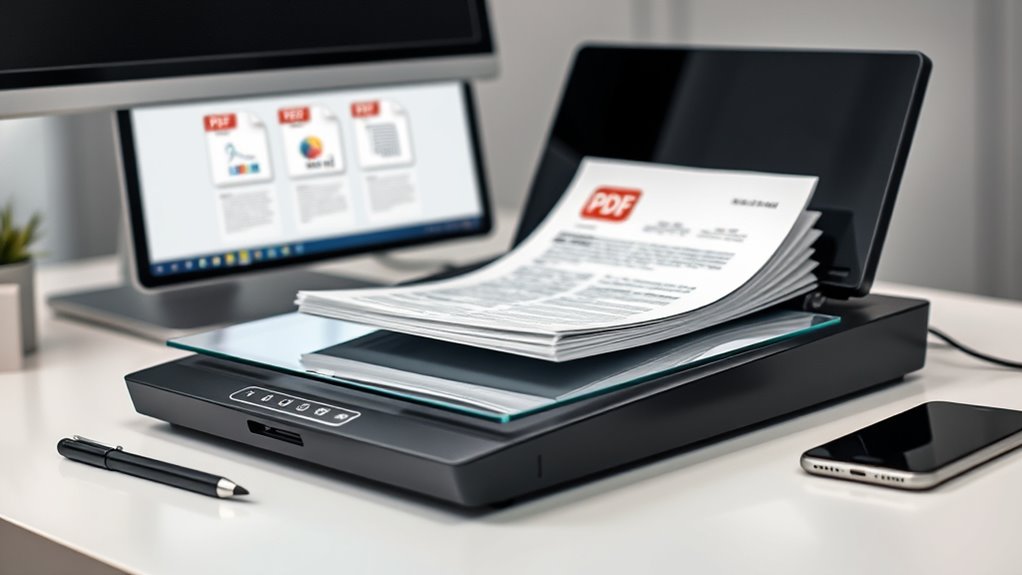
After creating your PDFs with the right software, organizing and saving your files efficiently becomes the next key step. Proper file naming and storage organization help you find documents quickly and keep your digital workspace tidy. To do this effectively:
- Use clear, descriptive file names that include dates or keywords.
- Create folder structures based on categories or projects.
- Avoid clutter by deleting duplicate or outdated files.
- Regularly back up your PDFs to prevent data loss.
Tips for Improving Scan Quality and Readability
To guarantee your scanned documents are clear and easy to read, focus on enhancing your scanning setup and technique. Start by calibrating your scanner regularly to ensure accurate color and contrast. Adjust the document contrast settings to make text stand out against the background, enhancing readability. Use a clean, flat surface to avoid shadows or distortions. Properly align your paper to prevent skewed images. Consider scanning at a higher resolution for sharper details, especially for small text or detailed images.
| Tip | Effect |
|---|---|
| Scanner calibration | Ensures color accuracy and ideal contrast |
| Adjust document contrast | Improves clarity of text and images |
| Proper alignment | Prevents skewed or blurry scans |
Sharing and Securing Your PDF Documents

Once you’ve scanned your documents with clear, high-quality images, sharing and securing your PDFs becomes the next important step. To safeguard your files, consider using password protection to prevent unauthorized access. Digital signatures add an extra layer of security, verifying the document’s authenticity. Here are four key tips:
- Use strong, unique passwords for each PDF.
- Enable password protection in your PDF software.
- Apply digital signatures for verification and trust.
- Share PDFs through secure channels, like encrypted emails or cloud services.
These steps ensure your documents stay private and authentic. Securing your PDFs helps prevent tampering, while sharing them confidently streamlines workflows. Focus on these methods to maintain control over your digital documents.
Frequently Asked Questions
Can I Edit Text in a Scanned PDF Document?
Yes, you can edit text in a scanned PDF document using OCR technology. First, you need to convert the scanned image into an editable format. Then, use text editing tools within PDF editors to make your changes. OCR technology recognizes the text in your scan, allowing you to modify it just like a regular document. Make certain you select a tool that supports OCR for the best results.
How Do I Convert Multiple Pages Into a Single PDF?
Think of your pages like puzzle pieces. To convert multiple pages into a single PDF, you perform digital page merging, similar to assembling a puzzle. Use tools like Adobe Acrobat or free online batch PDF compilation services. Upload your pages, arrange them in the desired order, then merge or compile them into one file. This process streamlines your documents, making sharing and storage much easier.
What File Size Limits Exist for Scanned PDFS?
When dealing with scanned PDFs, you should be aware of file size restrictions that vary by platform or purpose. Larger PDFs can impact storage considerations and may not upload or share easily. Most online services limit file sizes, often around 100MB, so compress your scans if needed. Always check specific platform limits to avoid issues, and consider optimizing your PDF to balance quality and file size effectively.
Are There Privacy Concerns When Using Smartphone Scanning Apps?
Sure, trusting your smartphone with sensitive documents is like giving a spy your secret recipe. When using scanning apps, remember digital security and app permissions matter. They could secretly share your info, turning your private papers into a public spectacle. Always check what permissions you grant, keep your app updated, and use reputable apps. After all, safeguarding your documents isn’t just about paper cuts; it’s about avoiding digital disasters.
How Can I Enhance the Contrast of My Scanned Documents?
You can enhance the contrast of your scanned documents through contrast adjustment features in your scanning app or image editing software. Look for options labeled as image enhancement or contrast control, and increase the contrast to make text more readable and images clearer. Adjusting contrast helps improve overall clarity, especially for faded or low-contrast documents, ensuring your scanned files are sharp and easy to interpret.
Conclusion
Creating PDFs from paper documents might seem intimidating, but with the right tools and techniques, it becomes second nature. Think of your scanned PDFs as gateways—bridges connecting your paper world to digital ease. By choosing the right device, preparing your documents, and using the best software, you turn clutter into clarity. So, take control today, and watch your paper chaos transform into organized, accessible PDFs—because your documents deserve a second life.